Mistakes To Avoid When Installing A Water Softener
If you've started noticing signs that your home could benefit from a water softener — such as mineral build up on fixtures, higher than normal utility bills, or appliances that aren't performing like they used to — you might be ready to bite the bullet and install one. Doing so can help you resolve many of the problems that hard water can cause around a home. The excessive mineral build up can lead to rust and corrosion along your fixtures, plumbing, and appliances. You may even find that the lifespan of appliances, such as the washing machine and dishwasher, is reduced because of the calcium, magnesium, and other minerals damaging their seals. This can result in leaks, clogs, decreased efficiency, and poor performance.
While installing a water softener may not seem like an overly complex task, it is more involved than you might think. And, there are several mistakes that you could make along the way. Depending on which mistake you make, the system you install may not work properly, you could find yourself dealing with a major leak or water damage, or you could be setting yourself up for future maintenance headaches. Ahead, we've put together a list of some of the most common mistakes that people make when installing a water softener to help you learn what to avoid. In addition to helping you understand what not to do, we'll also share information about what you should do instead to ensure your softener is installed properly.
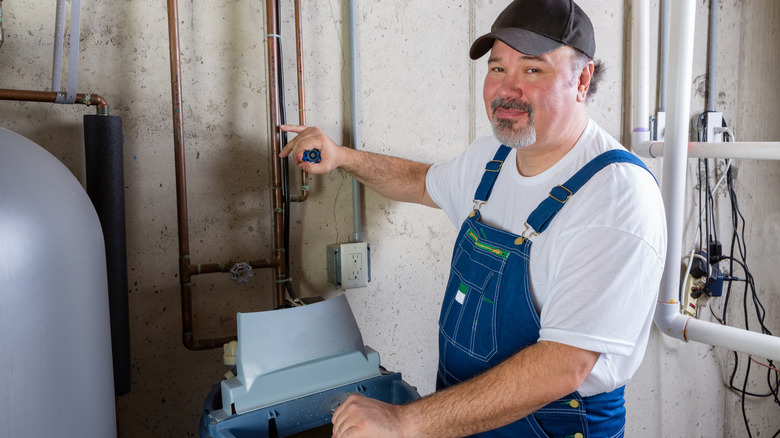
Starting the installation process before checking water pressure
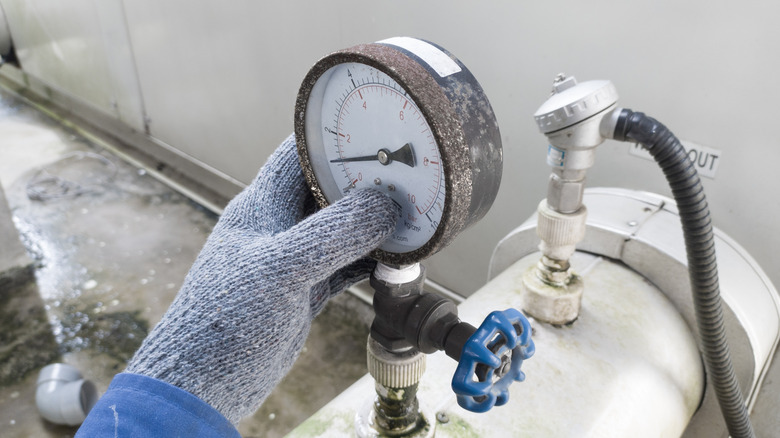
One mistake many people are guilty of is jumping too quickly into the installation process without doing their due diligence. One essential component of this prep work is to check your home's water pressure. If the pressure is either too high or too low, then you may experience some issues after installing the system. Specifically, if the pressure is below the recommendation, then the softener may not work as efficiently. On the other hand, high pressure is also not good. Water bursting through the pipes with so much force has the potential to damage the softener (along with other plumbing components).
To avoid these potentially serious problems, always check your home's water pressure before moving forward with a water softener installation. If it is between 40 and 70 pounds per square inch (psi), then all is well, and you can move forward. If the pressure falls outside of this range (particularly on the high end of it), then it is likely a sign it's time to replace your water pressure regulator. This device works to decrease the pressure of the water flowing through the pipes (and appliances and accessories) and into the home.
Choosing a water softener that isn't the correct size for your home
If you haven't done a lot of research on water softeners, you may assume that all models are the same. Making this assumption and just ordering one based on price or other features could be a serious mistake. Failing to purchase one that is appropriately sized for your home will have consequences. If the system you choose ends up being too small for your home and the number of people who live in it, it will put too much pressure on the system. This could lead to higher utility bills and the need to refill the salt more often (if applicable). While you don't want a system that is too small, you also don't want one that is too big for your home and needs. If the water softener you select is significantly bigger than it needs to be, it isn't going to operate as efficiently and could lead to inconsistent results.
So, how do you know what size water softener to purchase? To find your answer, you'll need to perform a calculation with these factors: the grains per gallon (GPG) water hardness level for your home, the number of people who live in the home, and the flow rate (or average flow rate) per person per day. This will help you determine how many grains per day the softener will need to remove from your water. To find the right size, begin by multiplying the flow rate (80 gallons per person per day is the average) by the number of people who live in your home. You can then take that number and multiply it by the GPG. Once you have this information, you can use it to determine the total number of grains you will need — this information should correspond with what's on the label or product guide for each softener.
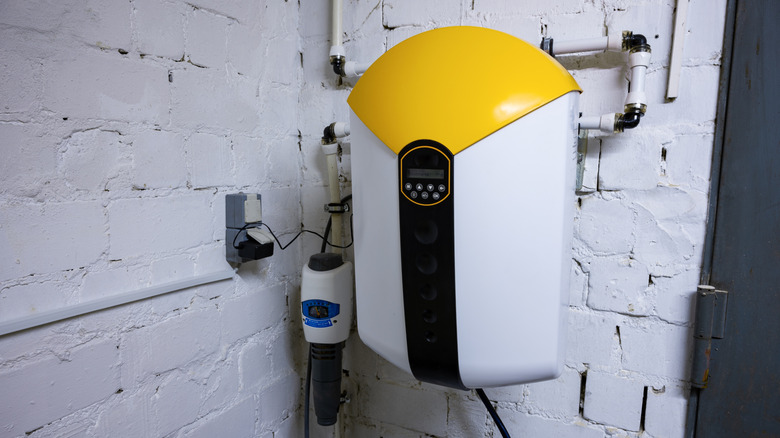
Not considering the importance of the installation location
You may assume that placing the softener anywhere in the system works just fine. However, this is false, and could cause a number of issues, including decreased efficiency, problems accessing the unit for future maintenance, and leaks or drainage troubles. So, where is the ideal location to put your unit? Unfortunately, there is no single correct answer to this question. It will depend on the layout of your home, climate, and moisture levels.
Generally speaking, the best location for the unit will be close to where the water enters the home. Depending on whether you rely on well or city water, this should be near the water meter or the pressure tank. Some common placement locations include basements, crawl spaces, and garages. If you don't have a basement and live in a warm climet, you could also consider putting the water softener outside. However, you'll need to be sure to pick a shaded area. If temperatures are known to dip below 35 degrees Fahrenheit or above 100 degrees Fahrenheit, then it is not advisable to install the softener outside. Additionally, the softener should be installed in an area that remains dry.
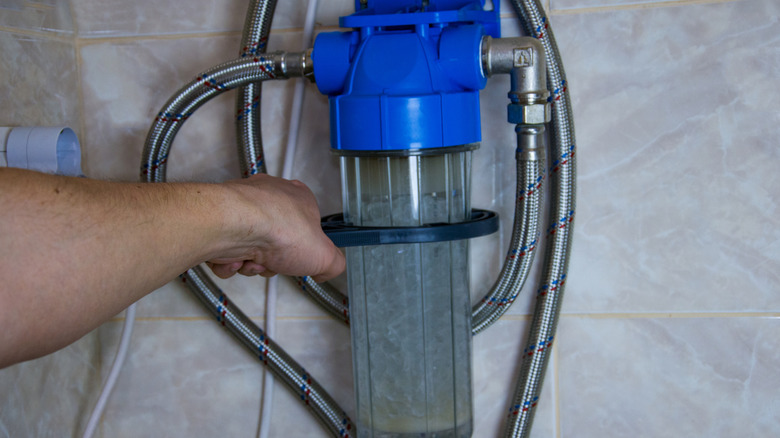
As you select the ideal installation location, don't forget to make sure that you'll be able to easily access the softener when needed. Finally, if you have any other treatment systems, you should also consider their location and the ideal order in which the water should pass through the various components. For example, if you have a sediment filter, it would be best to have the incoming flow go through that before the softener.
Assuming you can use an extension cord if an outlet isn't available
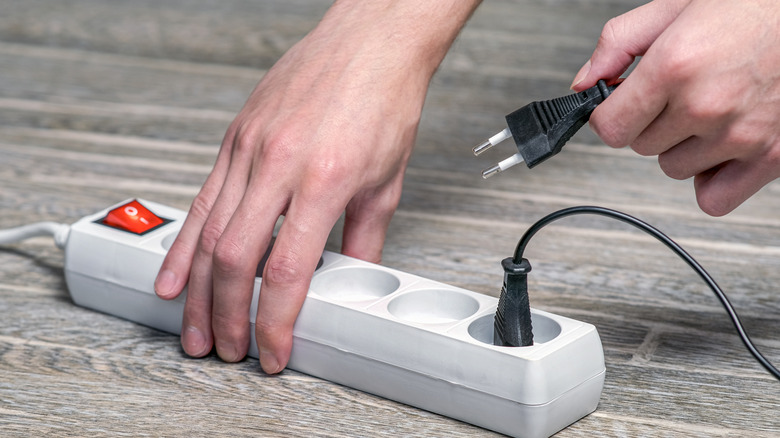
As you're deciding on the optimal installation location, don't forget to also consider where the available electrical outlets are located. Overlooking this and simply assuming you can just run an extension cord will be a mistake. Plugging many household appliances into an extension cord is a major fire hazard — and water softeners are no exception to this rule. Choosing to use an extension cord may also void the warranty provided by the manufacturer.
Instead, it is essential to plug your new unit into a 120-volt outlet that is around 6 to 10 feet away from where you are installing it. Safety is key with large appliances that pull a lot of power — particularly when water is also involved. So, you may need to hire an electrician to make sure that the outlet is on a dedicated circuit and that it has a ground fault circuit interrupter (GFCI) to minimize the risk of a fire or electrocution.
In some rare cases, the manufacturer of a specific softener model may state that you can safely use an extension cord. However, always verify this and make sure that you're following their recommendations properly (for example, you may need to use a special type of extension cord). However, the ideal solution would still be to plug the unit into a wall outlet with a dedicated circuit.
Failing to turn off the water supply before starting
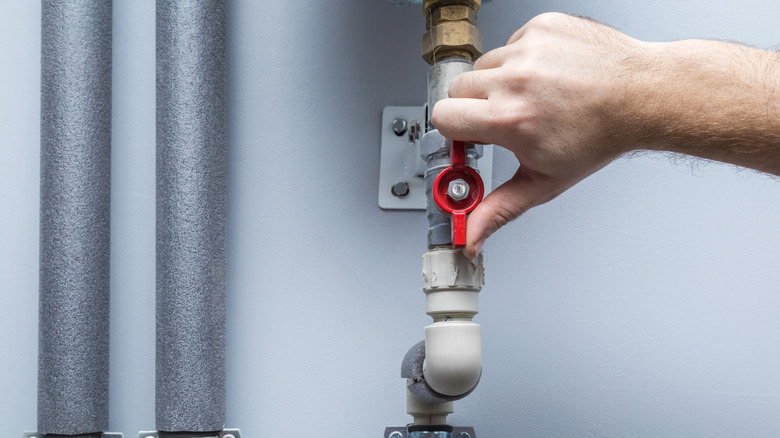
If you haven't done a lot of plumbing work in the past, you may forget one seemingly simple, yet extremely important, step: turning off the main water supply before beginning to hook up your new unit. Failing to turn off the water supply will increase the chances of a leak as you're working. Any leaks can spell big trouble because of the serious (and costly) damage that they can cause — not to mention the risk of electrocution.
To start, you'll need to know how to locate your house's main water shutoff valve. It is typically on the lowest level of the home along the entry point for the water line. After finding the shutoff valve, turn it off. Depending on the type of valve, you may need to turn a lever or wheel. Closing the main shutoff valve is only the first step in making sure no water is flowing through the pipes when you're working. You'll also need to turn on a sink or tub on the lowest level of the home to drain any water (and water pressure) still in the pipes. This is also a great way to confirm you actually turned off the water supply before you get to work.
Not setting the drain line up properly
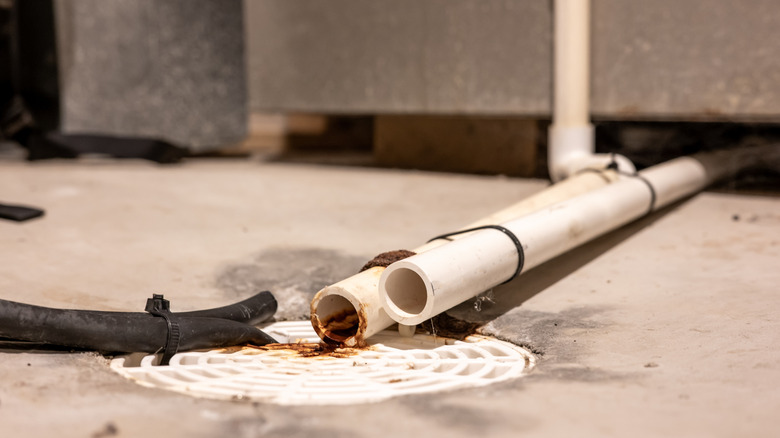
Another common mistake that homeowners make when DIYing a water softener installation is failing to properly set up the drain line. If not set up correctly, you're running the risk of backflow issues, which essentially means the water flows in the opposite direction. This has the potential to be very serious — and can even threaten your health. You see, if the drain line is directly connected to the sewer line, it is possible for that unsanitary water to make its way into your drinking water through cross-contamination.
To avoid this risk, it is crucial to make sure there is an air gap between the softener's drain line and the waste line. There are a few different installation options that will help you accomplish this. If you have a sump hole or an existing drain on the floor, you could mount the discharge line above it (leaving a gap). Alternatively, you could also have the line drain into a utility room sink, leaving at least a few inches between the sink drain and the line. However, if you ever use the laundry room sink to soak clothing or other items, this will not be a good location to run the drain hose. Water will continue draining, even if the sink's drain is blocked, which could lead to flooding. Wherever you choose to position the drain line, be sure to use rigid plumbing components (as opposed to flexible pipes that could slip out of place). Doing so will ensure the air gap is constantly maintained.
Overlooking the importance of a bypass valve
When you're installing the softener system, you might be in a rush to get it set up and ready to use. Skipping the step of installing the bypass valve may be tempting. However, you're only going to be setting yourself up for future headaches if you do so. If your system doesn't have a bypass valve, then anytime you need to work on your water softener, it will be necessary to turn off the water for the entire home. On the other hand, if you follow through with installing the bypass, completing necessary maintenance tasks in the future will be a breeze. You can simply use the bypass valve to cut the water supply to the softener only. The rest of the water in your home will still be able to flow, allowing other household tasks to continue without interruption.
Installing the bypass valve will require proper placement (lined up with the system's inlet and outlet ports). You'll then need to use the couplings (that should come with the bypass) to secure it into place. Finally, use plumber's tape for a leak-proof seal.
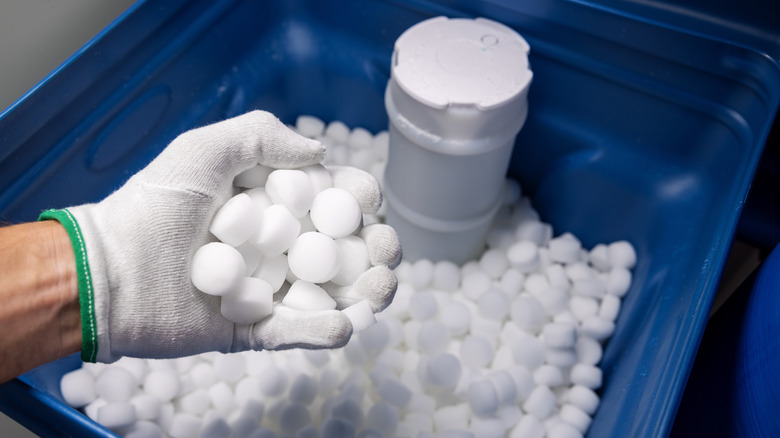
Not choosing the best type of salt for the system
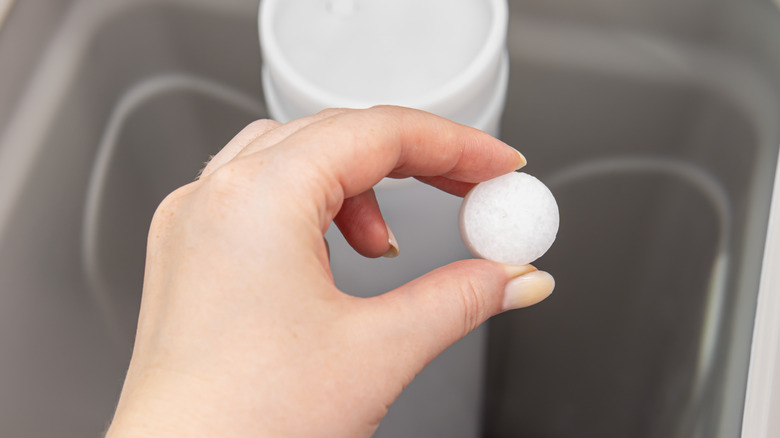
We'll forgive you for assuming that salt is salt if you've never had a water softener before. However, the truth is that not all types of salt are created equal when it comes to softening your water. If you make the wrong choice, you may end up causing damage to the system, or experiencing issues with salt "mushing" (when salt forms into sludge consistency) or "bridging" (when salt forms a hard crust), consequently spending more money than is necessary.
The two that are most commonly recommended salts include rock salt and solar salt. Rock salt, which is popular because of its affordability, has a very coarse texture. If you have very hard water, it might not be the best choice for you, but could be a suitable option if you only have moderately hard water. However, if you choose rock salt, just be prepared for the need to clean your tank a bit more frequently, because it may cause more sediment build up due to it containing impurities like calcium sulfate. Solar salt is another variety to consider. Made by using sunlight to evaporate seawater, this variety dissolves easily and is purer than rock salt. However, it also isn't the best option if your home has very hard water. It is also more expensive than rock salt.
If your home has very hard water, evaporated salt is probably the best choice. To make this variety, saltwater is heated to eliminate the water, leaving behind a very pure and concentrated substance. Though you'll have to clean your tank less often due to its minimal impurities, evaporated salt is more expensive. If you don't have excessively hard water, it may not be worth the splurge.
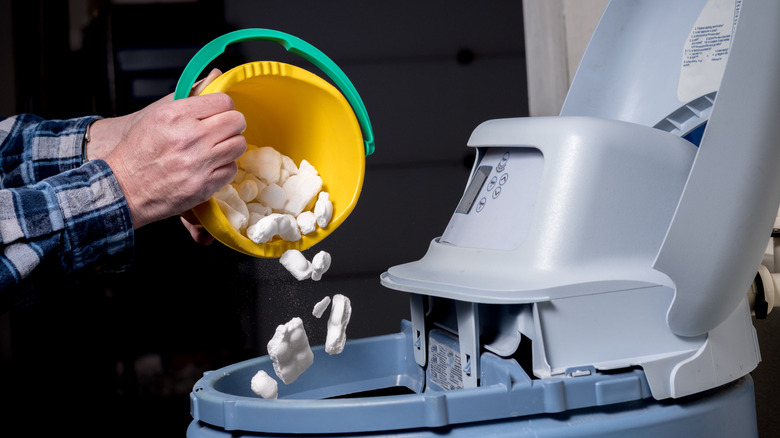
Failing to understand how to avoid salt bridging
A salt bridge is the enemy of your softener. It will prevent it from functioning as intended and delivering the softened water that you desire. If you don't understand what a salt bridge is — and learn what you should do to prevent one from forming — then you're setting yourself up for repeated problems with hard water. This hidden downside to water softeners refers to a formation of a solid salt layer that spans the brine tank. The bridge blocks the loose salt above it from being able to mix with the hard water at the bottom of the tank. If the salt is unable to mix with the water, then the system won't actually be doing anything to soften it.
There are a few different factors that can cause a salt bridge. Salts with more impurities, like rock salt, can increase the chances of clumps — and eventually a full blockage. This is why cleaning the water softener brine tank matters, so be sure to do so at least once a year (though twice a year is even better).
While maintenance and salt selection are important, there is one other variable that may be even more essential to control: humidity levels. As you can probably imagine, the salt is going to be more likely to clump if exposed to moisture. If you live in a humid area — or have the softener in a particularly humid basement — then you may experience more issues with salt bridges if you don't take steps to decrease humidity levels. Also, always make sure the lid is securely on the tank.
Assuming you can DIY the installation if you don't have a plumbing background
If you were feeling confident about installing a water softener before reading this, learning about all of the potential mistakes you could make may have rocked that self-confidence. And, while we don't want to tell you that you absolutely shouldn't attempt to put the system in yourself, we will warn you that doing without any plumbing knowledge could prove to be a costly and frustrating mistake. There are a lot of different pieces of information and essential tasks to keep straight. If you don't have a background in plumbing, it might not be reasonable to expect yourself to properly juggle all of this to guarantee a successful installation.
Experimenting with anything related to water has the potential to be tragic — do you really want to find yourself dealing with a huge leak or water damage because you made a mistake? Moreover, if your softener has a warranty, DIYing an installation could threaten it. If you make a mistake installing the system yourself that leads to an issue down the road, the manufacturer may not provide coverage, since the initial problem wasn't with the unit itself.
Instead, you're probably best letting a professional handle this task. A plumber will have the necessary experience to know just what to do. They'll also have all of the correct tools to ensure a seamless installation. A professional can also confirm you're choosing the right system and setup based on the specific needs of your home.