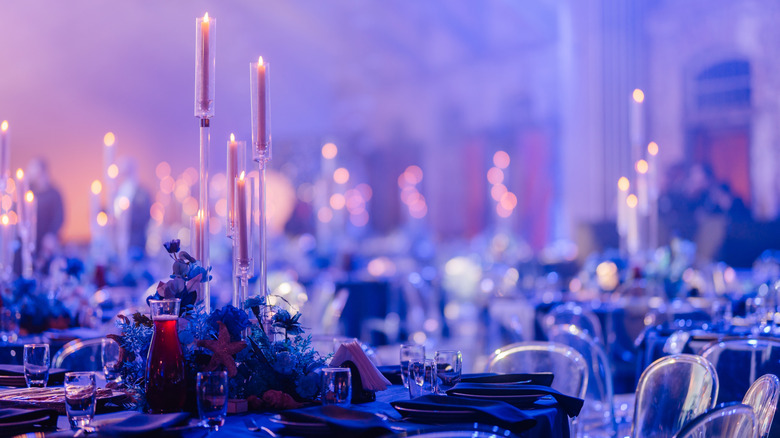
Easily DIY A Stunning Centerpiece With An Elegant Dollar Tree Candlestick Hack
Do a quick Google search for "stunning centerpieces," and chances are you'll end up with search results that feature pieces that are tall and elegant, blooming with fragrant flowers and shiny baubles. A pair of them can cost you upwards of $40 or more. While this might seem like a bargain for some, crafty folks can easily DIY a budget-friendly, stunning floral centerpiece from a few Dollar Tree candlesticks.
The building blocks for this elegant hack to make Dollar Tree décor look expensive include four glass taper candleholders, a Moderno glass plate, an 8-inch decorative glass bowl, a round glass cutting board, and the flora of your choice. With the exception of the flowers, these items function as the columns and base for the centerpiece. As for the flowers, they gussy it up even more. You have some leeway with these Dollar Tree pieces, meaning you can swap out the types of bowls and plates you use. For example, if you plan on painting the centerpiece white, it's possible to swap out the clear glass bowls and go with one of the Dollar Tree's sunflower-patterned bowls at the project's top piece. You'd replace the cutting board with the small bread plate from the sunflower patterned set as well.
You'll additionally need some chandelier crystals to create some bling. Other blingy items to consider, but are not necessarily required, are floral ribbons and faux diamonds or other gems. Some green floral Styrofoam may come in handy, too. And since all of these items won't stick together by themselves, you'll also need some E6000 craft glue as well as a glue gun.
Assembling the Dollar Tree candleholder centerpiece
The glass Dollar Tree plate provides the base for the centerpiece. Once you flip it upside down, you'll affix one of the tapered glass candleholders to the bottom of the plate using both E6000 glue and your hot glue gun. Two more candleholders are glued onto the first one. Allow the glue on all of these pieces to dry before gluing the round glass cutting board to the top candlestick. Once that's dry, you're at a crafts crossroads. You can add more height to the piece by gluing a candleholder to the cutting board and then gluing the glass bowl on top of that. Or, you can skip the final candleholder and glue the glass bowl directly to the cutting board. It's up to you to decide which to choose.
After you create the bones of the centerpiece, add the embellishments, like the chandelier crystals. These you'll glue to the round cutting board. The bowl and the cutting board become the receptacle for flowers, which you'll arrange around the cutting board and inside the bowl.
After that stage, you're free to add more decorative elements as the inspiration strikes you. For example, you can decorate your home with flower garlands by wrapping them around the central column of the piece. This floral addition draws the eye upward to the top of the arrangement. Or, weave some handmade chiffon silk ribbon with fringe from Vitalizart Store in with the flowers in the arrangement, and allow their ends to hang over the sides of the cutting board and glass bowl to create extra pops of solid color.
