Transform An Old Glass Side Table Into A Modern Masterpiece With A Unique DIY
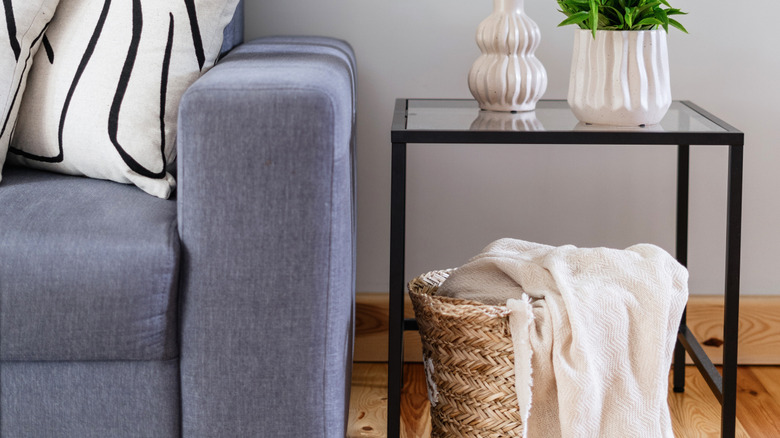
Glass furniture seems to be one of those elements within a home that never really goes out of style. You can add texture to your kitchen with a timeless glass trend in the form of cabinet doors, and you can open up a room with glass tables or even shelves. However, while the clear material offers a variety of lighting benefits, there's another perk to glass furniture. Rather than leaving a piece as is, you could use the glass insert on a glass table, for example, to create an artistic and unique design customized to your home. By adding magazine cutouts, personal photos, or even fabrics and book pages, you've got a DIY that'll turn a boring glass table into a unique piece of art.
Ideally you would want to find a table with a glass insert on top that can be removed. Thrifting one of these would be a good way to source it, or if you already own one you're on your way to making this design. If you can't find a table with a removable glass piece, even a full glass table can be turned into a mosaic, it may just take a little extra work. You'll want to collect your other supplies: the pictures, papers, cutouts, souvenirs and whatever else you want to adhere to the underside. You'll also need Mod Podge, a foam paint brush, and cleaning supplies to ensure your glass is dirt free before starting.
Upgrade your table and pick your prints
If you can DIY a greenhouse table to turn your living room into an oasis, you can turn a side table into the most stylish mosaic piece, too. Before anything else, use glass cleaner or rubbing alcohol to remove any streaks and dust/dirt. If the insert or glass is removable, take this out. Should the non-glass part of the table need any modifications — like painting, sanding, or staining — do this next, setting aside your insert while you prep the table. Allow your wood or metal or any material to dry fully. Lay your glass insert on a flat, clean surface. This is your base for the collage, so keep in mind everything you lay down will need to be facing downwards too.
If you're going for a mosaic design, use various patterns and prints from magazines or scrapbook pages, cutting smaller squares from each. If you want something more kitschy, use photos that fit your aesthetic or personal snaps combined with things like movie tickets, theater playbills, museum brochures, or anything else that you want to display. You're creating an artistic insert that represents you and your home so don't get caught up on perfection.
Cover your cut outs in glue and enjoy your new table!
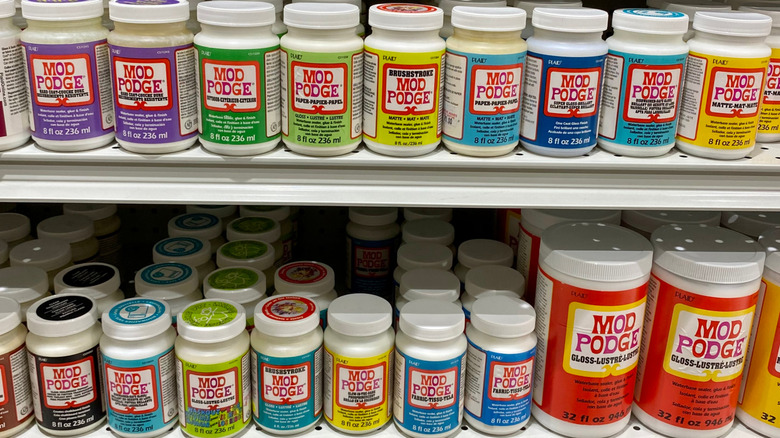
Once you're happy with the layout of your collage, it's time to start gluing. Dip your foam paint brush into the Mod Podge and cover the entire underside of the glass, then just add your pieces in a collage. Similar to decoupage, this will help keep everything attached and in place once you re-insert the glass. Add another layer of the glue over the backs of your collage to ensure everything remains stuck on. You can also secure a piece of poster or cardboard you've cut to fit the mosaic once all the cut outs are in place using more Mod Podge.
For anyone trying this project who cannot remove a glass insert or has an all glass table, it may require flipping the table upside down and slowly adding all of your pieces collage style, making sure to cut around the legs and trickier areas. You can still completely cover the underside of the glass, you just have to get creative with corners, rounded edges, and any other areas that aren't a flat square or rectangular surface. Adding the mosaic cut-outs or prints on top of an all glass table and pouring resin over is another option. You could leave a border around the edges of your coffee or side table, just tape off a few inches where you don't want to add mosaic and then remove the tape when done.