How To Make The Wood Coffee Table Of Your Dreams For Less Than 50 Dollars
We may receive a commission on purchases made from links.
Between the simplicity of building a wood coffee table and the often affordable costs involved, there aren't many excuses for settling for anything less when you need a new living room centerpiece. With wood, the material does much of the heavy lifting aesthetically, so you can take it easy on the design side with a clean, minimalist build that's sure to work within your DIY skill set. Check for lumber deals at Lowe's or Home Depot, or shop around at local lumber yards, and you may be able to pull this build off for under $50!
For a basic construction, grab some 2-by-8-inch or 2-by-6-inch boards to combine together into a table top. You can choose attractive woods, like oak, ash, or cedar, that accept stain well for optimal looks, but for budget-friendliness, standard pine boards can offer a perfectly suitable appearance. Stick with untreated lumber, as it will be lighter, easier to work with, and less expensive. For the legs, you can combine a few boards face-to-face, or use a 4-by-4-inch post. With coffee tables typically standing about 14 to 18 inches high, one 8-foot post can be just enough to handle all four legs. Plan your table dimensions, and buy the most cost-effective assortment of lumber. With your wood ready to go, you only need some wood glue, stain, and hardware to join everything.
How to assemble a simple, attractive wood coffee table
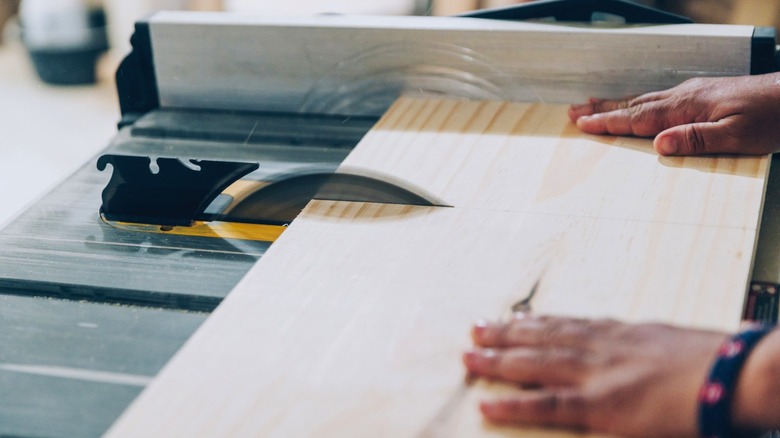
Build your tabletop by cutting your boards to equal lengths. The boards on the ends will need a shorter cut so the legs fit in nicely. For instance, if you use 2-by-4s for the top and 4-by-4 legs, the end 2-by-4s will need to be about 4 inches shorter on both ends. The legs can then take up that corner of the table top. Trim the sides of the boards with the table saw to remove any rounded edges and prevent dips in the joints. Put the boards together, playing with the orientation to get the desired grain pattern on top. If there are minor gaps, you can join the wood boards using a table saw trick, giving you a seamless surface.
Bond the boards with wood glue along the edges, and clamp them until they dry. You can also follow some key tips for perfect pocket holes to combine the boards, though this mainly only serves to clamp them together. If you want, you can also put short spanners, such as 1-by-3-inch boards, under the tabletop, using slotted holes to give the screws some wiggle room.
Use narrow boards, such as 1-by-3s, to make an apron running between the legs on all sides. Attach it to the legs with pocket screws. When attaching the tabletop to the apron, you want fasteners with a little bit of give to prevent damage from expansion. Options include cutting a slot in the apron to install z-clips or notches for figure 8 fasteners. Going an easier route, you can also install slotted brackets like these SeptCity Table Top Fasteners.
Add-ons and finishing touches for this low-cost DIY
The basic form for this wood coffee table is fully customizable in simple ways to get the looks and operation you want. For instance, you can make the table more mobile by adding swivel casters rated for the table's weight. Drill pilot holes on the underside of each leg, and screw on the wheels for easy movement around the room. For aesthetics, fill any major gaps with wood filler, and sand the entire surface. Start with a coarse-grit paper to even the surface, and finish with a fine-grit sandpaper to prep the table for staining. If you went with more budget-friendly pine, use wood conditioner first for more even stain absorption. Choose a stain to match the tone of other wood features and mesh with the colors in the room.
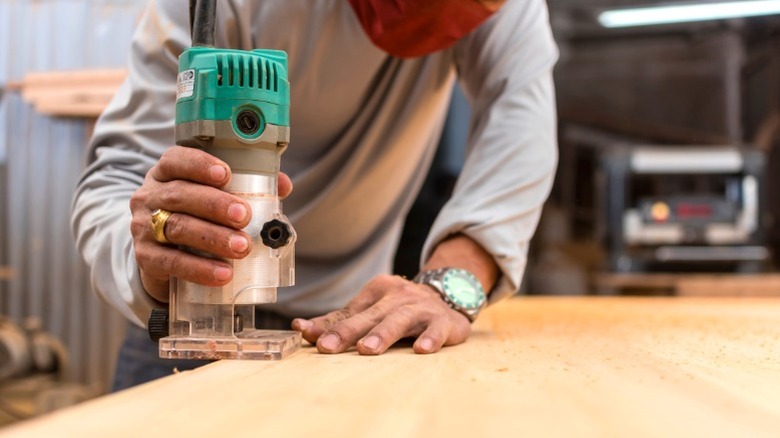
Aside from the stain you choose, small and easy woodworking details can take your DIY coffee table to the next level. A simple roundover around the completed tabletop, for example, adds a softer appeal and a more forgiving edge for anyone that bumps into it. For a bit of style, you can also taper the legs, shaving a bit off two or all sides with an angled jig on the table saw. While it will definitely add to the lumber costs, you can also add a bottom shelf for extra storage. Make a surface mirroring the table top, and use spanners between the legs to hold it up. The possibilities are endless, and with the low costs involved, you can confidently use this project to flex your woodworking muscles and create something special.