A Simple Update That Transforms Outdated Wood Walls
Wood paneling had a major moment in 70s home decor and since then the trend has been reborn in numerous ways including shiplap accent walls and beadboard wainscotting. While these modern wood panels are a great way to add texture and warmth to your space, the classic, flat, wall-to-ceiling panels from the 1970s are a touch outdated. But don't fret — there is a beautiful way to modernize dated wood paneling on a budget with just a few simple materials.
Two-toned wood paneling is an easy way to bring new life to your old walls. With just a few new panels and a little paint you can create something that's visually interesting without the need for a large renovation project. The trick here is to layer one to three new panels on top of your existing panels in the opposite direction. For example, if your walls feature vertical wood paneling, you will lay your new panels out horizontally, leaving plenty of space between each panel so that the old boards are still visible. Opting for a contrasting paint color will also help these new boards pop. So if you've grown tired of your interior wood paneling, it's time to try this simple update.
How to execute two-toned wood paneling on your walls
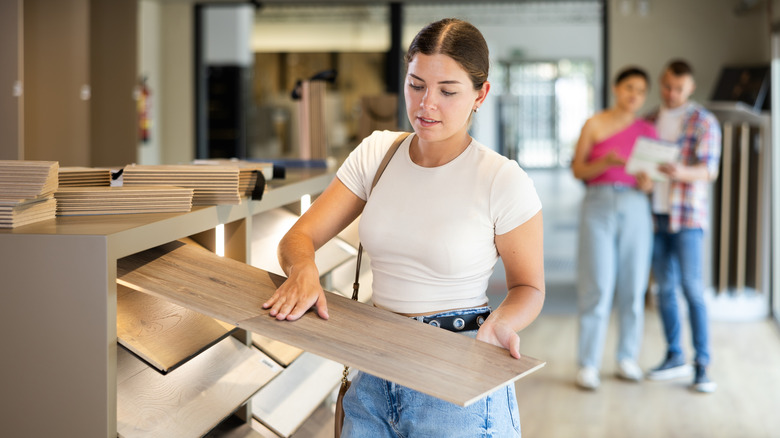
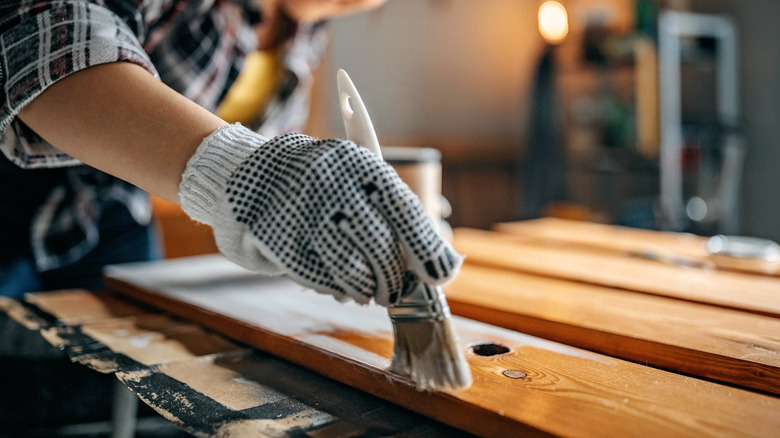
For this project you will need wood panels, paint, wood glue, and screws. It will also be helpful to use a level and a pencil to ensure your boards are installed straight. Once you've gathered your supplies, you can start painting your new boards. To complete this look, use that same paint to cover your door, window frames, and trim for a cohesive, intentional finished product.
When the boards are dry, use the pencil and level to mark where your new wood panels will go. When you're happy with the markings, attach each panel to the wall using a combination of wood glue and screws. Remember to place the boards in the opposite direction of your existing wood paneling. The spacing between each of your new panels is up to you, just make sure it's the same for each board. And now your old wood panelled walls have a brand new life.
Customizing your updated wood panel walls
If you're happy with the look, you can finish your project here. But, there are plenty of ways to customize this wood wall update to make it your own. For example, in the kitchen you can use the contrasting horizontal panels as a place marker for stunning floating shelves that are strong enough to hold kitchen supplies. To stay on theme, remember to paint the shelves in the same color as your new panels.
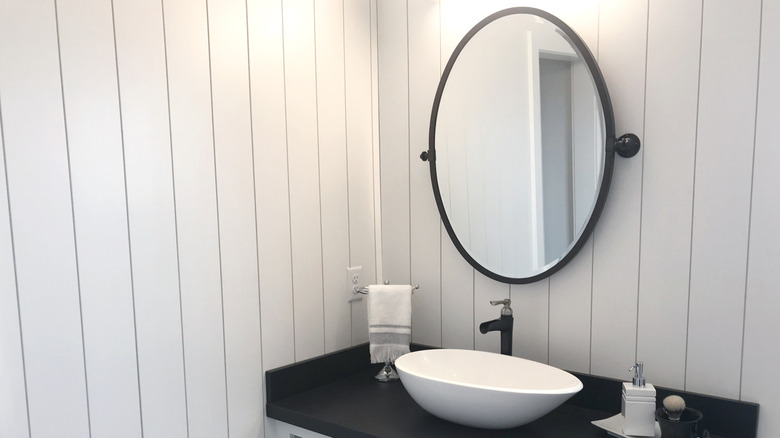
In the bathroom, you can step up the color drenching design aspect by carrying your chosen paint color to the bathroom mirror frame, shower curtain, bathmat, and vanity. Don't be afraid to choose bold colors, either. While neturals like white, black, and beige feel timeless, there's no reason you can't paint your new panels lime green if that fits your decor aesthetic. Additionally, opting for a bold color makes this wall upgrade a statement piece in your home. Finally, try installing hooks on your new panels to provide storage for things like bathroom towels, coats, and other hanging decor.