A Secure Solution For Framing Floating Walls In Shifting Soil

Floating walls might sound like something straight out of a fairytale, but when it comes to adding structural stability during the building construction process, they're more than a magician's trick. In certain areas, soils below a basement can swell significantly as a result of heavy rains or freezing ground. This often sets off a chain reaction where the ground starts to heave from beneath concrete foundations to move even the most palatial structures. Mother Nature always wins, and especially in regions with heavy clay soils, it's important to frame floating walls to create a gap for relieving pressure from your home's joists. According to Carmine Argano, Owner at Creative Design Ceramic Tile & Bath, you need a secure solution for framing floating walls in shifting soil that allows for movement to avoid structural damage, cracked tiles, and buckling wood flooring, but you'll lose some rigidity in the process.
"Floating walls are used when there's a real chance the concrete slab might move," Argano said during his exclusive interview with House Digest. "That happens in places with expansive soil, earthquake zones, frost heave, things like that," he explained. According to the Long Island-based general contractor, even a small amount of slab lift creates enough pressure against a rigid wall frame to cause extensive damage. "The floating wall system is built specifically to handle that," he explained, adding that the typical approach is to leave a 3 inch gap between the base of your wall frame and the bottom of the framed wall itself. "That way, if the slab shifts upward, that bottom piece can slide a little on the nails and not push everything above it."
Floating walls are necessary in certain areas to avoid structural damage
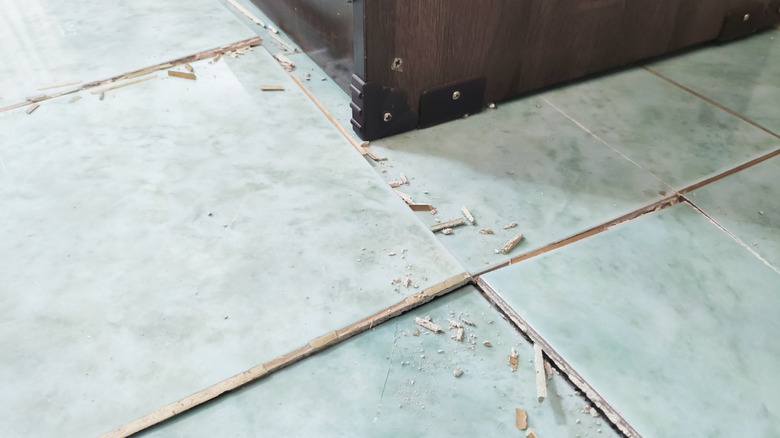
"This isn't about preferences. It's about what's necessary based on the conditions of the site and what the building code requires," Argano told House Digest during his exclusive interview. The building expert said floating walls are typically found in basements. "If you build a rigid wall right on the slab and the ground shifts, the whole load transfers through the studs into the floor system above," Argano explained. "Places like Colorado, Utah, California, any region with unstable or shifting ground, that's where this method makes sense," he added. "If that wall pushes up from below because of concrete movement and there's no space between the plates, those joists are going to get forced up," Argano said. "That's how you end up with buckled floors or broken tile."
Framing out your basement DIY-style is possible, but according to Argano, you'll want to check your local building codes before you get started. "Not everywhere needs it, but if you're in an area with movement in the ground, you should absolutely build your walls like this," he explained. Fortunately, the process of framing a floating wall is relatively simple. According to Argano, it only takes a few hours. "But," he added, "that little bit of time up front can stop a whole lot of expensive problems down the line."
Argano did caution that floating walls simply aren't as strong. "It's not as sturdy as a wall that's fully secured to the foundation," he said. "It's just not locked in the same way. That's the trade-off," he explained. "You're building in movement tolerance, but you lose some rigidity."
How to build a floating wall
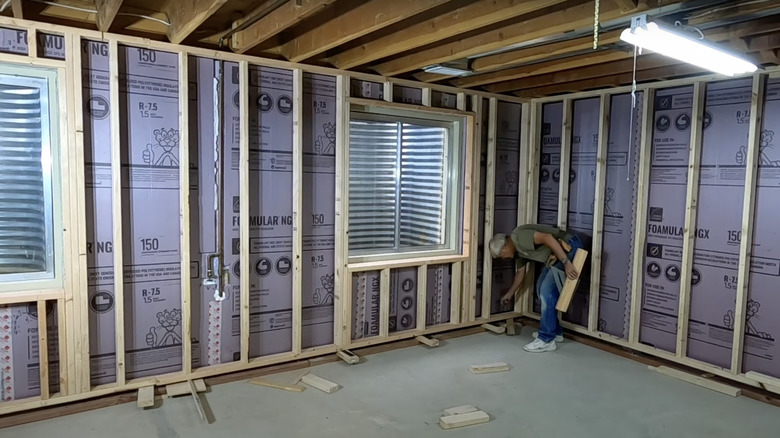
According to Argano, once you've decided to build a floating wall, the next step is to reach for pressure-treated wood for your project. "That's important because it's going to be in contact with the concrete slab," he explained during his exclusive House Digest interview. Start by using a framing square to make sure you build square to an existing wall. "Secure that pressure-treated wood to the concrete floor," Argano advised, adding that you should use concrete anchors. After checking with your local building authority and making sure your bottom plate is level, begin framing.
Argano suggested using 2 inch by 4 inch blocks cut to match the building code clearance. "These are temporary blocks ... just to hold your spacing," he said. Next, the building expert said you should take another 2 inch by 4 inch beam that measures the same length as your pressure-treated bottom plate and put it on top of the blocks. "That's your floating plate," Argano explained. You'll then drill pilot holes before using 6 inch nails to secure the floating plate into the pressure-treated plate.
After removing the blocks, it's time to install a top plate. According to Argano, you should "draw a plumb line up to the ceiling joists — do this on both the left and the right side." Secure another 2 inch by 4 inch beam into place after lining it up with a chalk line. "Make sure it's perfectly plumb with the bottom plates on both sides," he emphasized. Finally, fill in the vertical studs by fitting additional 2 inch by 4 inch boards snugly between the top and bottom plates.