The Wallpaper Cutting Hack That Gives You The Ideal Fixture Cutouts Every Time
We may receive a commission on purchases made from links.
Because of its many advantages, wallpaper is one of the best alternatives to paint when decorating or covering a wall. Available in diverse styles, colors, textures, and materials, choosing the right wallpaper for your space is easy. If applied properly, good-quality wallpaper can last over a decade and withstand fading and peeling for many years, making it more resilient than paint. Applying wallpaper is a straightforward process, needing a bit of preparation and patience to complete. One of the tricky aspects of wallpapering is cutting around fixtures or in tight areas, but with this hack you can wallpaper your home like a professional. To cleanly wallpaper around fixtures, simply cut an X over the surface, peel back the papering, and remove any excess.
Not all fixtures come in regular shapes like a square or rectangle, and some may be placed at the wall's edge or corner, where there may not be much space to cut the wallpaper. If improperly cut or applied, an air pocket can occur, causing bubbles underneath, or worse, the wallpaper to tear. For a neat, clean-looking finish, it is essential to precisely cut wallpaper around outlets, light switches, and other fixtures.
Cutouts for the fixtures should be done before completely gluing the wallpaper to guarantee that the paper fits correctly, avoiding unattractive bumps and gaps. It is important to note that unlike other techniques, this hack does not require removing the cover plate on outlets. Also, before starting the hack, the wallpaper must already be partially attached to the wall, but the section immediately around the fixture should be unattached.
A simpler way for wallpaper cutouts
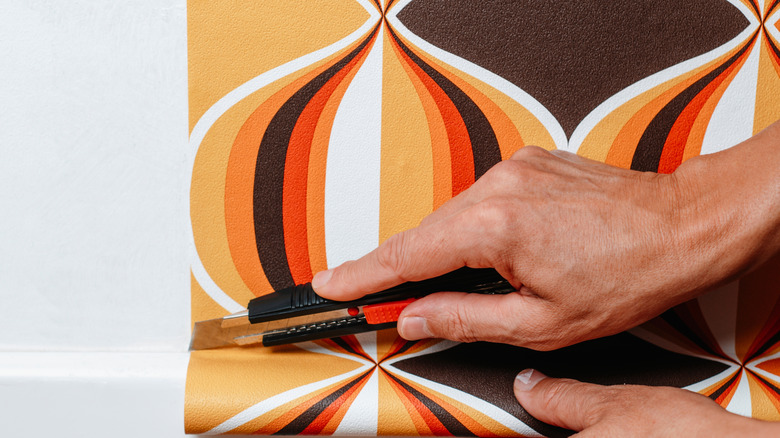
For materials, the hack requires only two basic tools: a utility knife, like TIFICAL Retractable Box Cutter, and a scraper similar to this LifHap Plastic Putty Knife. To begin cutting, stick or place the wallpaper over the fixture and lightly press on the outline of the fixture to feel the edges of the plate. Once the shape and outline of the fixture are determined, make an X-shaped cut over the center of the fixture using the knife, but don't cut too deeply as this can damage the fixture underneath.
Next, gently press on the wallpaper surrounding the fixture to adhere it to the wall and to allow the fixture to pop out of the X-shaped cut. Use the scraper as a guide for the knife and cut the excess wallpaper from all sides of the fixture. Lastly, run the scraper across the unglued portions of the wallpaper to firmly press it in place and ensure no bubbles have formed underneath.
This simple hack will also work for irregularly shaped fixtures. You can adjust the cut and remove the wallpaper based on the given outline. When using wallpaper, it must be properly installed and trimmed to fit both the curvature of the wall and avoid covering or damaging any fixtures. Professional installation is expensive, and by knowing the process, hacks, and tools for wallpaper installation, one can save time and money and ensure a great-looking DIY.