5 Simple Tips For Wallpapering Your Home Like A Professional
Wallpaper is a great way to add personality and style to a room. The pattern and color options are plenty, offering classic styles for traditionalists, avant-garde artwork for more eccentric souls, and nearly endless customizable options. If applied correctly, wallpaper can last for 15 years, which is three times as long as paint, according to 1838 Wallcoverings.
Applying it correctly, though, can be a bit of an overwhelming task. There are plenty of professional wallpapering services, but they can be pricey. Wallpaper installation can cost anywhere from $25 to $80 an hour or $25 to $35 per roll (via Home Advisor). That doesn't even include the price of the wallpaper, which can cost as little as $0.80 per square foot to as much as $4.50 or more. Wallpapering doesn't have to be an arduous DIY, though. With a little bit of prep work, patience, and knowledge, you can apply wallpaper at home just like the professionals.
1. Prepare your walls
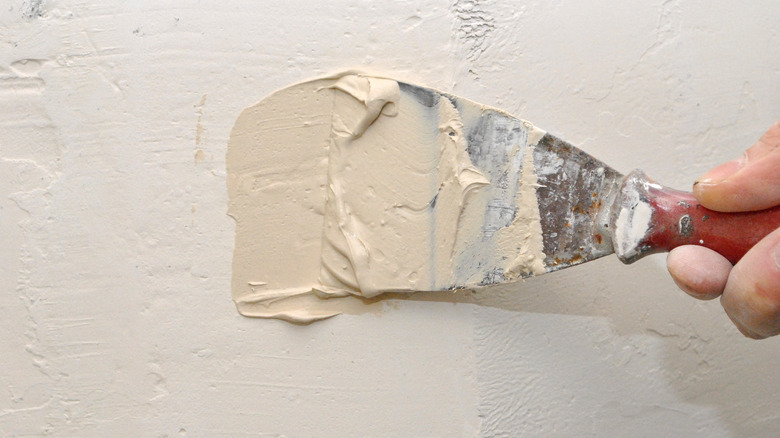
Wallpaper is a lot more forgiving than paint when it comes to revealing flaws on your walls. However, while a visible flaw in a paint job may look streaky or uneven, it's relatively easy and cheap to fix. On the other hand, wallpaper is a little more finicky to apply and remove, and if you don't properly prepare your walls, you may be stuck looking at trapped dirt bumps for the next 15 years.
To prepare your walls for wallpaper, first, begin by assessing them for any damage. Melanie Lissack Interiors says to begin by removing any nails or screws and filling in the left behind holes with spackle. Once the spackle is dry, sand it down to blend it in with the wall. Also, check for any areas with serious damage, including moisture, and treat them accordingly. Finally, use a mixture of warm water and mild soap to clean your walls thoroughly, letting them dry before beginning the wallpapering process.
2. Measure your walls
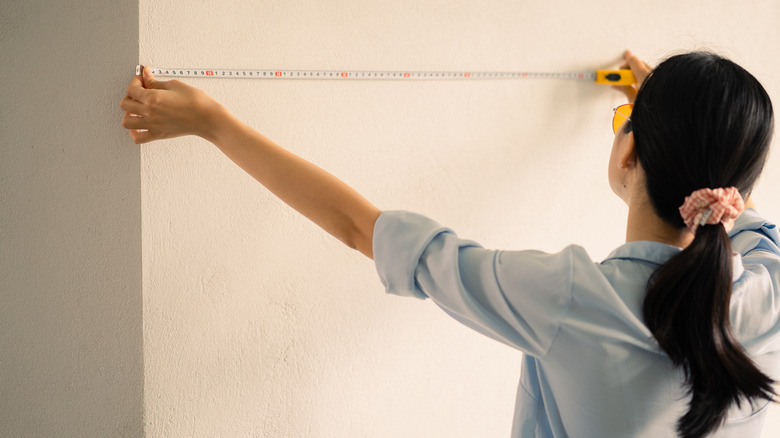
Before you order your wallpaper, you need to know how much to get. Generally, buying more and having leftovers is better than buying less and running out. However, wallpaper can be expensive, and you don't want to overbuy it.
There are plenty of wallpaper calculators online that can aid your purchase, but you have to know what measurements to take first. Steve's Blinds & Wallpaper says to first measure the width of every wall you plan to wallpaper and add them together for a combined width. Next, do the same with the height of each wall, which will be your combined height. Don't worry about outlets, doors, or windows, as you can factor in the excess for any mistakes. Then, multiply the combined width and height for the total square footage.
Most rolls of wallpaper are 20.5 inches wide by 16.5 feet long, combining for a total of 28 square feet. The following numbers are based on this, so adjust accordingly. If you have a patterned wallpaper, you also need to take the pattern repeat effect, or where the seams will line up, into consideration. For an 18-inch pattern repeat, divide your total square footage by 23. If it's 19 inches, divide by 20. If it doesn't repeat, divide by 28. Whatever number you get equals how many rolls you should buy.
3. Mark your walls
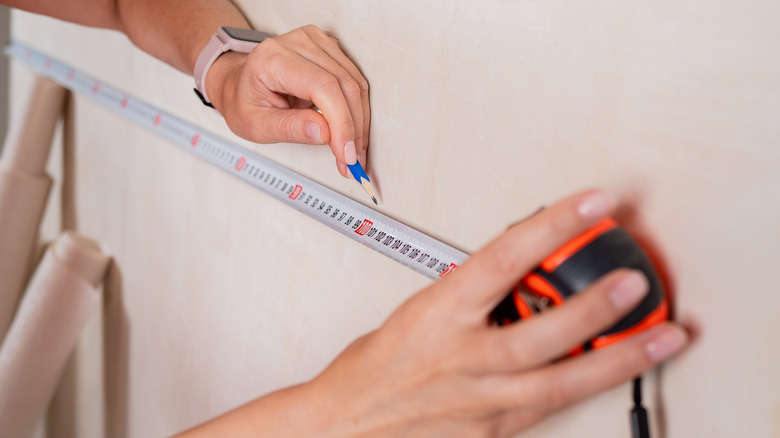
One of the trickiest parts about installing wallpaper is making sure the paper hangs straight. As Melanie Lissack Interiors warns, using your molding, door frames, or other architectural features is a bad idea, as they can be crooked and offset your entire wallpaper. Instead, you need to mark a straight reference line on your wall.
You can use a plumb bob or level to determine where the line should go and then physically mark the wall with a vertical line. Make sure you mark it wide enough that it will be seen as you apply your first strip but close enough that you can accurately line it up. Each subsequent edge of wallpaper will help act as a straight edge to line the new strip up on. You should make this mark in a discreet, somewhat hidden area of the room you're wallpapering, as well as one without doors, outlets, etc., as you'll be able to hide any potential early-on mistakes a little easier.
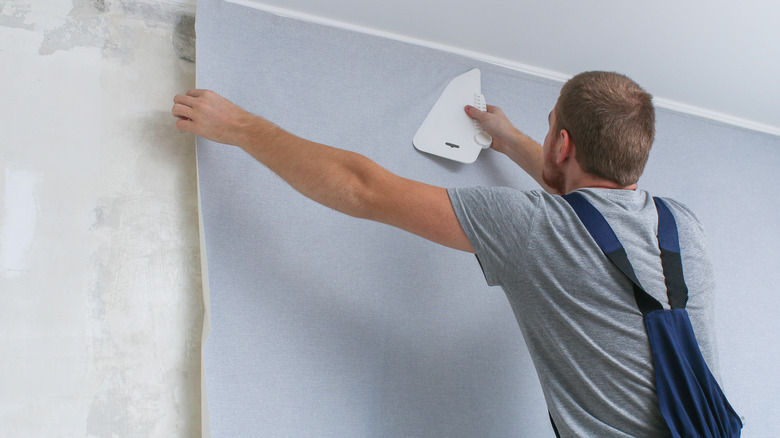
4. Applying your first strips
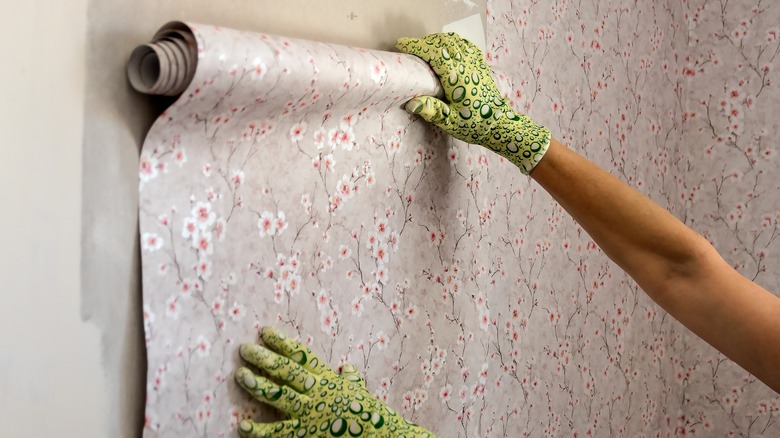
Now that everything is prepared and you have your line, it's time to start the hardest part — applying the first strips of wallpaper. This is the most anxiety-inducing part of the process, so take it slow and steady. Most wallpaper is applied with a separate wallpaper adhesive paste, so gather that, as well as a paste brush, very sharp scissors, an exacto knife, a putty knife, and your tape measure, per Chrissy Marie Blog. Also, set aside a large flat surface to lay out your wallpaper.
When cutting your first piece of wallpaper, make sure to add some room for excess — about 4 inches total. For a straighter cut, consider using a Cricut tool or metal straight edge line tool. While you're supposed to apply the paste to the paper and wall, it is easier and much less messy to just apply it to the wall, but try it both ways to see what feels right. Start from the top of the wall and firmly line up the top of the paper to the top of the wall, making sure it falls straight next to your plumb line. Leave a little excess at the top, and use your putty knife to firmly push down on the wallpaper, which will create a clean, sharp crease where the paper meets the wall. Use the putty knife to push down the center of the paper, occasionally lifting up and smoothing out wrinkles along the edge.
5. Finishing touches
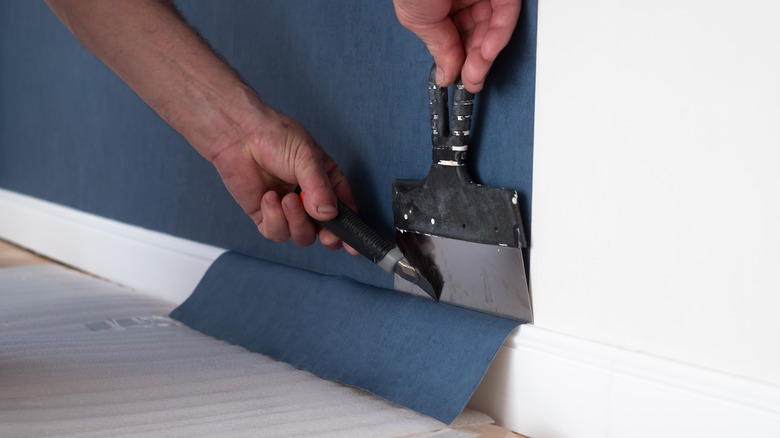
After applying your first strip, use a wet rag to wipe up any excess paste. Now it's time to cut away the excess wallpaper. Grab your putty knife, and push it against the creases you made at the top and bottom. Next, grab your exacto knife, and cut along the seam. This is how you'll remove the excess around windows, door frames, and outlets, too (via Chrissy Marie Blogs).
If you have a simple pattern, simply repeat this throughout your room, going slowly and taking your time. Most mistakes are easily corrected if you work slowly, as the paste remains wet for a little bit. If you get an unsightly crease or wrinkle, simply lift it up and smooth it back down. If you have a pattern that needs to line up, though, you'll need to be a lot more meticulous. When cutting your next strip, line it up to the first, making sure the pattern perfectly lines up. You'll need to go very slow to ensure there's no overlap, warns Melanie Lissack Interiors.
For sockets, outlets, and light switches, line the wallpaper up horizontally as clean as you can, using your putty knife to create sharp lines. Then, use your exacto knife to cut a small hole in the wallpaper, which will allow it to rip cleanly, and you continue pasting the paper. Don't forget to push in with your putty knife for clean vertical lines, too. Cut away the excess.