Give Your Entryway Mat A DIY Scalloped Edge Detail
We may receive a commission on purchases made from links.
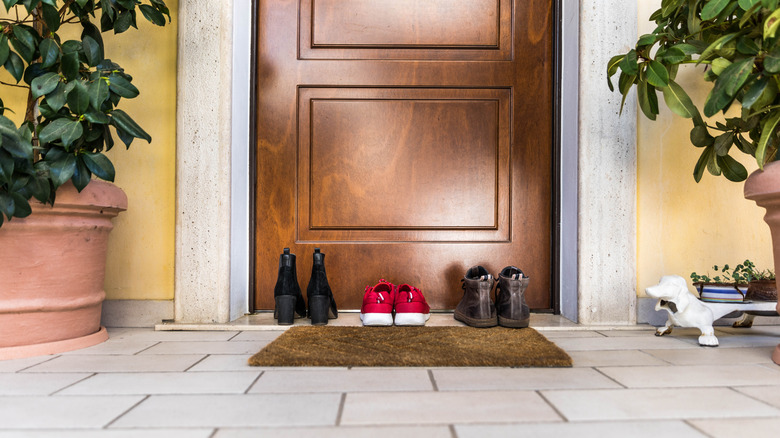
Your entryway mat is the very first thing that guests see when they come to your house. So why settle for a boring mat when you could give it a little bit of personality with a simple DIY? With just a round sponge and some paint, DIY a beautiful scalloped edge detail all around your entryway mat to give it instant curb appeal. It's an easy and budget-friendly DIY that will make your doormat look like it was bought at a fancy boutique. And let's be honest, doormats are a must-have that can add flair to your home.
The idea is to cut the round sponge into half-circles and dip it in some paint. Then, stamp the sponge around the edges of the mat and seal it in place before placing it outside. It can be a great way to bring bright colors into your entryway, which is a 2025 trend that helps make an impact the moment you walk in.
You can do this hack on a single doormat or two of them for a double entryway. Depending on the size of the door, buy one or two mats, like the Kankun coco coir door mats. These are great for outdoor use and they're a simple brown color that's easy to paint over. Then, get a round sponge like this Evriholder foam body sponge, or buy round painting sponges from the craft store. Choose a paint color that matches your home, and buy some Flex Seal clear spray to use as a sealant. Other tools you'll need are a bread knife, a paintbrush, and if you're using two mats, some heavy-duty tape.
How to paint a scalloped edge detail onto your doormat
Start by cutting the round sponge with a bread knife in the center to create two half-circle sponges. This is the stamp that you'll use to create the scalloped edge detail. Fill a paper plate with your chosen paint and dip the sponge into it before stamping it along the edge of the mat. If you're only using one mat, repeat this step to cover all four sides. If you plan to use two mats to create a double-entryway, only create the pattern on three sides, like in the video. In that case, flip the mats around once dry and attach them together using duct tape.
Go in with the paintbrush to fill in any gaps, and let it dry. Then, seal the paint so that the mat can survive outdoors. To do this, spray an even layer of the Flex Seal spray all around the mat and let it dry before placing it outside (this spray is from the same brand as the famous as-seen-on-tv waterproof flex tape).
You can customize this DIY by alternating paint colors. To do this, use the second half of the sponge to stamp on a different color. In addition, you can use the paintbrush to create small details, like dots, flowers, or small stars across the center of the mat. You can even write a welcome message in the center, or add your street number.