The Kitchen Staple That Can Give You Stylish Faux Marbled Pots
Ready for another steaming pot of coffee, you remove the basket from your coffee maker and prepare to dump its contents into the compost bin. Pause before pouring them out, though, because here's one of the most unexpected uses for leftover coffee grounds: Mixing them into air dry clay, which leaves you with an appealing marble look. Use these simple items to then roll out and smooth together a faux marbled pot for a deserving houseplant.
Air dry clay projects are like wading into the shallow end of clay art. No kiln, wheel, or basic skills are necessary to knead and roll this stuff into shape, and it's versatile enough to become nearly anything you want. Forming coffee-streaked air dry clay into a plant pot requires little working time, and you're left with a stunning piece that's also useful and perfect for coffeephiles.
Jump into this DIY home decor idea by purchasing a package of air dry clay. Both Crayola Air Dry Clay and DAS Air-Hardening Modeling Clay are highly rated and affordable on Amazon. Set aside about ½ cup of used coffee grounds, a table knife, a rolling pin, a ruler, a tape measure, a spray bottle filled with water, and a container to use as a mold for your pot. If you have a craft mat, grab that, too. Otherwise, a flexible plastic cutting mat will work as protection for your counter. Air dry clay isn't waterproof, so also have some polyurethane on hand if you plan on using it as a vase or for a real plant.
Working and wielding the clay
The amount of clay you'll need depends on the size of the container you're using as a mold. Basically, you'll be estimating the amount you'll need to make a ¼-inch thick piece that encircles the container, as well as a circular base rolled to the same thickness. You can always adjust the height of your pot if you find you're running short. Err on the side of caution, though, and knead up more than you think you'll need. Use any leftover clay to make a saucer for your pot or a separate small trinket dish.
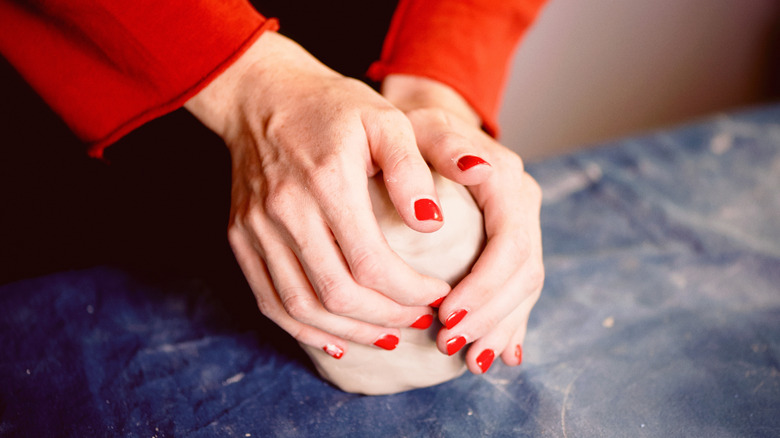
Portion out the clay (plus a little extra), form it into a thick square, and cut it into slices. Separate the pieces, and sprinkle a generous coating of coffee grounds on the widest face of each slice. Stack the slices, and then begin kneading. Not only will this distribute the coffee grounds, it will also condition the clay, making it less likely to crack when it's dry. Work the ball of clay for about 3 minutes before rolling it into a piece about ¼ inch thick (This is a good thickness for proper drying and a durable final product.) Place the ruler along the borders of the clay piece, and trim away the uneven edges. Measure the circumference of your mold, and measure and mark that length onto the clay. Cut out the shape, and carefully lift the clay off the cutting mat by peeling the flexible plastic away from the clay. A spatula or two could come in handy if needed to separate and lift the clay from the mat.
Piecing together the pot
Stand your mold container on its base, line up the bottom width edge of the clay piece with the base, and smooth the clay around the container. Give the leftover clay a spritz with the water bottle (air dry clay dries quickly!), and roll it into another ¼-inch-thick sheet. Place the clay-covered container on top of the sheet, and trace around the base with the table knife. Lift the container off the sheet, and trim away all excess clay. If your pot will house a plant or fresh flowers, make a drainage hole in the center of the clay circle base. If you have enough extra clay, make a drainage saucer for your pot. To do so, roll out a circle that's larger than the base's circle, and place it to dry on top of an upturned plate; this will give the saucer its shape.
Gently press together the clay from the base and from the height, smoothing away any seams. Spray the area with water if necessary. Let the clay dry with the container in place overnight or for as long as recommended on your clay's packaging. The clay will shrink slightly as it dries, but still use lots of caution when you slide the container from the dried clay. As is, it's ready to hold a bouquet of dried or faux flowers. After a few coats of polyurethane on all surfaces of the pot and saucer, introduce your new marbled pot to a plant. Any plant will turn the ensemble into a statement piece for your home.