Use Branches From Your Yard To DIY The Cutest Little Photo Frames

We may receive a commission on purchases made from links.
Take a walk through your front yard right after a windstorm, or on any ordinary fall day, for that matter, and you're bound to run into more than a few downed twigs and branches. At first glance, they may seem like a nuisance, but if you give them a second look with a crafter's eye, you'll see that you have the makings for some cute little DIY photo frames. To make them, you'll need a few more supplies, but if you've found a dozen or so halfway decent-looking twigs, your DIY is off to a good start.
To make these quick and easy DIY frames, you'll gather the twigs first. The size of twigs will be dependent on how big your printed photos are. If you plan on making photos that are 8 inches by 10 inches or larger, choose thicker twigs to balance out the look. That said, what makes this such a fun project is that it looks just as great with smaller photos, like 2-inch by 3-inch or 4-inch by 6-inch photos, as it does for larger prints. If you want to create the perfect gallery wall that features photos in twig frames of myriad sizes, be sure to gather your branches accordingly.
You'll also need pruning shears to trim branches along with a spool of twine, some scissors, and a pencil. The project calls for a tape measure, and a glue gun makes it easy to attach any embellishments you want to use. Finally, finish off the project with a little varnish that you apply to the twig frames with a sponge brush.
How to make the DIY twig frame
There are many stylish ways to add personality to your home with family photos, but this one creates a rustically inspired frame from the twigs you collect. If you have access to pretty twigs, like pine or birch, choose those for your frames. Start by printing the photos to get an idea of how long the twigs need to be. To create one frame, you need eight twigs with similar thicknesses. Essentially, you'll make two frames for each photo, which you'll tie together with twine so that they line up, and then you'll sandwich the photo between both frames.
Trim the twigs so that they're slightly longer than the photo. For example, if you have a 4-inch by 6-inch photo, cut four twigs so that they're about 6.5 inches long and four more that are 4.5 inches long. A coat of varnish seals the twigs in their final form and adds a subtle touch of polish to the finished product. Align the twigs to make the frame, and tie each corner together using twine. Repeat with the second frame. Then, place the photo between the two frames, and tie the front and back frames together with more twine. Add a loop of twine to the back of the frame to hang it up.
You can also use something other than twigs to make the frame, like half-used pencils or paint brushes with paint splattered on the handles to create an artsy display. Bamboo dowels would also work as a substitute for the branches. You can also swap out the twine — you might substitute leather craft cord in place of the twine, for example.
Taking the DIY frame to the next level
These frames are pretty as is, but there is also something to be said for gussying up the frames a bit more. For that, you'll need some accessories that match the style of the frame or the subject of the photo. You can start with something like Crafter's Square wooden mini mushrooms from the Dollar Tree, which you can fasten onto the corners of the frames with hot glue. Or try attaching some of the Dollar Tree's Crafter's Square wooden mini leaves or butterflies to the frames instead.
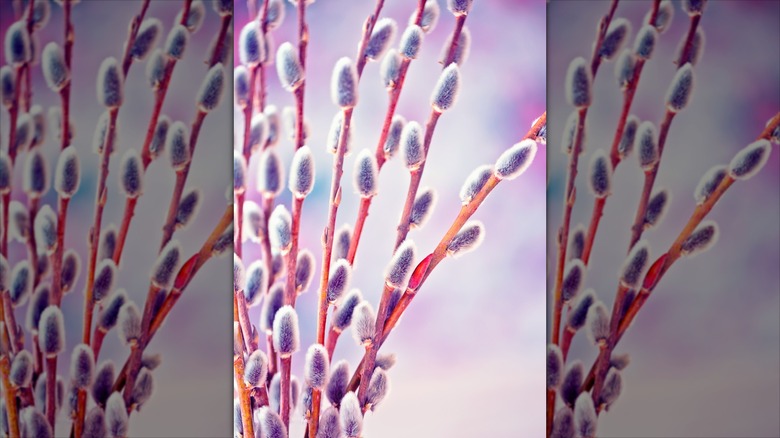
Another cute way to enhance the frames is to decorate them with a few pussy willow branches. If you're caring for pussy willows in your yard, take the branches from your own tree. A slight variation is to use Glicrili mini cattails. This would be cute on photos that feature wildlife like ducks in a pond. If you use pine branches for your photo frames, consider decorating those frames with small pine cones to reinforce the theme and to add texture to the mix.
When choosing embellishments, consider the size of the frame. You might want to try these latter embellishments on slightly larger frames, particularly if you arrange the pussy willows or mini cattails so that they cross the front of the photos slightly. The bigger frames give you enough room to do this. For smaller frames, look for mini embellishments that match the scale to avoid overpowering the photo.