DIY The Trending Flower Table To Elevate Any Room
We may receive a commission on purchases made from links.
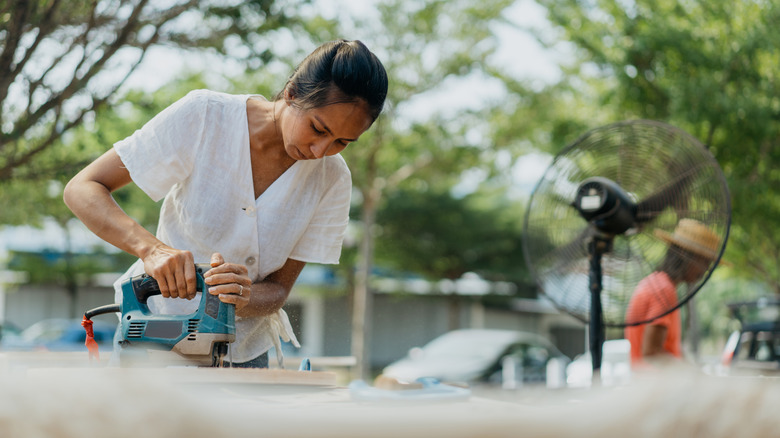
Side tables are often underrated in terms of both decorative impact and functionality. They can give homeowners the perfect place to put small items, such as coasters, TV remotes, and potted plants. They can also boost the visual aesthetics and color variance of the room they're in. Sometimes, they will even function as unique, eye-catching decor pieces by themselves. This is definitely the case for a stunning flower-shaped table that user @genevavanderzeil on Instagram put together herself with plywood, paint, and a bottle of wood glue. The finished DIY table takes the form of an elegant-looking tulip, complete with small leaves and colorful petals. It makes the room that Geneva puts it in look more relaxing, charming, and chic.
To build a flower table like this for your home, you'll need a couple of special tools. A jigsaw for cutting the wood is an absolute must, because you'll need to do a handful of precise, angular cuts. If you don't already have one at home, then a BOSCH JS260 Top-Handle Jig Saw could be a worthy addition to your power tool collection. You'll also need a chisel for cutting notches in the middle of the table's leg pieces, and an orbital sander for preparing the wood. Since the table has a tulip design, you can use just about any pastel paint color you like for the petals. Once you complete this project, you'll definitely want to read up on how to decorate your side tables and elevate your living room aesthetic.
How to build a flower table for your living space
First, you need to create a paper template for cutting the table's two intersecting base pieces. These pieces will meet in the middle at a perpendicular angle from one another. To make the template, you only need to draw one half of a tulip with a single leaf coming up from the base and a petal that angles outwards from the stem. Once you've cut out the shape, pencil its outline onto your plywood. Then, flip over the paper so it's facing the other way, and aligned with the outline that's already on the wood. Trace the shape again, but in reverse. Then, cut along the outsides of the flower you drew with your jigsaw. Once the first base piece is done, make an identical one.
Next, you need to cut a slot into the top of one base piece and a slot into the bottom of the other so that the two pieces fit together. The slots should be about an inch wide and reach the exact center of each piece. To cut the flat inside edge of the wood pieces you're removing to make the slots, use a chisel. Sand down the flowers with your orbital sander and then prime and paint them. Once they're dry, fit them together to make the table's flower-shaped base. Finally, cut out a round table top from your timber. Prime it, paint it, and adhere it to the top of your tulip with wood glue.
Ways to customize your new flower table
Switching up the color of your table's tulip is just one of the ways you can alter the furnishing to make it better suit to your space. Another option is to paint or stencil more details onto the leaves and petals. This should give the furnishing a bit more visual depth and make it more ornate. If you'd like to upgrade the stability of your project, try putting together the two base pieces with wood glue rather than just slotting them together. Make sure to wipe up any excess adhesive before it dries or you might end up having to touch up the paint. Another option is to give the table a circular base so that it will be less likely to tip over. Wood glue should also be sufficient here for attaching the extra piece. You could paint the new base brown so that it looks like a flower pot for your tulip. That way, the furnishing will match the rest of your biophilic interior decor.
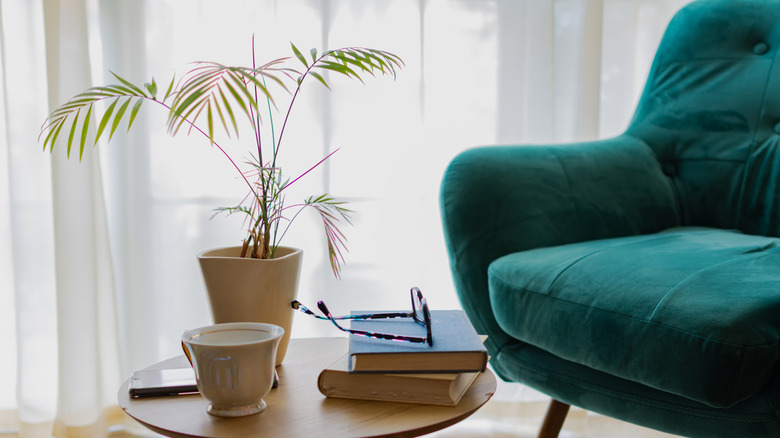
Looking for ways to style your table? A small table lamp is a great place to start. Candles and candle holders on a decorative tray can also look nice. A freestanding art piece or a framed photo might be a good choice if you'd like your table to become more of a focal point. No matter what you put you on your table, always leave some negative space and watch out for basic end-table decor mistakes.