DIY An Arched Medicine Cabinet For Softer Lines In Your Bathroom
Most bathrooms still include medicine cabinets that feel out of place and don't sit right with the overall aesthetics. Many of them stick out too far, offer limited storage, or follow the same dated, boxy design that clashes with modern updates. It just adds to the visual stiffness of a room, lacks style, and may be somewhat out of place, and the newer models available today aren't always better.
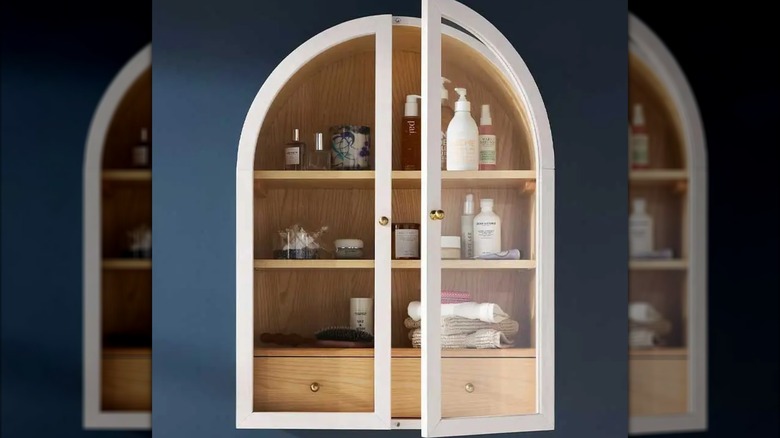
Switching to a DIY arched medicine cabinet introduces a simple fix. The curve softens the wall, adds a decorative feature, and helps the cabinet feel more built-in rather than stuck on. The design breaks up the monotony of hard lines and works well in both modern and classic bathrooms.
Making your own cabinet means you get to pick the size, materials, and finish that actually work for your space. Most store-bought cabinets have limits when it comes to style and storage. With a DIY version, you can plan smart storage for bandages, thermometers, and all the other must-haves for your bathroom's medicine cabinet.
How to plan and build your DIY arched medicine cabinet
The first step is to figure out where you want the cabinet to go. A built-in cabinet blends into the wall and can help save space, but it takes more effort. You'll need to cut between the walls carefully and avoid wiring or plumbing. A surface-mounted cabinet is easier to install and offers more flexibility with depth and design. Either way, use a stud finder and tape measure to choose the right spot.
Once you've settled on the location, build a basic rectangular carcass using birch plywood or poplar. For a professional finish, try using 3/4-inch birch ply for the cabinet body and white oak veneered ply for interior surfaces to contrast with painted exteriors. Sketch the arch using a cardboard template or a circle jig for precision. Cut out support braces, and use them to form the arch shape for the interior structure. Then bend a kerf-cut white oak ply (make sure the cuts are close enough that the ply bends) over that frame to create the interior arch.
Assemble the cabinet box and dry-fit all components before final installation. For the back, use a veneered oak ply, and slide it into pre-cut grooves. This ensures a polished interior behind glass doors. If you're adding a door, you can mount a mirror onto a framed panel and install it with concealed or piano hinges. To give your medicine cabinet a little modern upgrade, try adding colorful tiles of glass, stone, ceramic, or even porcelain.
Finishing and styling your arched medicine cabinet
Once your cabinet is assembled, smooth all surfaces and fill any holes or seams with wood filler. Use a primer made for high-moisture areas like bathrooms. Then choose either a satin or a semi-gloss paint for better durability and easy cleaning. If you prefer a natural wood finish, apply a pre-stain conditioner before staining, and follow up with a waterproof sealer like polyurethane.
Your mirror door can become a focal point. A clean arch with no visible handle gives a modern look, while a small knob or pull in brass or matte black adds character. Consider using soft-close hinges for a smoother experience. Magnetic latches are also an option if you want a cleaner exterior. Add small upgrades that make a difference. Think of interior lighting or patterned shelf liner for a decorative backing.
You can also skip a traditional medicine cabinet altogether by repurposing something unexpected. Ditch the dated medicine cabinet by turning an old breadbox into a stylish DIY piece. With an arched makeover and wall mounting, it becomes a one-of-a-kind feature that works just as well as a standard cabinet.