How To Propagate A Calandiva Plant
There's nothing more rewarding than propagating new plants from ones you already have in your collection. While some species are easy to reproduce, others can be a bit more difficult. It really comes down to knowing what type of plant you're dealing with and the best method for success depending on this. If you're fairly new to propagating, you'll find you can have positive results with succulent plants such as 'Calandiva' (Kalanchoe blossfeldiana 'Calandiva').
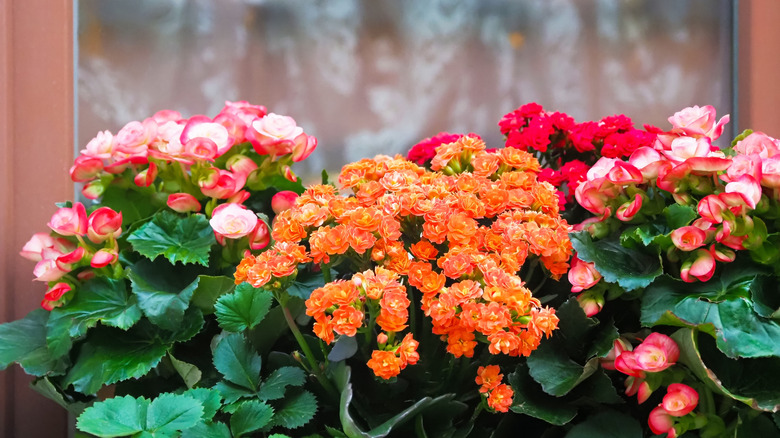
This stunning flowering plant is one of the most colorful succulents that will thrive indoors, with numerous varieties available in a range of gorgeous, floral colors, such as yellow, pink, red, white, orange, and purple. Just keep in mind that you might want to avoid growing this flowering succulent in your home or garden if you own pets because it's toxic to animals. However, if you have one or more of these in your home, you can easily add to your collection by propagating new plants. All you have to do is follow some basic steps for a favorable outcome.
'Calandiva' can be propagated quite successfully using short stem sections that haven't produced any flowers. These tip cuttings should be around 2 to 3 inches long and have two or more sets of leaves. Always remember to sterilize your cutting tools before you start any type of propagation. Cut your stem sections just below a set of leaves, and then use your pruning shears to remove all the lower leaves on the stem, leaving just a pair of leaves at the tip of the cutting.
Steps for success when propagating 'Calandiva'

Unlike traditional propagation methods for non-succulent plants, these fleshy species require one extra step to ensure good rooting. Once you've taken your cuttings and removed the lower leaves, place them on a clean sheet of paper and leave them in a dry spot for several days. This allows the cuttings to form a callus and negates the need to use rooting hormone. The callus itself is enough to initiate root development and also helps to stop the cutting from rotting when placed in the propagation medium.
While you're waiting for your cuttings to form that much-needed callus, you can prepare your pots and propagation medium. You can use any small, clean, and sterilized pots you have at home, but make sure you use a sterile, soilless mix, such as coco coir and perlite mixed in equal parts. Or you can just use a commercially available cactus mix.
Once your cuttings have produced a nice callus on the ends of the stem, you can put them into the mix. It's a good idea to make a hole with a pencil or dibber before inserting the stems into the moist media. Place your cuttings in a warm, bright spot out of direct sunlight, and keep the mix moist until roots have formed. This should take no more than 21 days, after which your new 'Calandiva' plants can be repotted. While you're caring for your succulents, you might want to understand why your 'Calandiva' plant leaves are yellowing and what you can do about it.