Get More Kitchen Storage Instantly With A DIY Magnetic Shelf For Fridge

We may receive a commission on purchases made from links.
Have you ever noticed that the spot that's supposed to help you keep your kitchen organized — your junk drawer — gets overrun with the very things that are supposed to help you stay organized? Wouldn't it be helpful if your fridge had a little magnetic shelf where you could stash the small items you need for your kitchen flow? Aside from things like pens, plastic tape, and Post-It Notes, this project would be a spot for coupons, recipes, and notes for the family. Thankfully, this DIY magnetic shelf wouldn't be complicated to build. In fact, this DIY is way on budget because it's made from items you'd normally throw away.
Let's start with an empty cereal box. It provides the basic shape for the DIY. It'll need some modifications to create a key feature of the shelf, a handy little pocket, but even the materials for that come from the box itself. If you have another leftover box from a delivery, you can use it for this DIY, though you may have to modify the construction a bit. To create the fridge shelf, you'll additionally need a ruler, scissors, some E6000 glue, duct tape, sticky notes, and a pencil or pen. Clamps and a bowl are also necessary.
Once you're done with the basic build of the box, you'll spice up your kitchen fridge by making the DIY more aesthetically pleasing. Taking it from a cereal box to a fridge shelf is as simple as applying Crafter's Square contact paper to the box's surface. Magnetic tape like this magnetic strip from Jianwen will be needed to keep the box secure to the fridge.
Constructing the DIY fridge shelf
Deconstructing and then reconstructing the cereal box into the shelf is the first order of business for this DIY. The box'll be cut down to about one-third is original size. You'll be left with the bottom third of the box. The divider pocket also comes from the cereal box, so don't throw the remainder of the box away until you've cut the piece for the divider out. This divider piece will be inserted crossways inside the trimmed box and glued to the bottom of the fridge shelf.
Once the basic build is done, use a layer of contact paper to hide the original cereal box, and three strips of magnetic tape to keep the box stuck on the fridge. If you want to use up some leftover wallpaper, you can do that here: Just swap out the contact paper. Attaching some sticky notes to the front of the box is a great way for you to write notes to yourself, info about a recipe, or drop announcements to your family. The sticky notes are also a smart way to help you organize your fridge if you clean out your leftovers every week. On one (or more) of the sticky notes, you can write down the food you've put into the fridge and the date that it went in. If you do this at the same time that you label the food, you'll cut down on the amount of time it takes you to get rid of your leftovers.
Leveling up the DIY
If the purpose of the fridge shelf is to help keep you organized in the kitchen, you'll want to do what you can to make it even better. One of the first steps you can take is to glue a few wooden clothespins to the front or the sides of the box. If you keep an old-fashioned recipe card box, having something to clip the recipe cards onto is handy during food prep, and since the magnetic strips make the box movable, you can reposition it to a place on the fridge that's closer to where you're cooking. This allows you to see the recipe card better and then move the shelf back to its original spot when you're done.
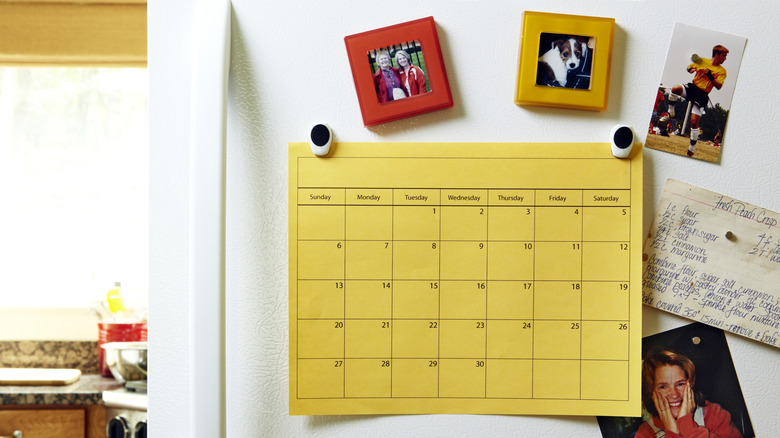
An at-a-glance mini calendar is also an item that you might want on this shelf. Instead of putting sticky notes on the front, glue this mini flip calendar from Riobat onto the front of the box (provided there's enough room on the shelf). If your kitchen is where homework is done and family activities are planned, a calendar is a convenient item to have nearby.
Another item that might be useful is a thin Crafter's Square corkboard sheet from Dollar Tree, particularly if you repurpose a thicker box (like an Amazon delivery box) for this project. You can keep a small container of thumb tacks in the shelf's pocket. This allows you to easily tack notes and recipe cards onto the front of the unit when you need to and gives you a place to return the tacks to once you're done with them.