Make Your Children An Adorable Mud Kitchen From Wood Pallets
If you aren't already familiar with mud kitchens, they are children's play kitchens that are designed to be used outdoors. They give kids a sturdy, weather-resistant workspace to make mud pies and other nature-based culinary creations. While the concept of mud kitchens is a simple one, finding one for less than $100 is considerably more difficult. And if you want a decent name-brand mud kitchen or something custom-made, you could be looking at a few hundred dollars to over $1,000. Of course, making your own mud kitchen is a great way to save money. It can be time-consuming and complicated, though, especially if you aren't an experienced builder. Fortunately, there is a way to make your own mud kitchen without the fuss. If you can get your hands on a couple of wooden pallets, you can make one in just a few steps including cutting them down, attaching the pieces together, and adding plywood countertops and sides.
All you need for this project are two wooden pallets, a piece of plywood, a nail gun, a circular saw, a jigsaw (optional), a bowl, and sandpaper. Of course, since this will be kept outdoors, you will want to coat it with some weather-resistant paint or sealant as well. This wood pallet DIY idea that will upgrade your backyard is not only easy and affordable, but it's fully customizable, too. You can work in any features you want as you complete the mud kitchen. There are also plenty of add-ons you can fashion when you're finished. Alternatively, check out the IKEA build that creates the perfect play station.
How to DIY a mud kitchen from wooden pallets
For this idea, use your circular saw to cut one of your wooden pallets in half, following the direction of the slats. Then, cut two boards off of your other pallet, and stand it up vertically. Use a nail gun to fasten one of the half pallets to its bottom half. Next, use the nail gun to attach the other half of the pallet to the front of the first half with the boards facing out. At this point, you should have what looks like the frame of a small hutch. Now, measure the hutch's counter, two sides, and top shelf and cut plywood to cover them. Nail the plywood pieces to the frame, and then sand and stain or paint your mud kitchen.
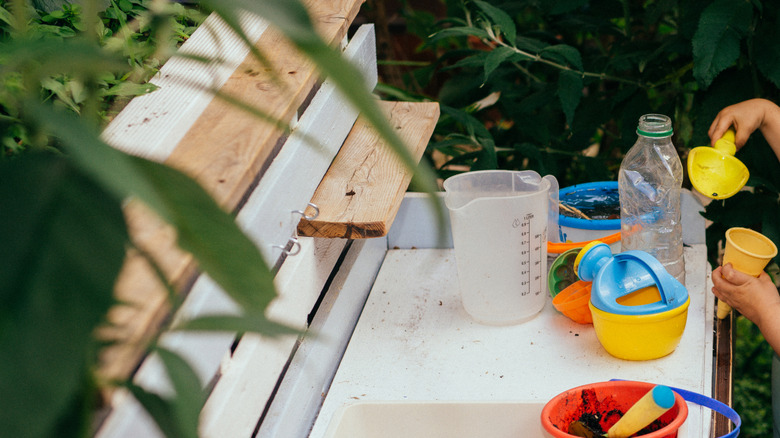
This project is great as-is, but if you want to add a metal bowl for a sink, be sure to space the plywood halves far enough to accommodate the bowl and nail some lumber pieces between them during the construction process. Then, trace a circle that will fit the bowl's rim and use a jigsaw to cut out the hole. You can then superglue the bowl into the slot.
To customize your child's new DIY mud kitchen, use whatever color weather-resistant paint you want. You can also create wall stencil art on the sides. Painting on burners and knobs would be a fun idea, too. If you attach metal hooks to the rear pallet, you will have a place for hanging dishes and other accessories.