Tips On Adding Wall Stencil Art
Those who are artistic may be looking for a fun home project to let those creative juices out. You may want to hang up a painting, design a feature wall, or knit a new blanket. There are endless ways to incorporate art into your home that can elevate the design and make your home more cheerful. If you're someone who is a beginner artist — don't worry — we're ready to provide you with some tips for your artistic journey.
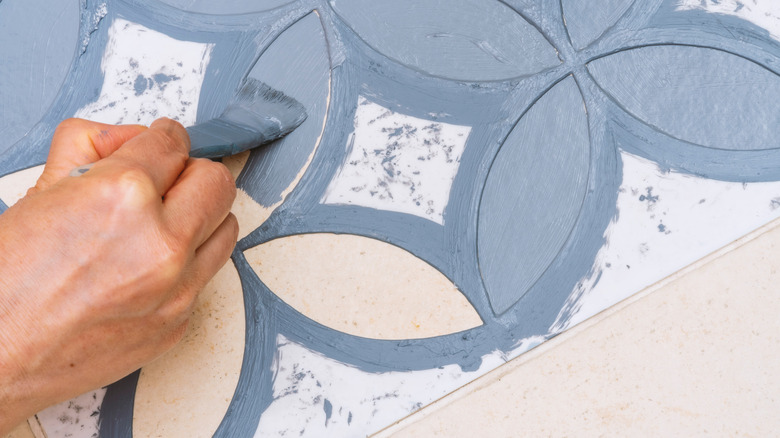
Stencil art is a fun and simple way to paint a pattern somewhere in your home to get that creative edge. This method is done by using a patterned template of your choice and coloring through the holes of the template to create a design with whatever colors you desire, according to Britannica. For those of you who would like to avoid using wallpaper and wall decals, this method could be a fun option for you, according to Oak Lane Studio. The following are tips on how to successfully complete your stencil art project.
Using proper tools
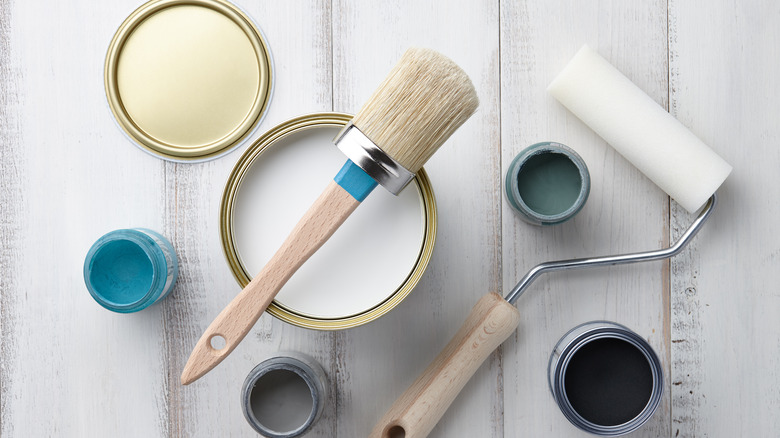
Cutting Edge Stencils says that in order to properly complete your stencil art project, you must have the proper tools. They name a list of items, such as stencil paint, base coat paint, low tack painters tape, a stencil brush, dense foam roller, paint tray, and paper towels. Before using any of these tools, you must prepare the surface you're going to paint on; the wall needs to be clean and dusted, and cracks need to be properly dealt with.
Prepping the wall
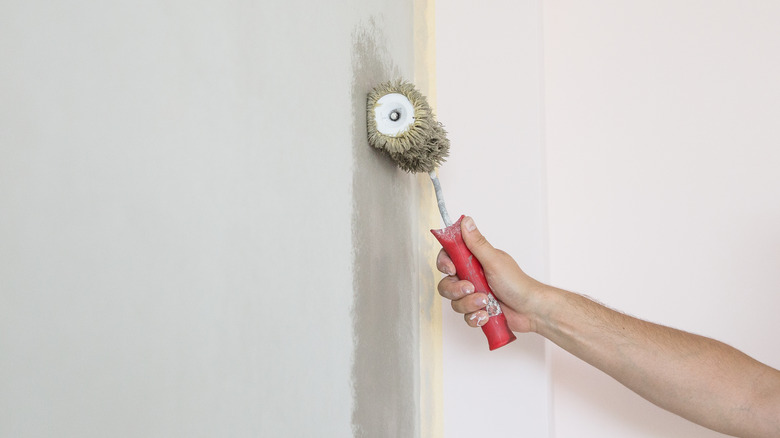
Stencil Revolution says a well-prepped and clean wall is crucial to being successful. To wipe away any grime, use a cleaning solution of 1 cup water and 1 cup vinegar. After that, you'll then want to paint down a base coat and let it dry for 24 hours, according to Cutting Edge Stencils. It's advised to use a flat sheen base coat paint to avoid any paint leakage.
Before you start painting
Before painting, it's important to secure your stencil in place, according to Stencil Revolution. Spraying the wall with adhesive will help ensure your stencil won't move out of place and helps to prevent your paint from bleeding. You'll then have to lightly wet a paper towel to get rid of any lingering adhesive, although some may stick, but it most likely will not affect your artwork. You'll then have to use your tape to stick all sides and corners of the stencils to ensure an easier stenciling experience.
Stenciling techniques

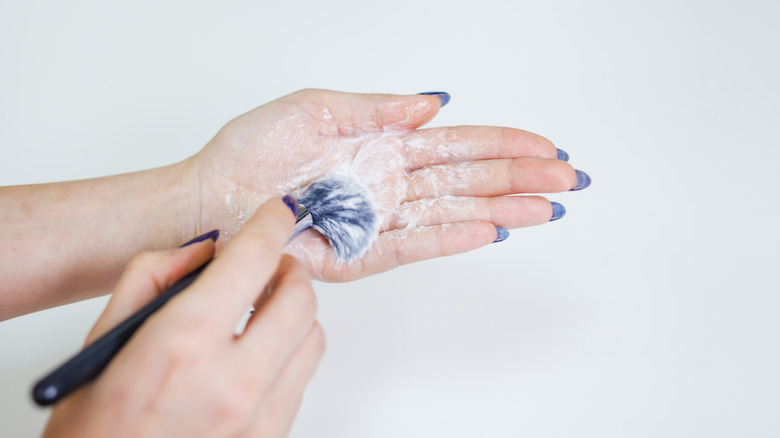
You can either paint with a stenciling brush, or a dense foam roller, according to Cutting Edge Stencils. The foam roller is a quicker method, but you have to ensure the paint is evenly distributed and not over-saturated, as it can create a blotchy design. The brush is similar as it shouldn't be over-saturated either and should be used with a soft swirl method. When stenciling into corners or onto moldings, be sure to shape the stencil, so it fits into the creases. If you see any mistakes once you finish, Stencil Revolution says to use a brush and base color to make it disappear.
Tidy up
Once complete, Cutting Edge Stencils says to quickly clean up your paint brushes or foam rollers to ensure the quality doesn't diminish. If your stencil is brand new, you most likely won't have to clean it up immediately; it typically needs cleaning after it's used about 15 times. If you need to clean it, lay it down on a smooth surface and spray it with water a few times before washing the paint off with dish soap. Once clean, your stencil should be put away by placing it between two pieces of paper and storing it flat.