Transform Plastic Straws Into Gorgeous Lavender Flower Decor
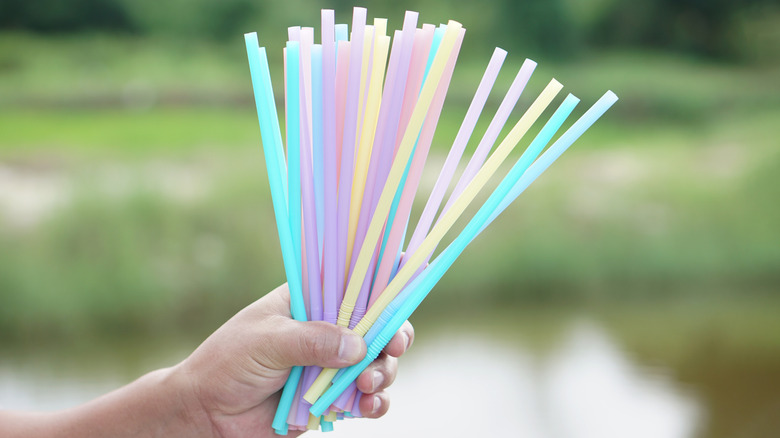
We'll always prefer fresh to fake, but there is something nice about plastic flowers. They don't plague us with allergens or crumble apart after too short a time. There are plenty of tricks that make artificial flowers look real, but there's definitely something to be said for ones made from unexpected materials. Take plastic drinking straws: These rightfully maligned single-use objects have a terrible habit of blowing into the environment and staying there. But if you end up with a few for whatever reason (even die-hard environmentalists do occasionally), you can transform them to make gorgeous everlasting sprigs of lavender. The straws' color doesn't even matter, since multi surface craft paint exists.
Snip, twist, and tape up your own bouquet of faux lavender décor with both purple and green straws, a pair of scissors, floral wire, floral tape, and very narrow double-sided tape (no wider than ½ inch). If you opt for standard plastic straws in these colors, you can soothe your eco conscience by knowing that they won't be single-use in this case. However, there are compostable straws in pleasing pastels like these KTOB Biodegradable Plant-Based PLA Straws. To make do with a stash of straws you've saved from the landfill, top your finished product with FolkArt Multi-Surface Paint in Lavender and Classic Green. You can also get away without buying any extra materials. Reuse long wire ties that go around vegetables like lettuce or kale instead of buying floral wire, and substitute floral tape for clear tape.
Crafting your plastic lavender
If artificial is the best lavender plant variety for your home's climate, this project is for you. Starting with a purple or lavender straw, flatten it a bit by running it along the edge of a scissor blade like you would to curl gift wrap ribbon. Along one of the straw's bent edges, make tiny cuts about ⅔ to ¾ across the straw's width from one end of the straw to the other. Since you don't want to cut the sections so small that you accidentally snip one off, consider making thicker cuts that you later divide into smaller ones.
Cut a piece of floral wire about 12 inches long. Press a strip of double-sided tape along the length of the straw, and place one end of the straw at the tip of the floral wire; place it at a downward angle, sticky side toward the wire and cut edge down. Wrap the straw around the wire in a spiral until it's fully coiled around the wire.
Flatten a green straw with a scissor blade edge, and cut it open along its width. Snip it in half lengthwise, and trim one end of each half into a curved point like you'd see on a leaf. Give it a bit more curve by running both leaves along a scissor blade. Adhere the two leaves with floral tape about 2 inches below where the flower ends. Wrap the remaining exposed stem with floral tape, and bend the flower end of the wire slightly. Make as many more as you want, and bundle them into a vase for display.
Make repurposed blooms
Grab that hoard of used plastic straws that you can't bear to throw away along with several repurposed wire ties, clear tape, a fine-tipped paint brush, and the paints mentioned above. For each flower, you'll need four straws and two long wire ties. Straighten two wires, remove any tags attached to them, and twist them together into one thicker wire.
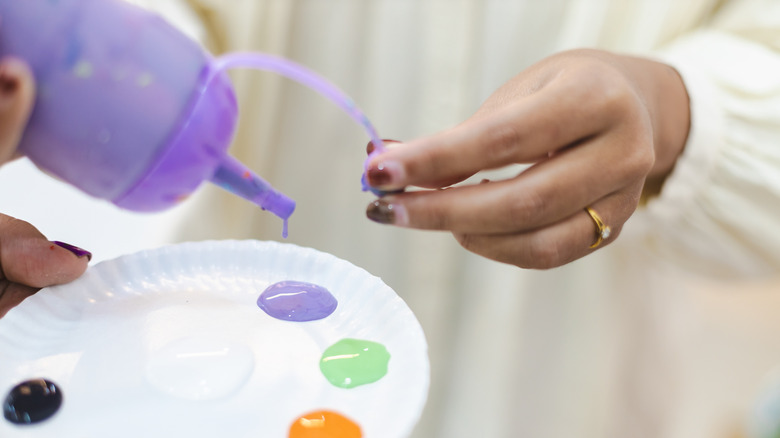
Using three of the straws, follow the instructions you'd use for colorful straw flowers. You can clean one of the straws with the appropriate tools for reusable straws, but you'll be cutting two of them open, making the inside easy to clean. Coil and tape what will be the flower around the twist ties, and use clear tape to affix the leaves to the stem. Instead of wrapping the stem in floral tape, you'll use another straw in the same way you'd use straws to keep cables organized. Pick up a hand-held pencil sharpener and essentially "sharpen" the straw as you would a pencil. The sharpener blade will cut the straw into a handy spiral.
Coil the straw spiral around the wire stem. If the coil sits awkwardly around the two leaves, you can snip the coil into a couple of pieces and/or trim an area away from a section of the coil to accommodate the leaves. Carefully paint the flower purple, working the fine-tipped paint brush into the flower's loops. Set the stem in a glass to let the flower dry without damaging the paint job. Once the flower's dry, repeat the process by painting the stem and leaves green and letting it dry with the flower-end down in the glass.