Removable Window Tint: Why It's Worth It (& How To Install)
We may receive a commission on purchases made from links.
If you've been hearing more and more about removable window tint, you might be wondering whether it is worth the time and investment. Before we get into whether or not you should add it to your home's windows, however, let's take a step back to review just what removable window tint is. As the name implies, it is designed to provide you with a temporary (removable) way to add tinting to the windows in your home. It is sold as large rolls of thin film (made from either vinyl or polyester), allowing you to cut pieces that are the right size and shape for the specific windows in your home. Because you're not buying pre-cut pieces with custom-sizing, these rolls of window film are relatively affordable.
However, while removable window tint might sound like a good solution, is it worth it? When it comes to choosing the right window film, you'll experience a number of pros with this option, such as added privacy and keeping out light and heat. Tinted films are also generally easy to install. They don't require the use of any adhesives, but rather feature a static cling design that sticks to the window all on its own. Because of this, they are also easy to remove if you are moving out of the home or desire a new look.
Why you should consider removable window tint for your home

Now that you have a general understanding of what removable window tint is, there are a few reasons you might decide that it is worth trying for your home. Beyond being a relatively simple and affordable project, adding removable window tint can provide you with several benefits. The darker tint will help reduce the amount of light and heat entering your home. This can cut back on the amount of work your air conditioner will need to do, potentially lowering your utility bills. Window film doesn't only offer cooling benefits in the summer, though. During the winter months, it can also help with heat retention by reflecting the heat back into a room instead of letting it escape through the window.
If you've been looking for tricks to add privacy to bathroom windows or those for other rooms in your home, you'd also be wise to consider window tinting film. During the day, it will be difficult for neighbors and other passersby to see into your home. However, after sunset, you will still need to supplement with curtains, shades, or other window coverings to ensure adequate privacy.
As mentioned above, window tints are also removable. Renters who are unable to make any real changes to the home can use them without fear of damaging the windows. Then, when it is time to move out, peeling the film off the window will only take a few minutes.
How to install and remove window tint
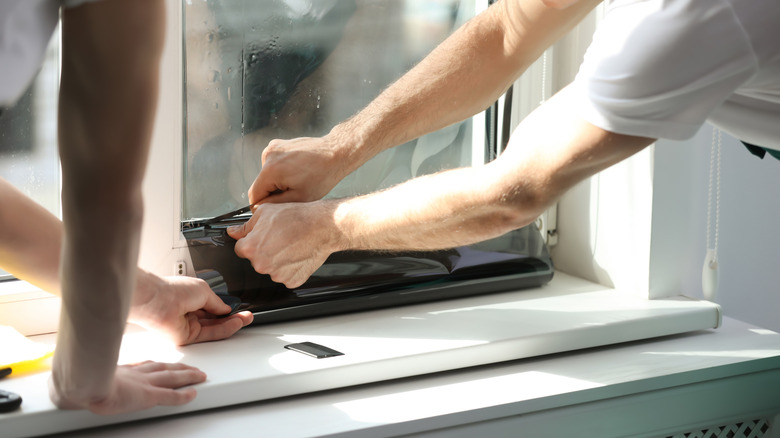
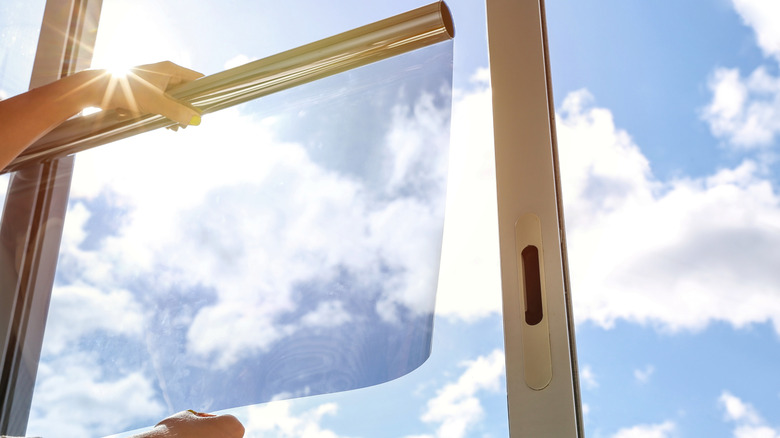
The next step is learning how to install removable window tint. Fortunately, this is a project that is well-suited for DIYers. The first thing you'll need to do is to order a window film, like the Gila privacy control window film. To make sure you get enough — and don't inadvertently order significantly more than you'll need — begin by taking measurements of your windows to determine the total square footage. Add 10 to 15% to this total to make sure you have enough extra to account for cutting mishaps or when adding privacy film to odd-shaped windows.
Once the roll(s) of film are delivered, give your windows a deep-cleaning to help ensure the film adheres properly. Stay away from ammonia- or vinegar-based cleaners, which could harm the material of the film. Each manufacturer should provide specific instructions for their product. Start by cutting the film to the size of each window, dampening the surface, and carefully lining up the film at the top of the window before moving your way towards the bottom. Then, you'll need to use a squeegee, such as one from the HTVRONT window film kit, to carefully remove the bubbles, secure the corners, and trim off any excess material.
If you decide you want to remove the window film, the process is also relatively straightforward. You will need to apply some heat to the surface, using something like a hair dryer or a steam cleaner, to loosen the cling of the film. Then, you should be able to carefully peel off the film before scraping off or removing any adhesive residue that is left behind.