Can You DIY A Pea Gravel And Concrete Mixture? Here's What We Found
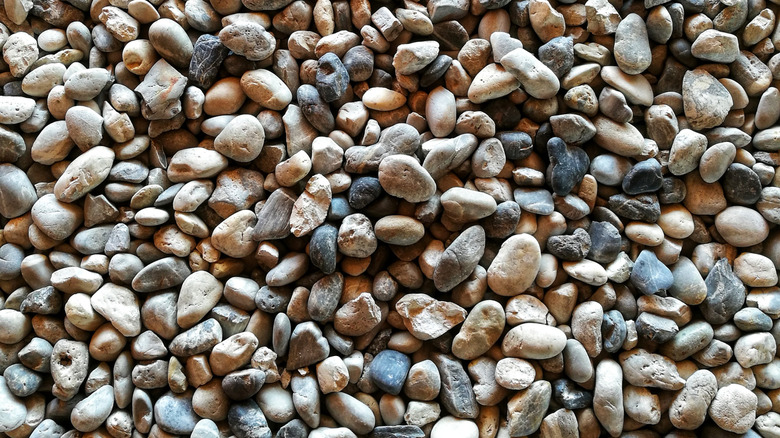
Mixing pea gravel with concrete is not only possible, it's actually beneficial for certain projects, as long as you do it correctly. Pea gravel consists of smooth, rounded stones that are typically smaller than a half-inch in size. These stones help improve drainage and reduce cracking in finished concrete. However, this mix isn't perfect for every project. Structural projects like foundations or load-bearing walls require the strength of a more traditional mix, like crushed stone. However, if you're just trying to add a little style to your yard, a pea gravel concrete patio is a great first step.
The main reason you would want pea gravel in your mix is its decorative and lightweight properties. Patios, garden paths, and stepping stones all look amazing when created with this mixture. The rounded edges of the pea gravel also make it easier on bare feet compared to other, sharper aggregates. On the downside, though, the overall strength is lower than regular mixes and needs a precise ratio. Too much pea gravel will weaken the concrete, and too little negates any aesthetic advantages. This mixture will require 24 to 48 hours before it's ready for foot traffic and up to 28 days before it's fully cured.
The right way to blend pea gravel into concrete

Making the perfect pea gravel concrete mix will require some preparation. First, you'll want to pick the perfect pea gravel color for your landscape, and then make sure you give it a good wash. Let your gravel soak for thirty minutes and rinse until the water runs clear. Dirt, debris, and clay can weaken the concrete bond if left on the gravel. Start by combining dry ingredients first: Mix one part Portland cement, two parts sand, and four parts pre-washed gravel in a wheelbarrow or mixer. Slowly add water to the entire mixture, using the minimum amount to reach the proper thickness you need. Overwatering your mix will compromise the overall strength of your mix.
Keep mixing for at least five minutes to ensure proper distribution, then test the consistency. The ideal mix should hold its shape when squeezed, but crumble when poked. When pouring, work fast as the mixture will begin to stiffen quickly. Use a vibrating plate compactor or a hand tamper to help eliminate air pockets, as the rounded stones won't settle the same as sharp, angular aggregates. Finally, finish the surface with a concrete float rather than a steel trowel to avoid yanking any stones up and out of the mixture. Allow this to sit for at least 48 hours of curing under a plastic sheet, misting it if the edges look dry.
Common mistakes and how to avoid them

There are several things that could go wrong when making a DIY concrete mix, and some could leave you in serious pain. The most important thing is always to wear protective gear when mixing and pouring concrete, as wet cement that comes into contact with your skin could cause serious reactions. Unwashed gravel is one of the more frequent mistakes, as dust and dirt will prevent the cement from bonding correctly. Another mistake is using incorrect ratios. Using too much pea gravel will quickly destroy the structural integrity of your work, and you might see edges crumble with any sort of light pressure. Over-troweling is another possible mistake. This could draw too many stones to the top of the surface, creating weak spots and inconsistent textures.
You'll also need to consider draining when installing a pea gravel concrete mixture. Using a compacted base of crushed stone beneath the pour can help prevent shifting, and using mesh reinforcement can compensate for the mixture's lack of strength. A less common mistake, but still one to note, is temperature sensitivities. You never want to mix concrete in temperatures below fifty degrees Fahrenheit. The reduced water content makes it more susceptible to freezing during the curing process. Maintenance will differ a bit from standard concrete as well. Be sure to use exposed aggregate-appropriate sealers to protect your work from moisture, salt, and other chemical issues. If you're a pressure washer fan, use a lower setting so as not to pop out any stones, and to protect the sealant on top.