The DIY Solution That Will Declutter The Bikes In Your Garage
We may receive a commission on purchases made from links.
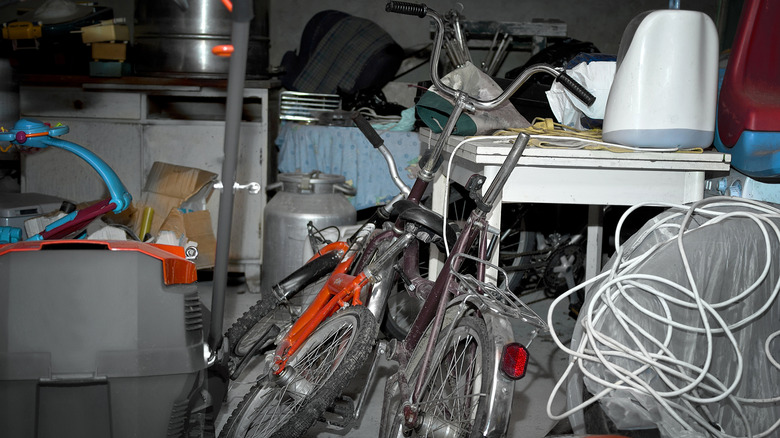
If your garage floor looks like a pileup at the end of a Tour de France stage, you're not alone. Whenever they're not being used, cumbersome bikes can always feel like they're in the way, but this DIY project might be the reset button you need. This mobile wooden rack neatly stores a family's worth of bikes while letting you reclaim precious space in your garage and finally park your car inside without running a bike gauntlet. It's especially handy for households with multiple kids' bikes, scooters, and trikes. The final product is about the size of a bookshelf, outfitted with locking caster wheels so you can roll it out of the way when needed.
Of course, you could always hang your bikes from the ceiling or purchase a pre-made option like the Simple Houseware 5 Bike Floor Parking Rack. But for the DIY-inclined, this build offers a satisfying blend of utility and style, and is relatively easy for beginners to complete. To build this rolling bike rack, you'll need a stack of 2-by-4 boards, exterior wood screws, a drill or impact driver, and a saw. Consider a compound miter saw like the Metabo HPT 10-Inch Compound Miter Saw for clean and fast cuts. For mobility, opt for ASRINIEY Industrial Casters, which include locks to keep the rack steady once in place. You may also want to consider some basic hooks to hang helmets, backpacks, or elbow pads.
A DIY rolling bike rack clears up garage chaos
Your design may vary based on your household's needs, but start by cutting your 2-by-4s into the following pieces: four long boards for the top and bottom frames and several shorter boards to serve as bike slots and internal support. Assemble the first rectangular frame by screwing the shorter boards perpendicular between two long ones, spacing them slightly wider than your bike tires. Repeat this again to create a slightly larger rectangle. Next, lean the larger rectangle up and connect them at a 90-degree angle. To stabilize the frame, cut and attach diagonal support braces on each side. These triangular reinforcements will prevent the rack from wobbling when it's fully loaded.
Once the structure is secure, attach your caster wheels to the corners of the base. Locking wheels are essential if your garage floor has a slope. For durability and aesthetics, consider sealing the wood with an outdoor-rated stain and polyurethane combo. For a finishing touch, you can add hooks for additional storage, personalize the rack with a vinyl decal, or paint it to match your garage setup. With a few modifications, this same pattern can also be used as a DIY lumber rack to organize a cluttered garage, bringing you another step closer to a garage that makes sense for your needs.