The Affordable DIY That Turns Any Dollar Tree Flag Into Outdoor Decor
We may receive a commission on purchases made from links.
An outdoor space should feel like a visual extension of your interior. Instead of leaving your garden decor as an afterthought, introduce some fun and playful accessories that represent you and your family. Not only will this make your backyard look more appealing to you, but it's a great way to accent the entertaining essentials that are a must for your outdoor space.
Garden ornaments enhance your outdoor space and allow you to express your own personality. However, they can often come with a big price tag, especially if they are custom built. If you have the crafting materials already, you can make your own garden sign for just $1.25 with a flag from Dollar Tree. Even if you have to purchase the materials, this DIY should cost less than $25. You're going to need eight large paint stir sticks, 12 wooden craft sticks, Mod Podge or similar adhesive, and a Dollar Tree flag of your choice.
How to make this outdoor DIY sign

Begin by laying eight large paint stir sticks next to each other to create the frame for your sign. Next, glue approximately 12 craft sticks (or as many as you need) horizontally across one side of the paint sticks to attach them together. A free alternative to this is to take apart an unused piece of framed art that perhaps you don't like anymore, and use the wooden backing as the frame. If you don't have unneeded art frames to take the backing from, you could also glue together two MDF wood boards from Dollar Tree.
The next step is deciding on what background color you'd like your garden sign to have. You can leave the frame as-is if you prefer a raw look or if your flag covers the entire frame area. Otherwise, paint it whatever color you think would suit your garden or complement the flag best. Black is a good base color, or white may be a better option if you're going to hang it on a dark backdrop.
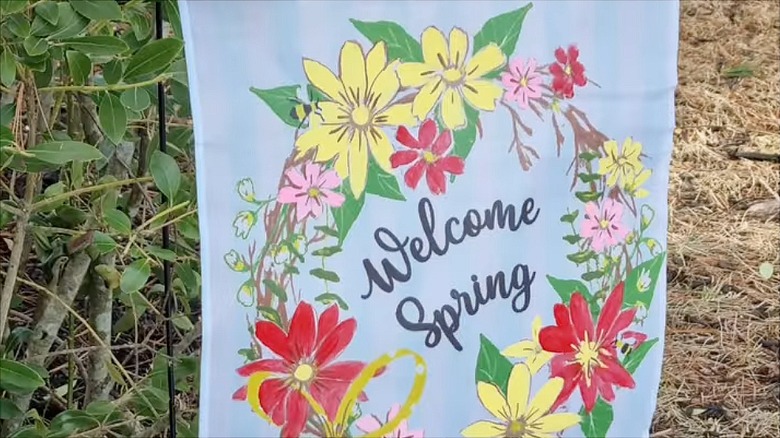
Cover your wooden frame with the Dollar Tree flag, and trim off any excess. Once you take the flag out of it's packaging, it may be little creased. If so, simply iron it smooth first. Apply Mod Podge all over the frame, press your flag firmly on top of it, and leave it to dry for at least a few minutes. Finally, glue two more stir sticks, painted the same color as the frame, to the top and the bottom of the sign, over the flag.
How to display your garden sign

To display your garden sign, you can either lean it against something or hang it by drilling two holes on either side of the frame and feeding a piece of string through it. As it's so lightweight, you'll be able to hang your sign from a shepherd hook, fence post, or anywhere else you fancy. Prefer to fix it to the fence or a shed wall instead? You don't have to make any permanent adjustments. Purchase some outdoor Command strips or adhesive hooks that are weather-resistant and won't damage your outdoor surfaces.
If you decide to hang your sign where both sides of it can be seen, this DIY can easily be adapted to create a double-sided sign. Simply adhere another row of large paint stir sticks to the back of the frame and repeat the entire process of applying a second flag. This is also a great opportunity to display two different signs if you can't decide on just one. Keep this one for yourself, or it even makes for a perfect gardening gift for the friend with a green thumb.