12 DIY Garden Ornaments To Enhance Your Outdoor Space
After the clearing, planting, fertilizing, pruning, and watering tasks are done, you'll find that garden ornaments really make your outdoor space come to life. There's no need to spend big bucks on eye-catching garden art to add interest to your landscape. Instead, you can DIY garden ornaments from inexpensive and up-cycled materials.
We've curated a dozen projects that do not require advanced skills or fancy tools. With these DIYs, you can add charming ornaments that reflect your unique personality in the garden. Using common objects in uncommon applications, you can create a garden chandelier, a mini-pot rain chain, or a collection of fanciful, glass mushrooms for the garden fairies and gnomes. Read on for these and more ingenious DIY ideas for ornaments to enhance your outdoor space.
Create a quiet reading corner in your garden, complete with fake books made from bricks
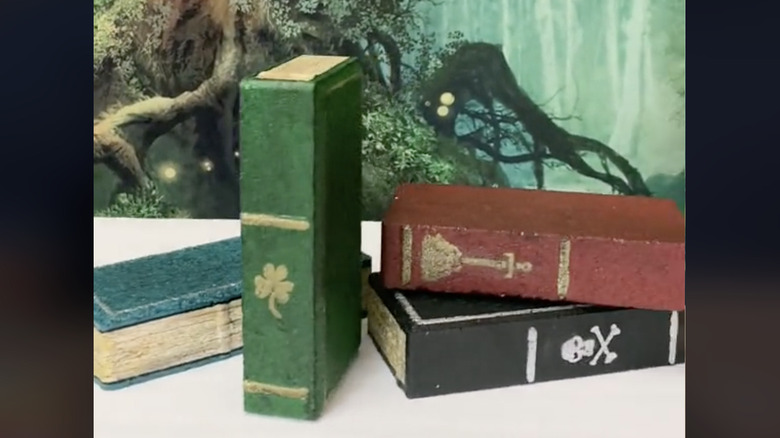
Go literary with your garden decor, using leftover bricks. For this charming and crafty project, you'll need solid bricks like these from Lowe's along with Mod Podge, acrylic craft paint, and a metallic marker pen from Michaels.
Mix the Mod Podge and paint together to coat the bricks. Paint three of the edges with white paint and brush on detailing to resemble book pages. Then, use the metallic marker to add titles and decorative designs that make the painted bricks look like real books.
Use Dollar Tree fencing to make a lovely trellis that hangs on the garden fence or wall
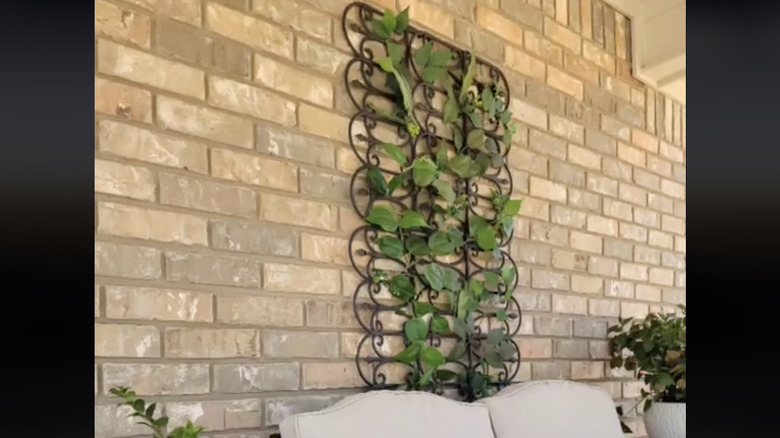
A wall-mounted trellis utilizes vertical space to display climbing vines, either faux or real. You won't need to stress your wallet when you DIY a Dollar Tree garden gate trellis. You'll need six pieces of interlocking garden fences and a bag of zip ties from the Dollar Tree.
Use the zip ties to join the pieces of fencing. If you mount the trellis on an outdoor wall or fence, you can train living vines to climb upward along it. If you mount the trellis on the wall of a covered patio, you can attach artificial foliage stems for a floral effect.
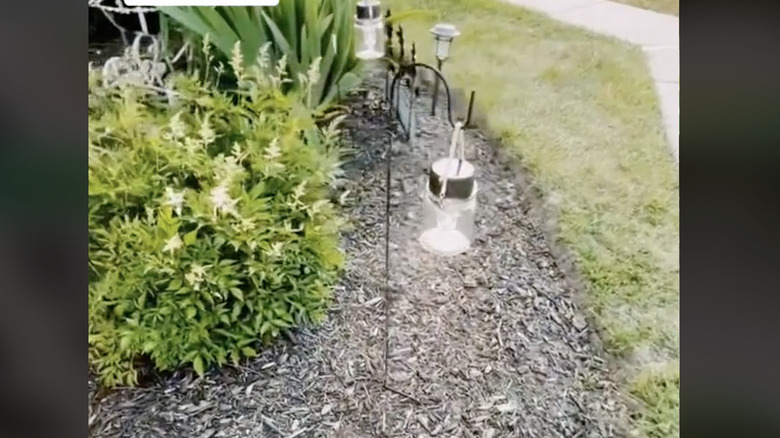
DIY these lovely art objects from thrift store finds, and they'll add beauty to your garden landscape
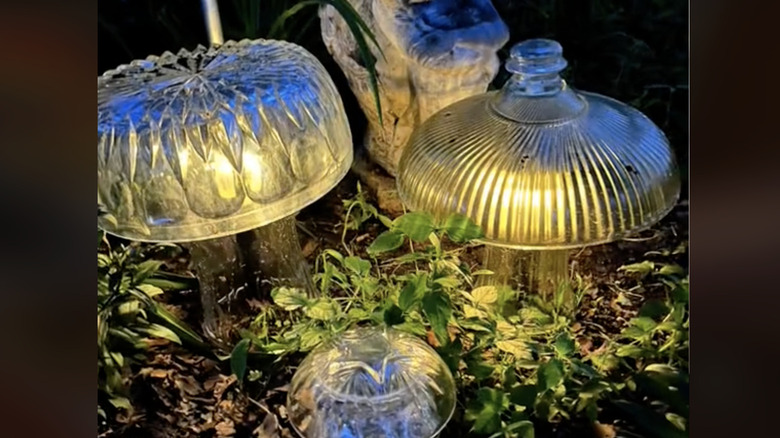
It's easy and fun to pick up vintage thrift store items that you can up-cycle for garden ornaments. For this project, you'll need Gorilla epoxy glue (available at Walmart) along with an assortment of clear glass dishes, vases, and bowls. You can find cheap options at thrift stores, flea markets, and yard sales.
Use the waterproof epoxy glue to assemble the various glass objects to look like old-fashioned lamps. Place solar lights under the glass, and you'll have a charming nighttime display in the garden.
Cheap hula hoops transform into gorgeous nighttime decor for a garden party
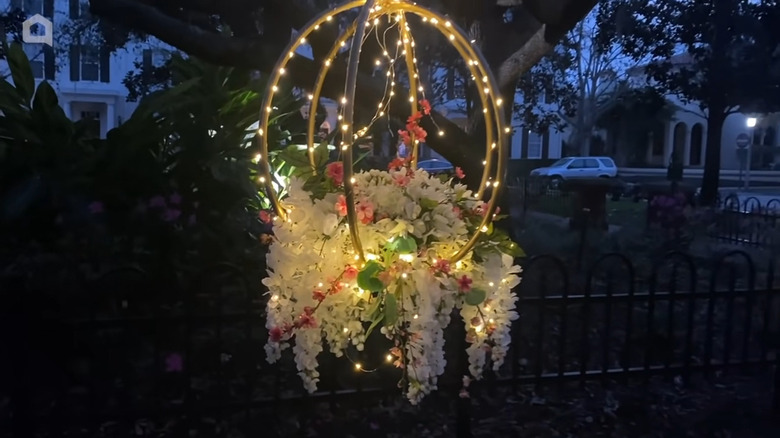
Here's a DIY project that results in a beautiful hanging decoration for a garden party or outdoor wedding. You'll need three hula hoops, gold metallic spray paint, spray sealer, a plastic plate, a piece of florist foam, faux flowers, and six outdoor battery-powered string lights from Walmart.
After painting and sealing the hula hoops, drill two holes on opposite sides of each hoop, adding bolts and nuts to join them together into an orb shape. Drill a hole in the plastic plate and glue it over the bottom bolt. Add florist foam, string lights, and faux flowers.
Create an enchanted garden path under lighted arches with this DIY project
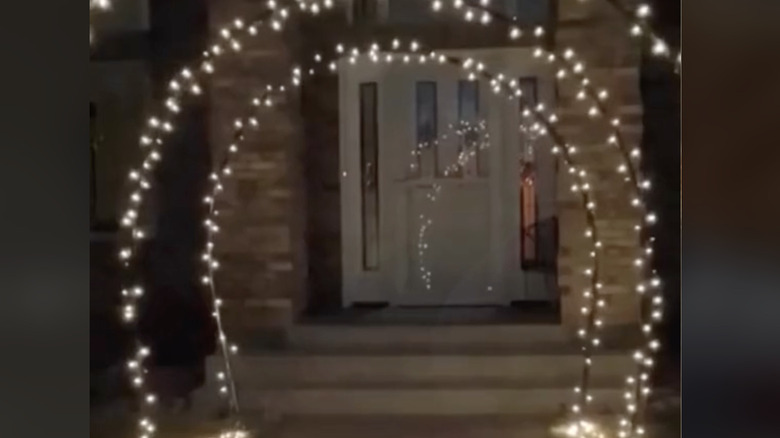
Bring your nighttime garden to life with lighted archways. Start with two brooms for each archway along with a length of PVC drip irrigation tubing and strings of solar outdoor lights, similar to the Home Depot options linked here.
Remove the broom heads and drive the sticks into the ground. Then, use the tubing to fashion an arch that fits over the broomsticks and extends upward approximately 7 feet. Wrap strings of lights around the arches, extending along the ground from one arch to the next. You might use either solar lights or the plug-in type.
Create fanciful garden mushrooms from thrifted vases and bowls
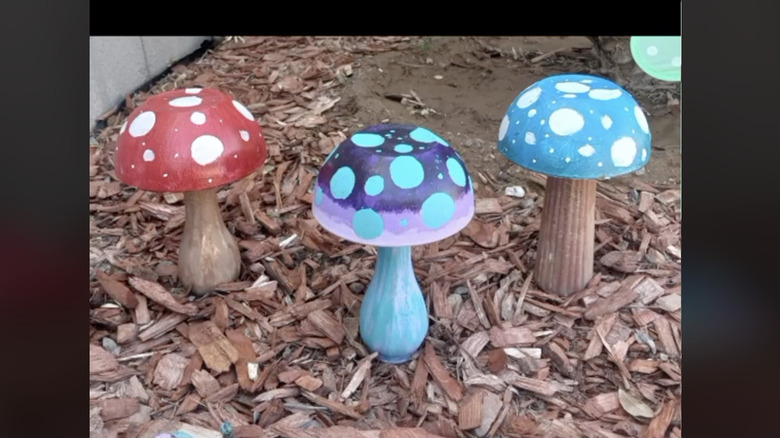
The gnomes and fairies that live in your garden will be delighted with these DIY decorative lawn mushrooms. Start with thrifted bowls and bud vases. Then, you'll need vase filler gems, spray primer, acrylic paint, moisture-resistant spray sealer, and E6000 glue from Michaels.
First, add weight to the vases with filler gems or pebbles. Then, invert the bowls and glue them to the vases with E6000 glue. Next, spray the surfaces with primer and paint the mushrooms in vivid colors, adding polka dots and other details. Finish the project with a coat of clear, weather-resistant sealer.
DIY a lovely garden planter from an old birdcage
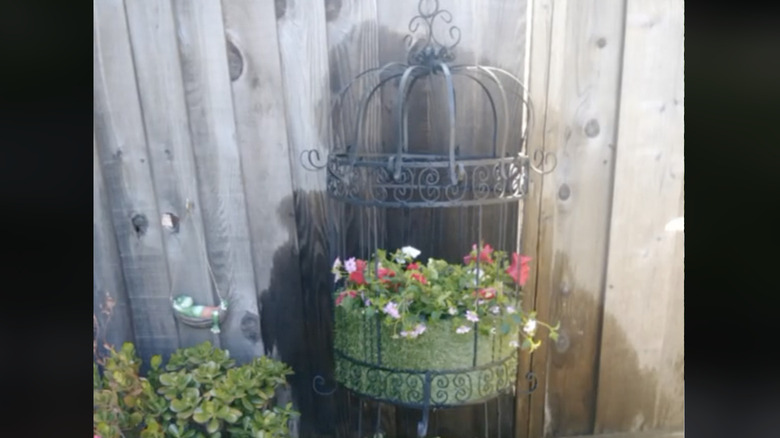
Did you know that you can upcycle an old bird cage to create a one-of-a-kind planter for your garden? You'll need rust-proof spray paint, a small artificial grass rug, a carpet knife, a piece of landscape fabric, and enough potting soil to form a planting area. Use the linked products from The Home Depot, or opt for similar items.
Clean and paint the birdcage. Line the lower circumference of the cage with artificial grass cut from the small rug. Insert landscape fabric and fill with potting soil. Plant flowers in the soil and place the birdcage in your garden.
Fashion these adorable hanging lanterns for the garden, using cheap, dollar-store materials
Here's a cheap and easy DIY to add an enchanting vibe to your nighttime garden. Grab a few glass jars from Dollar Tree along with jute cord and a few solar yard light stakes. You'll also need super glue, a hot glue gun, and glue sticks.
Sometimes, Dollar Tree carries the glass jars with rope handles. Alternatively, you can make handles from braided jute string. Remove the stakes from the solar lights, and glue them securely into the rims of the jars. Hang the lanterns along a garden path, using 30-inch shepherd hooks like these from Lowe's.
Make a hanging garden chandelier from a tomato cage and a solar light

Lighting makes your garden come alive at night. For this DIY outdoor chandelier, you'll need a tomato cage, a package of wood shims, exterior wood stain, copper wire, a solar light, and an electric drill similar to the linked products from The Home Depot.
Use wire to suspend the solar light inside the tomato cage. Drill a hole in one end of each shim and wire them onto the horizontal pieces of the tomato cage until you have enough to cover the exterior. Hang the chandelier from a tree limb or a shepherd hook.
Customize these DIY garden pavers with your own artistic embellishments
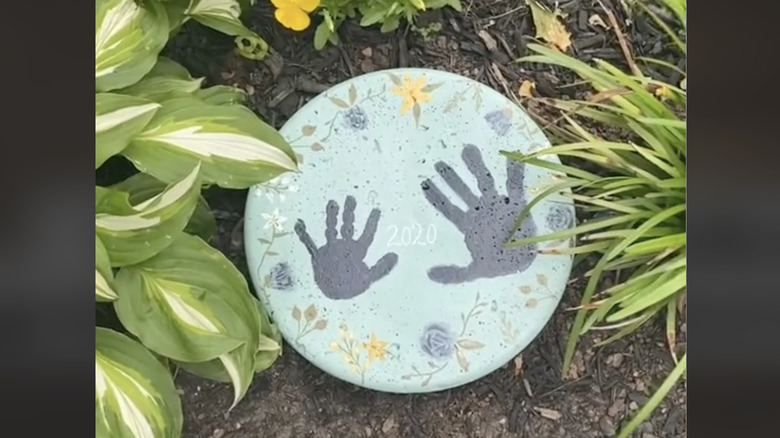
Gardeners use pavers to create pathways. But did you know you can make your own garden pavers and customize them with unique artwork? For this project, you'll need pie pans, cooking spray, concrete mix, acrylic craft paints, and spray sealer similar to the linked products from Walmart.
Spray the insides of the pie pans with cooking spray. Then, mix the concrete and fill the pans. Let them dry completely before turning the pans upside down to release the concrete pavers. Paint your own designs on the pavers and spray on a protective sealer after the paint is dry.
DIY this colorful and eye-catching garden art from leftover materials
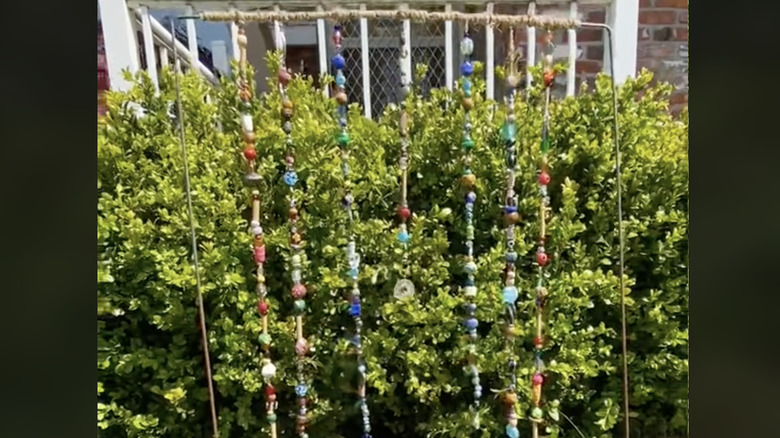
Garden art adds interest to your outdoor space, and this DIY takes advantage of the sun's rays to bounce vibrant colors around the garden. If you have leftover beads and pieces of old jewelry, you can string them onto jute twine to create a stunning display.
Start with the wireframe of an old yard sign. Suspend the beaded lengths of twine from the horizontal crossbar of the frame. Then, wrap additional twine around the wire frame for added embellishment. The glass beads and fake jewels will reflect the light in your garden.
Use mini pots to make a decorative rain chain for your garden
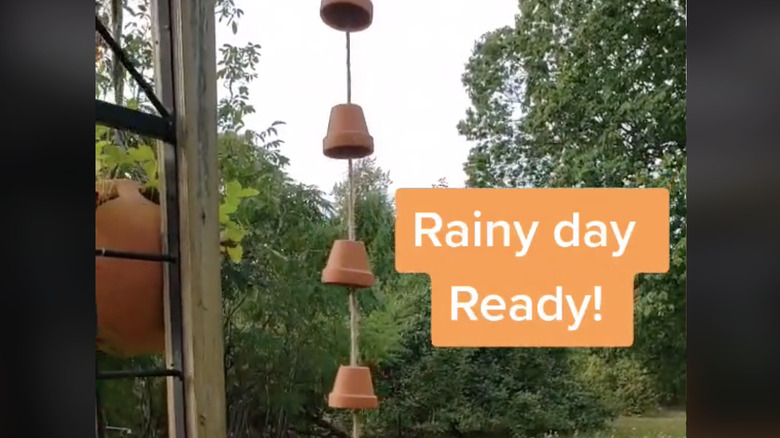
A rain chain directs the flow of rainwater as it runs off a roof or other elevated location. You can add a charming element to your garden by constructing one from simple materials. You'll need a dozen or more 2-inch terracotta flower pots along with a package of jute twine similar the Home Depot products linked here.
Thread the twine through the holes in the pots and knot the twine to hold them in place with even spacing. With the pots facing upside down, hang the rain chain in a location where it will divert the rainwater run-off.