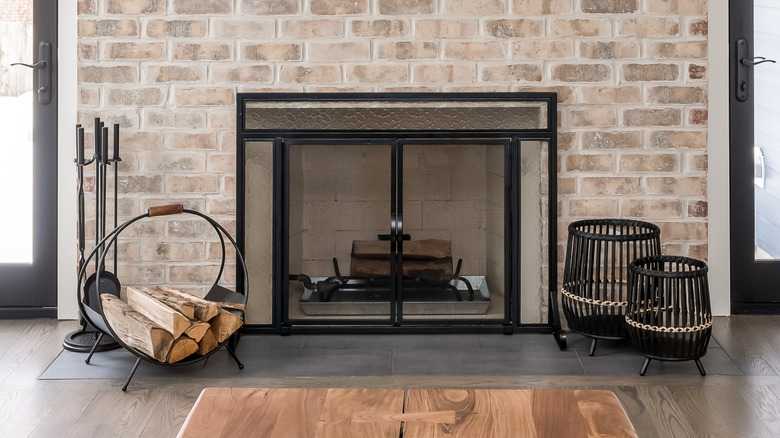
Dress Up An Existing Fireplace With Mike Holmes' Budget-Friendly Technique
If you're searching for a creative fireplace makeover that will blow you away, Mike Holmes has a budget-friendly option that's both simple to install and aesthetically pleasing. A brick fireplace surround is beautiful and timeless, but it can be difficult to DIY on your own. What's more, a genuine brick fireplace can cost as much as $10,000. On the flip side, using pre-engineered brick panels can cut that price down by over a third while delivering a result that looks like the real deal. Indeed, Holmes built a custom fireplace wall using brick veneers for "Holmes on Homes," and, looking at the end result, you'd never know he didn't use genuine bricks.
While Holmes procured his brick veneer panels from a local Canadian company called Century Architexture, various firms offer similar options, and the installation is largely the same. Made of gypsum (which is the base material for drywall), these thin bricks are much lighter, which means they'll place less of a structural load on your walls. That's a good thing, as is the fact that they are pre-cut and quick to install using regular tile adhesive. Once dry, the simple two-step process is completed by piping mortar mix in between the pre-arranged grout lines for an authentic look and feel. All that's left to do after that is paint the brick, if desired, then decorate the fireplace like a professional, using charming and stylish finishing touches.
How to overhaul your fireplace with brick veneer panels
Pre-engineered brick wall panels are a must-have to update any fireplace, as they're durable, stylish, easy to apply, and even provide great insulation. After measuring the surface area to confirm how many panels you'll need, use a 1/4-inch notched trowel and tile adhesive to start attaching them. Because the veneer bricks are on a mesh backing, installation is particularly quick. Start by applying tile adhesive to an area that is about the size of one panel, using a consistent vertical or horizontal motion to achieve a thin, smooth layer. Press the panel into the adhesive, wiping away any excess that may have oozed onto the tile's surface with a damp cloth.
Moving onto the second panel, cut off the excess mesh on the side that will join the already applied bricks, so that they can properly align. Repeat this process until you reach the edge of the fireplace, at which point, peel a single brick off the mesh, cut it to size using an X-Acto knife, then adhere it to the wall.
Once all the bricks are in place and dry, prep the mortar mix following its instructions. Fill a mortar bag halfway up, twist the top closed, cut 1/2 an inch off the tip, and pipe it in between the gaps, paying attention not to get any onto the bricks, as it's hard to remove. Once dry, sand off excess mortar using a pointing tool, then pass over the entire surface with a corn whisk broom to finish.
