Framing Your Bathroom Shelves Brings A Stunning Vintage Vibe Without The Big Budget

If you're looking for a quick way to upgrade the aesthetic appeal of your bathroom, you might want to turn your attention towards your shelves. These fixtures are of course important for the functionality of the space; they keep your towels, soaps, and other essentials within close reach. However, they don't have to exist just for practical purposes. With the right styling techniques, they can have considerable decorative appeal as well. If you have box-style shelves, one particularly stunning way to upgrade the way they look is to frame them around their front edges with decorative molding. You can find this sort of trim wood at your local home improvement retailer, and it shouldn't cost you a fortune. Once you attach it to your shelf, you can paint or stain everything to give the fixture a wonderful antique artwork vibe.
If you don't have box shelves in your bathroom but you like the idea of this vintage-inspired DIY, you could make a three-tiered shelf from scratch, and then frame it like artwork. To do this, you'll need a handful of 1-by-4 inch boards, some wood glue and brad nails, and the aforementioned trim moulding. You'll also need to pick up a can of gold or brass-colored paint, and three sturdy wooden dowels. The inspiration for this project comes from Instagram user and DIYer Laura Jansen, who has a short video that shows how she put together this sort of shelf for the space above her toilet. The completed project is ornate, eye-catching, and undeniably elegant.
How to assemble and frame your bathroom shelf
If you're going to make your shelf from scratch, first determine how many inches wide and how many inches tall you want it to be. With these figures in mind, cut down a few 1-by-4 inch boards to make an outer frame for the fixture. The frame pieces should be perpendicular with the wall, and come together to look similar to a drawer box. Adhere them together with wood glue and brad nails. Next, take two more 1-by-4s, and cut them down so that they fit horizontally within the frame. These pieces will be the two middle shelves. Space them apart equally within the box, and use more wood glue and nails to attach them.
With the shelf frame complete, you can turn your attention towards the trim molding, which will go around the front of the shelf to create the picture frame effect. Cut the moulding with mitered edges for the corners. The inside edges should align with the box frame's inside edges. Attach the moulding with more wood glue and nails. Next, cut your three dowels down so that they can serve as railings for each of the shelf's levels. Glue them in place, wait for everything to dry, and then break out your brass or gold-colored paint. Apply it to every surface of the shelf to give the fixture a shiny, antique metal appearance. You may also read up on how to make wood look like metal for all your DIY projects.
Hanging and styling your framed bathroom shelf
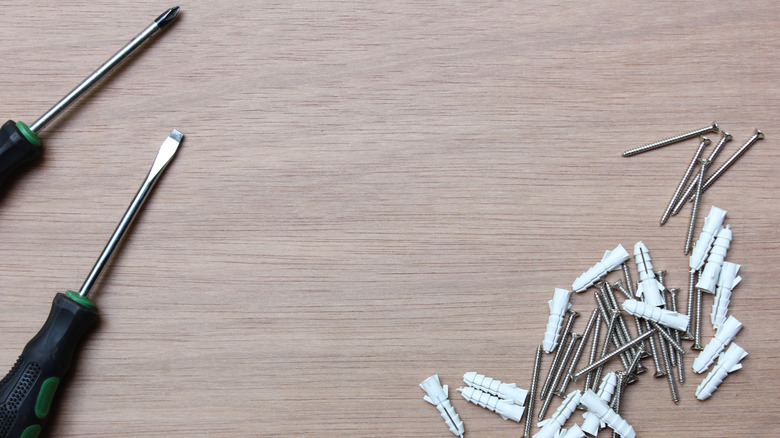
If you DIYed your framed shelf, then you'll need to find a way to hang it up. The easiest option is to drill mounting holes on the back of the shelf, near the top, on either side. Then use a pencil or some painter's tape to mark where these mounting holes will meet your wall. Drill a hole in both of the points you marked, and then insert a wall plug into each hole. Choose two sturdy screws that suit the size of your plugs. Screw them into the plugs, about 90% of the way. Hang your shelf onto the screws, so that their ends fit into the mounting holes you drilled on the back of your wall hanging. If you're going to put heavy items on your shelf, you may want to hang the fixture with a French cleat system instead.
Framing your bathroom shelf with decorative trim will highlight the objects that you're keeping on it. As a result, you may only want to style your shelf with pieces that suit the vintage vibe of the wall hanging. A couple of framed pictures, some thrifted decor pieces, or a faux plant or two will work perfectly here. Watch out for the most common shelf styling mistakes, and don't forget to leave plenty of negative space between objects. If the antique look of this DIY doesn't match your home, there are plenty of savvy ways to transform your space with floating shelves that will give off a more modern look.