Hide The Trash Bins In Your Yard With A DIY Wood Fence That Looks High End
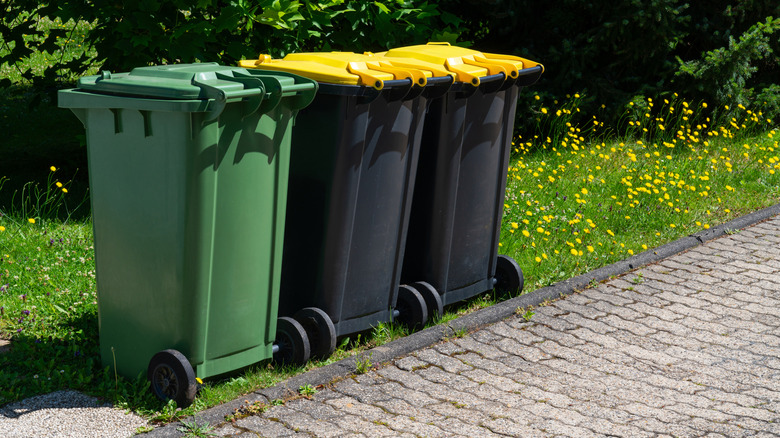
Although it's normal to see them in the driveway or stashed on the side of the house, trash bins can be a smudge spot in the portrait of a finely manicured garden and curated home exterior. Unfortunately, home budgets don't always allow for the purchase of expensive fencing solutions. But if you feel that your bins are hindering instead of boosting your home's curb appeal, there is a DIY hack that you can use to dress up this area without hiring a contractor. This solution involves building a simple privacy fence around your outdoor garbage can storage area using wood posts and fence pickets.
Outside of helping your home's curb appeal, a privacy fence for your bins can assist with pest control — it can reduce access to your trash for stray cats, squirrels, possums, and potential wildlife that may take interest in the smells coming from your bins. The fence can also help you create more privacy in your home by blocking your bin area from street and sidewalk view. But note that failing to obtain required permits and checking for potential utility line interference are some of the most common mistakes people make before installing a fence — so be sure to check off these boxes beforehand because they even apply to small jobs like this project.
For this simple DIY, you'll need 4x4 fence posts, fence pickets, and some 2x4s. You can purchase 4x4 fence posts from Home Depot for roughly $12 each, 2x4s for under $4, and fence pickets for about $4 each. In addition to this, you need a latch and hinges for the gate, a power drill (or a hammer), and a few other building tools and materials.
Steps to build a DIY privacy fence surround for trash bins
Start your project by determining how many fence posts and pickets you'll need to cover your bins fully, and decide how tall to make the fence. Next, dig holes for the standing posts that are at least 1/3 of the post's above-ground height — for a 4-foot post, you want the hole to be at least 1-1/3 feet deep. Leave space for a gate. Place the posts in the ground to ensure that you're satisfied with the height. Then, remove and cut them to your desired height, installing them in the ground afterward. Avoid eyeballing your wood measurements, especially when cutting the railings for your posts, as you want them to fit securely between the posts without extra-long fasteners. Lastly, ensure that your fence posts are straight and level before adding your railing, as crooked posts will result in a crooked or leaning fence.
Next, cut your railing pieces from the 2x4s to fit between the standing posts, and secure the railing to the posts using your drill and screws. Then, secure the fence pickets to the posts and rails. You can also use fence panels instead of attaching individual pickets. Now, create a gate by fastening pickets side-by-side and drilling three 2x4s in a Z-shaped pattern to the back center of them. Attach the gate to the appropriate post with hinges, and attach the latch.
For extra flair, add decorative plants, such as lavender or heuchera, to the ground in front of your fence. For more visibility, consider placing a few solar lights on the fence panels. Painting or staining the fence a neutral color, such as beige or gray, can give it a more polished, high-end look.