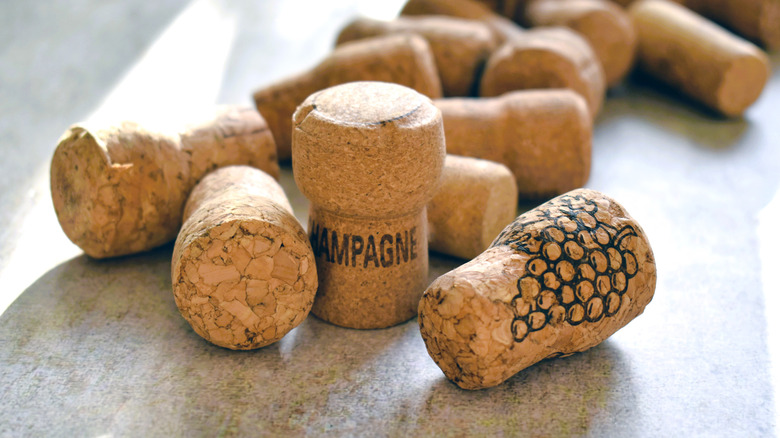
Repurpose Old Wine Corks Into A Stunning Accent Wall With A Simple DIY
We may receive a commission on purchases made from links.
For some people, a wine cork goes in the trash the minute the bottle is empty. Others are more sentimental and hang on to corks that represent a first date, a celebration, or a trip abroad. Those who purchase expensive bottles are more apt to keep the cork than those who buy wine exclusively at Aldi (no judgment here). Still, others may keep wine corks for their crafting potential (these same people have bags of empty toilet paper rolls and used popsicle sticks just waiting for inspiration to strike — again, no judgment).
One way to repurpose wine corks around the house is by creating a stunning accent wall. Not only does the end result look very custom and high-end, but you also don't need a contractor's license to pull it off. All you need is some time, a bunch of corks, and a lot of patience. This accent wall is made by cutting wine corks in half lengthwise, and then gluing them to the wall in the pattern of your choice. It can be purely decorative or act as a cork board wall to hold recipes, invitations, photos, or memos. Just note that because this project is time-consuming, you may want to choose a smaller area, like a kitchen island, bar, or backsplash.
How to make a wine cork accent wall
This DIY is a great way to upcycle old wine corks, however, unless you've been saving corks for decades, you may not have enough for an accent wall. Fortunately, you can purchase bags of used wine corks, like these South Beach Crafts Premium Recycled Corks ($9.99 for 50) from around the world, which give the impression of a life well-traveled. Once you have your corks, you'll need to cut them using a serrated knife or CRAFTSMAN Miter Snips. This part takes patience and may need to be spread out over a few days to give your hands a rest. To make cutting the corks much easier, boil them for 10 to 20 minutes first. This will cause the corks to soften, so less force is required when cutting. In addition, the cuts will be cleaner and produce fewer crumbs.
Now, it's time to glue. Before you begin, decide on a pattern — just as if you were laying tile. The corks can be glued vertically or horizontally; in perfect rows or in a running bond (brick) pattern. Alternatively, you can opt for a herringbone design, or lay two vertical corks next to two horizontal ones to create a crosshatch pattern that resembles a parquet floor. Whatever your pick, use a construction adhesive such as Loctite, and glue the corks directly onto the wall or a piece of plywood for easy removal if needed.
