Fill Your Garden With More Juicy Fruits With An Easy Lemon Tree Propagation Method
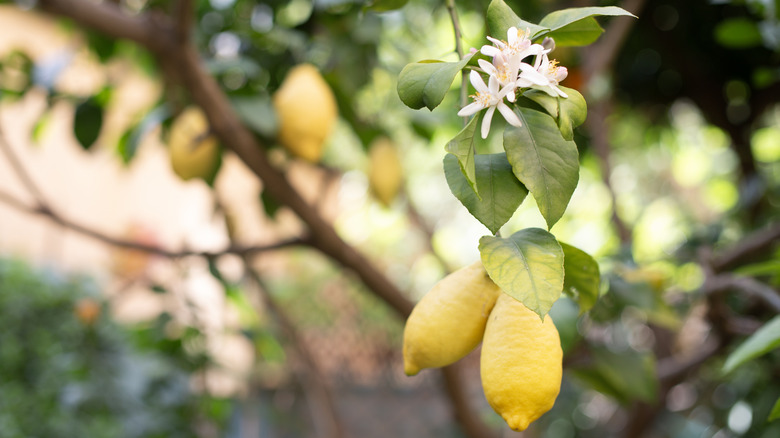
Growing your own lemon tree gives you back nothing but enjoyment. Ok, some trees have spines. But besides this prickly downside, a lemon tree gifts you with glossy green leaves, deliciously fragrant blossoms, and the potential for your own home-grown fruits.
Whether in a portable pot or rooted in a shady grove, lemon trees are a plant worth adding to your garden. With the magic of propagation, a clipped branch from a lemon tree can sprout roots to become its own tree. The best thing is that it's pretty easy to do. Do you have — or know someone who has — a lemon tree that's looking robust and ready for clipping? If so, follow these simple steps to produce more trees.
The recipe for growing lemon trees from cuttings calls for sterile shears, a pot filled with growing medium, and a few branch sections between 6 and 8 inches long with a few leaves. (It's a good idea to propagate a few cuttings in case some don't work.) A choice potting mixture for starting lemon propagations is an even ratio of perlite, vermiculite, and peat moss. However, there are some concerning reasons why you shouldn't use peat moss, so why not opt for more sustainable stuff like coconut coir? While it's not absolutely necessary, a bit of rooting hormone can speed up the process. If you don't have any, there's no need to run to the store; head to the kitchen, because cinnamon can be used as a rooting hormone.
How to root lemon tree cuttings
It's crucial to take clippings from a tree at the right time of year. Late spring and early summer are best. Also, clean your garden pot and tools, before launching into the cutting and planting process to make sure you're not exposing the cuttings to pathogens. A dip into a solution of two parts water to one part hydrogen peroxide along with a light scrub should do the trick. Let the pot and tools air dry. Fill your pot with the potting mixture, and water it evenly.
Take a close look at your parent lemon tree: Your prime pieces for propagation will need to be leafy, healthy and free of diseases. Trim the branch with clean shears right below a node (where leaves are attached) and remove lower leaves. A few leaves at its tip will help the cutting continue its necessary photosynthesis.
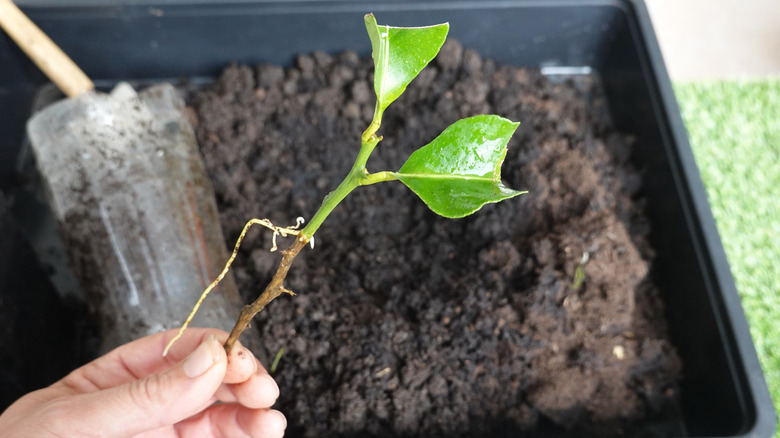
Dip the cuttings' ends in rooting hormone. Place the cut end in a hole in the potting mix, and gently fill and pat the dirt into the hole so the cutting will stay upright. In order to root, your propagations need to be in a sunny, warm spot. The ideal conditions have bright, indirect light and are between 70 and 85 degrees Fahrenheit. Place a plastic bag or dome over the cuttings to hold in moisture. In a few weeks, check to see if roots have formed by giving the twig a gentle tug; if there's resistance, the roots have formed. This is a sign that the cutting has put out roots and is ready to move to a larger pot or outdoors.