How To Turn Broken Dishes Into A One-Of-A Kind Herb Garden Wall
We may receive a commission on purchases made from links.
You know how when life gives you lemons, you make lemonade. When life gives you broken dishes, make mosaics! The next time gravity and hard surfaces win a faceoff against a plate or a mug, don't sweep the losers into the trash. Save the scraps and team them up with some strategically-cut ceramics to become a lovely and functional herb wall. Surrounded by dish shards, carefully cut mug halves become a stunning countertop herb planter that can also hang on a wall.
Whip up one of your own with a collection of dishware (either still intact or broken), at least one large mug or bowl, and a piece of particle board or plywood cut to the size you want your finished piece to be. Thrift store plates and drinkware are smart choices, too. For each herb you want to plant, you'll need at least a half a mug or bowl. Opt for large ones, since their halves will need to be capacious enough to hold the plant and soil. It would be wise to have an extra one or two in case cutting them in half doesn't go as planned.
Some mosaic-making supplies you'll need are adhesive, grout, a small paintbrush, sealant, and mosaic cutters. Also set aside a roll of duct tape, a tube of silicone sealant formulated for kitchen use, protective eyewear, a hammer, a plastic shopping bag or two, and a pair of rubber gloves. If you want to hang your creation on a wall, also purchase a couple of sawtooth hangers like these 888 Corp Large Sawtooth Hangers.
Get (your dishes) cracking
Time to break your ceramics! (Pro tip: Do this while you're frustrated for stress relief.) Don your gloves and eye protection first. Place the dishes in a plastic bag, doubling them up if the bags are thin. Don't include the mugs or bowls that you'll be using as plant holders, since they need a bit of special treatment.
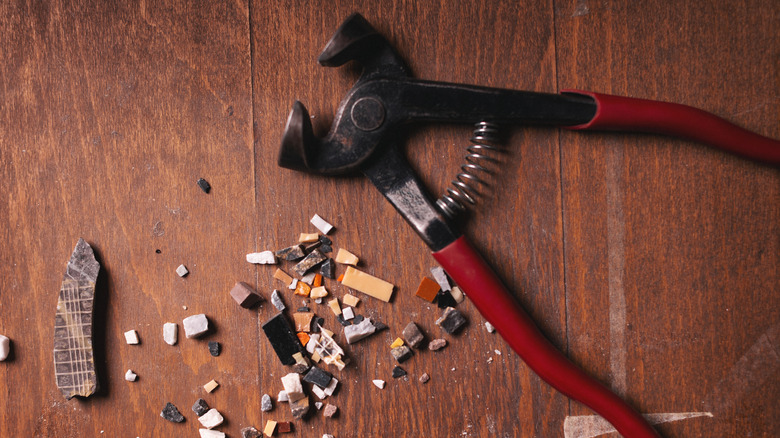
Hammer lightly at the ceramics, checking on them periodically to see how they've broken. You can also use the mosaic cutters to clip up pieces to more uniform sizes, but that's not nearly as cathartic. If you're using them, attach two or more sawtooth hangers to the back of your wood piece before creating your mosaic; for larger boards, attach at least two hangers, since the mosaic itself will add lots of weight. Make sure the hangers are lined up evenly for easier hanging and ensure to check their weight recommendations.
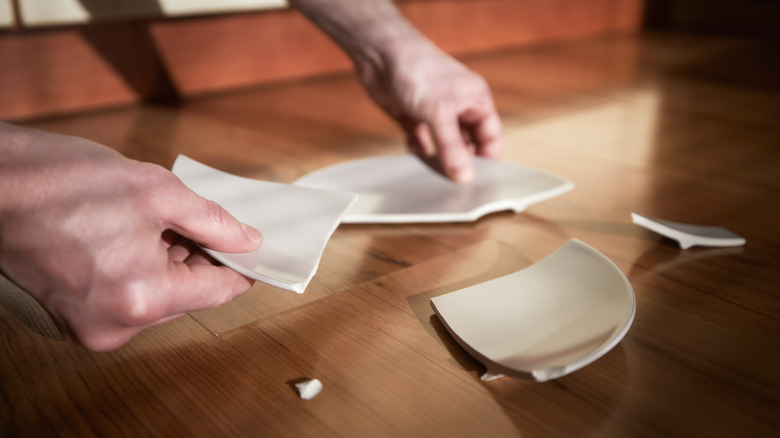
To prepare your mugs or bowls to become "pockets" where you'll plant the herbs, apply a strip of duct tape to the exterior of the container, following the path that you'll be cutting. Use the mosaic tool to make the cut by squeezing it lightly at each taped edge of the container's lip. The pressure should cause the mug or bowl to crack fully in half. If you can, try to cut your mugs not quite in half, leaving a larger section with the handle intact. This will allow the plants more living space. Any failed cuts can go into the smashing bag.
Finishing touches
Mock up a layout of your broken ceramics on the blank side of the board, and glue each piece to the board. Let the adhesive dry and cure for at least 24 hours before grouting. With gloved hands, grab small handfuls of wet grout, and smear it between each ceramic piece until you have an even amount between each piece. Wipe off excess from the face of the pieces with a damp cloth. After about 30 minutes, wipe the pieces with a dry cloth, and let the grout finish drying. It's not a bad idea to give it 24 hours to harden up.
Next, prepare the surfaces where you'll be attaching the containers. Clean the spots on your mosaic where you'll attach the herb "pockets" with soap and water to make sure the silicone sealant sticks. With the mosaic laying flat, apply the sealant to the cut edges of each container's half, and press the mug or bowl onto the mosaic's surface. Let the sealant dry for 24 hours before introducing the plants to their new home.
Gather up some herbs that will grow best in your kitchen, like basil, chives, oregano, and parsley. Since the cups won't have drainage, you won't want to plant them directly in each cup. Keep them in a nursery container small enough to slip out of the cup for watering. If you can't find ones that fit, try a cuttable, foldable cloth planting bag like these Tarklanda Nursery Bags.