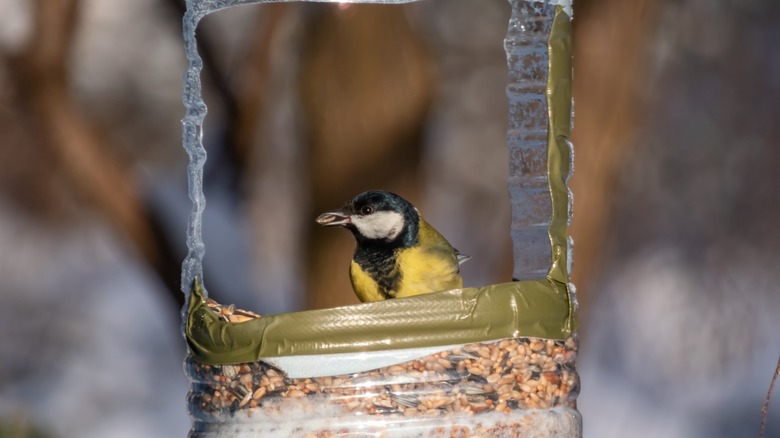
The Affordable DIY Bird Feeder That Couldn't Be Easier To Make
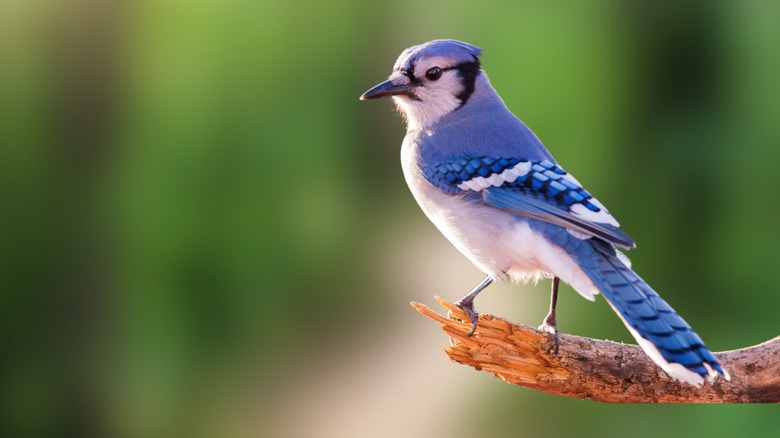
One of the main benefits of attracting birds to your garden or yard is seeing them in all of their glory. Their breathtaking colors, musical mating calls, and their sweeping glides through the air can be absolutely captivating. It's no wonder that so many homeowners opt to add feeders, water fountains, and other bird-attracting features to their backyard or garden area. Luckily, many of these outdoor features can be made at home, which means you don't have to spend hundreds of dollars on a high-end item. For example, many people are familiar with creating a feeder out of old egg cartons. However, you can also make a simple feeder using a milk jug and a couple of wooden rods. This simple feeder option will cost you less than $20 and can be up and working in your yard in about 30 minutes once you have your materials.
Sure, this feeder may not be as fancy as some of the options available at your local garden supply store, but the good thing is that birds don't really care about aesthetics; they just want to eat. To make this bird feeder, you'll need an empty 1-gallon milk jug, two wooden rods, and a bag of Kaytee wild bird seed. As for tools, you'll need to grab a pair of scissors (or a box cutter) and some twine. You can find the bird seed for about $6, and a 25-pack of Ktojoy wooden rods for about $5. Once you've completed your project, you can spruce it up a little bit with decorative add-ons and embellishments.
Steps to make a DIY bird feeder using a milk jug and wooden rods
To start your DIY bird feeder, use the pointed tip of your scissors to poke a hole in the middle of one of the milk jug's sides. Use this as a starter hole, then cut a 4-inch circle in the lower middle of the jug. Next, poke another small hole 1 inch below the circle that you just created. It should be just wide enough to thread one of your wooden rods. Then, as before, cut 4-inch circles on the other three sides of the jug.
Next, cut another small hole beneath the circle on the opposite side of the first one created. Then, cut similar small holes beneath the circles on the adjacent sides of the jug, but place them slightly lower than the first two (this will allow the rods to overlap). Thread one rod through one side of the jug and another through the opposite side. Then, poke a hole 3 to 4 inches from the top of the milk jug, near the cap. Do the same on the opposite side. Thread your twine through one of these holes and out of the other, and then tie the ends in a knot. Finally, add a 2-inch layer of bird feed to the jug's base and hang the feeder.
Ways to customize a DIY milk jug bird feeder
This classic DIY feeder is pretty easy to upgrade, that is, if you want to give it more visual appeal. For example, instead of using an empty milk jug, you can use a juice carton or a jar with a removable lid, such as a plastic peanut jar. You can also create a similar version that has only two open feeder holes, instead of four, and opt to paint the other two sides instead.
And of course, you can always add various beads, buttons, or even hanging ribbons instead of twine to make the feeder more eye-catching. In most cases, adhesive glue will suffice for the embellishments, but for some materials, a hot glue gun may be needed. If you're interested in including more nature-inspired elements in the feeder, consider adding some leaves, flowers, or even faux moss to the sides of the container or along its top.