Repurpose An Old Wooden Toolbox Into The Perfect Bathroom Storage Solution
We may receive a commission on purchases made from links.
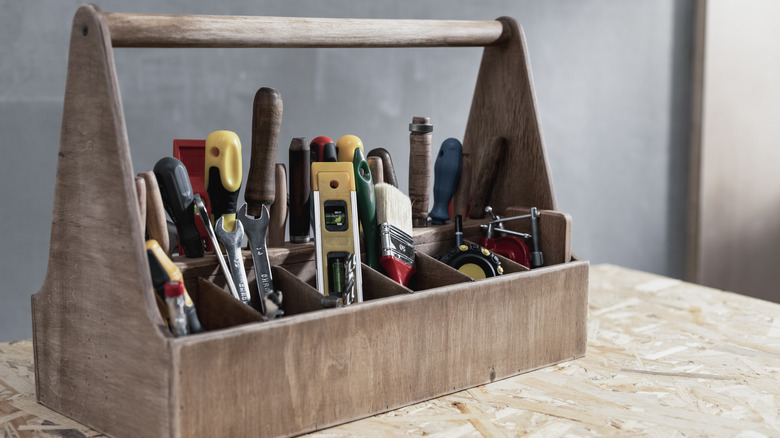
We all have old items tucked away in the garage. Things like a dusty toolbox, a weathered chair, or a vintage crate, some pieces full of memories but not always useful. So, what do we do with items like these? For starters, you can transform your rustic, compartmentalized toolbox into a stylish and functional bathroom storage shelf. An unexpected way to repurpose a toolbox for clutter-free bathroom counters, this idea instantly makes the space feel more open and organized.
Before mounting, start by giving the toolbox a thorough clean and ensuring it's sturdy enough to hold daily essentials. Lightly sand any rough edges and check for loose joints or old nails. Once prepped, you can drill holes in the back to create strong mounting points and carefully measure your wall before installation to ensure the shelf is centered and level. These small preparation steps are key to achieving a safe, polished look.
When installed, the toolbox can transform into a multi-functional organizer. You might add a rod underneath for towels or hang a small basket for extra storage. Depending on whether you install the box right-side-up or upside-down, the compartments can hold jars of cotton pads, rolled-up washcloths, or skincare essentials, or the top surface converts to a perfect spot for small plants or decorative items. With this simple yet impactful DIY upgrade, a neglected toolbox becomes a warm, personalized feature that makes your bathroom feel both organized and inviting.
Ideas and tips to customize a wood toolbox for bathroom storage
What makes this project stand out is the potential for personalization. You can paint your toolbox a bold color for a modern touch, or keep the original wood for a vintage look. Add hooks along the bottom to hang washcloths, hair tools, or small decorative plants. Utilize every inch of cabinet storage space with genius hacks like placing small bins or baskets inside the toolbox to separate toiletries, cotton pads, and skincare items for easy access and less clutter.
When preparing your toolbox, always clean the wood thoroughly, and lightly sand it to get rid of any old paint or rough areas. Seal it with either epoxy paint or paraffin wax to guard against bathroom humidity. Use proper anchors and screws based on your wall type (drywall, tile, or plaster) to make sure it stays secure. Adding puck lights, similar to these Onumii Battery Operated Puck Lights, or LED strips, can improve visibility and add a custom design touch.
If you're feeling a little extra creative, you can even build your own decorative toolbox from scratch using reclaimed wood or old fence pickets, adding a rustic, handcrafted touch that feels both charming and purposeful. A simple DIY approach with fence pickets offers an affordable way to create a one-of-a-kind piece, whether you keep it raw or paint it to match your bathroom palette. By blending old pieces with practical upgrades, you can create storage solutions that feel personal, purposeful, and timeless, a satisfying way to make your home truly yours.