Martha Stewart's Easy Tip Will Help Your Hydrangeas Thrive After Transplanting

We may receive a commission on purchases made from links.
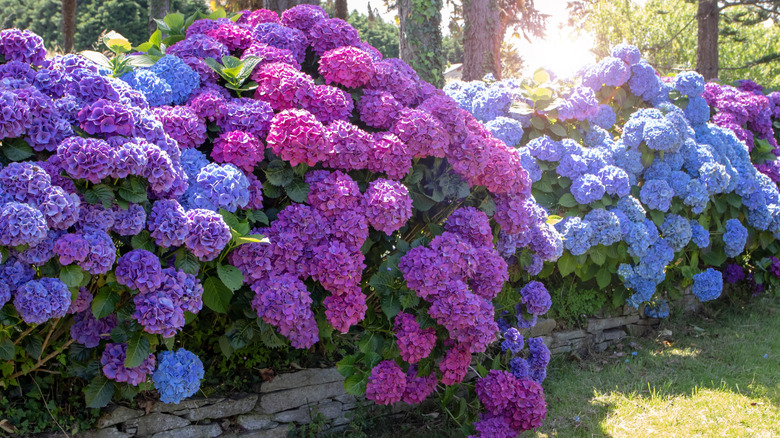
According to Martha Stewart, hydrangeas are easy to maintain if you follow a few simple steps. If you've selected your blossoms and you're ready to start the transplanting process, there is one tip from Stewart that will help you ensure a healthy and successful transplanting process from pot to soil. Above all else, it's crucial to remember the importance of root teasing. You can help your hydrangeas thrive after transplanting with Martha Stewart's tip. On The Martha Stewart Blog, she says, "As with all our transplants, the root ball is teased before planting," emphasizing the importance of gently loosening the hydrangea roots by tickling the area that has been confined to the pot.
Teasing the roots will encourage more new growth and help the hydrangea settle better into its new home. To do this, rub your thumb and forefinger together to massage the roots and loosen them from the soil, being careful to cause as little damage as possible. If the roots have become very potbound, you may need to make a few cuts in the roots to get started. Hydrangeas aren't the only flowers that can benefit from root teasing. Stewart also wrote the following on her Instagram: "Whenever transplanting, always scarify the root ball, meaning tease or loosen the roots, so they are stimulated." Martha Stewart's tip makes repotting your favorite plants a breeze, so be sure to remember this advice the next time you're transplanting greenery.
The perfect transplanting process to follow for your hydrangeas
When it comes to growing and taking care of hydrangeas, success starts at the very beginning. Before you start transplanting, make sure to properly prepare the planting site. As Martha Stewart recommends on her blog, "Holes are dug for each plant — as always, at least twice the size of the plant's root ball." This extra space allows the roots to grow freely into the surrounding soil. After digging the hole, gently remove the hydrangea from its container and examine the root ball. If the roots are circling densely back around the plant, the hydrangea could be root-bound, which can limit water and nutrient absorption if it's not corrected early on. In this case, root teasing might not be enough to loosen those roots before planting. It may be necessary to score the roots with a knife and separate them with your fingers.
Once the hydrangea's root ball is prepped and teased, position the plant in the hole so it sits the same way it did in the nursery pot. As Martha Stewart advises, "In the ground, the plant should sit at the same depth it was in the pot." To give the newly transplanted hydrangea a healthy start, Stewart recommends incorporating a slow-release fertilizer like Miracle-Gro Shake 'N Feed All Purpose Plant Food into the soil. These types of plant food can provide nutrients for up to three months after planting. If you want to repot your hydrangeas rather than replant them in your garden, this hydrangea variety is perfect for containers and lasts longer than you think.