Don't Throw Out Old Jars Without Trying This Affordable Decor DIY
We may receive a commission on purchases made from links.
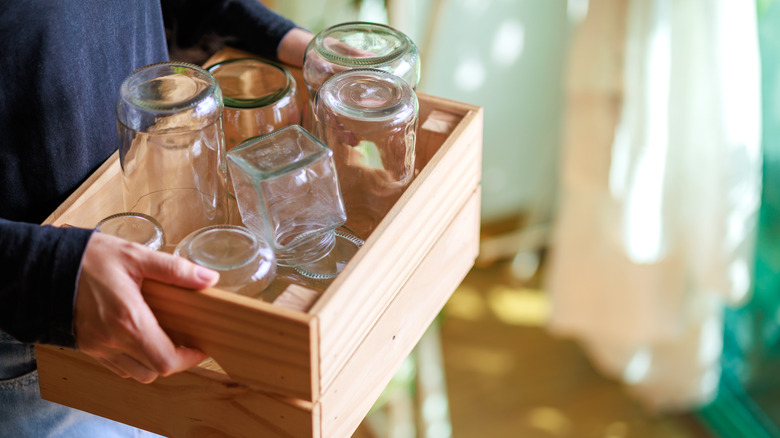
Empty jars seem to multiply like bunnies in the springtime. Blink twice, and you have a shelf stashed full of them. Before you throw them out, why not try this easy DIY to create something beautiful? Glass jars are one of the common household items you can repurpose into unique DIY home decor. An empty jar represents an endless number of creative possibilities. By combining it with aluminum foil and some paint, you'll create something truly special.
For this DIY, wipe down the outside of the jar with alcohol to make sure that the layers to follow have a clean, oil-free surface to attach to. If you intend to decorate and use the lid, apply masking tape to the thread of the jar to keep it clean and functional. Start by mixing decoupage glue, such as Mod Podge Water Base Sealer, and white acrylic paint in equal quantities in a small bowl. Paint the jar with the paint and glue mix using a brush, and set it aside to dry. If you're using the lid, paint that as well.
Measure and cut a piece of textured lace to fit the height and circumference of the jar. Working in narrow strips, paint the glue-paint mix, attach the lace, and press it down. Keep going until the jar is covered in lace. Press the lace down over the curved edge at the top and bottom of the jar. The glue should help it attach smoothly, giving you a beautiful finish.
Add the aluminum foil for exquisite embossed texture
Once the lace is attached, roll off a section of aluminum foil that is big enough to cover the outside. Remember, if you're using the lid, repeat each jar step on the top as well. Scrunch the foil lightly to give it texture, and then smooth it out. Using decoupage glue, attach the foil to the jar in sections. As you go, rub each section with a cotton pad to get the lace patterns to show through. Use a ball stylus, such as one of the Caydo Stylus Tools, for clearer definition. If you don't have a ball stylus, you can use the back end of a paintbrush to gently create the same effect. Cover the bottom of the jar with foil, too.
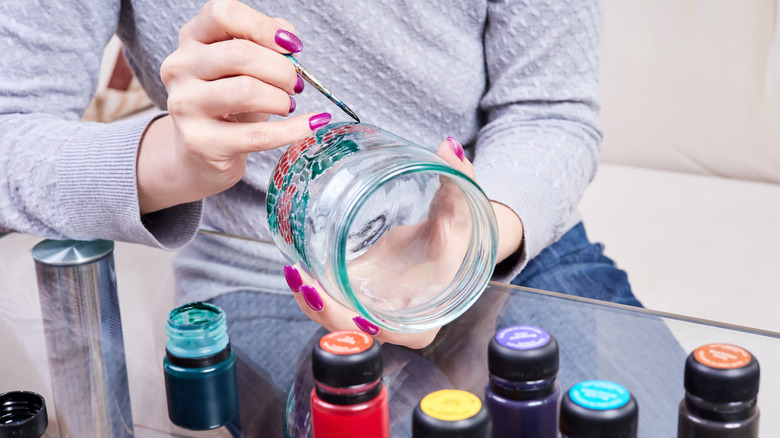
Now for some color! Pick any color you like, and paint the jar using a paintbrush. Work quickly to give yourself time for the next step before the paint dries. Using a napkin, rub the wet paint off the raised sections, allowing the foil to shine through. Aluminum foil is the trick behind these creative home DIYs, and it's what gives this jar such an effective 3D embossed effect.
Keep removing paint until you're happy with how it looks. Set it aside to dry and work on the lid, following the same steps. Once the paint is completely dry, finish off by sealing the jar and lid using a glaze sealant. Sealant prevents the acrylic paint from chipping and strengthens the surface.
Change a few steps for a unique take on this DIY
If you don't have lace handy, you can create your own patterns using Gallery Glass Black Liquid Leading. This is a great option if you prefer cleaner lines, without the additional texture that lace offers. You'd follow all the same steps, but instead of adding lace, apply the liquid leading. For tracing a design, use plain decoupage glue for your first layer, without adding paint. Using only decoupage glue allows you to see through the glass. Draw your design on paper, and slip the paper inside the jar to trace with the liquid leading.
Decorating jars in this way is so versatile and gives you options for your own decor, or making gifts for friends and family. Lidless jars can be used as striking vases for cut flowers, while the ones that close can hold hair ties, become classy piggy banks, or be painted in gentle colors to store cotton swabs in a nursery. They make delightful sweetie jars, particularly as the ants can't get in to feast on any of the sugary treats.
When it comes to holiday celebrations, this DIY can solve many home decorating headaches. If you're looking for new ideas and tips for decorating your mantel for every season, consider making a number of these in seasonal colors on jars of differing heights. Group them together on your mantel for a stunning display.