The Chic DIY To Completely Organize Your Shoe Closet
We may receive a commission on purchases made from links.
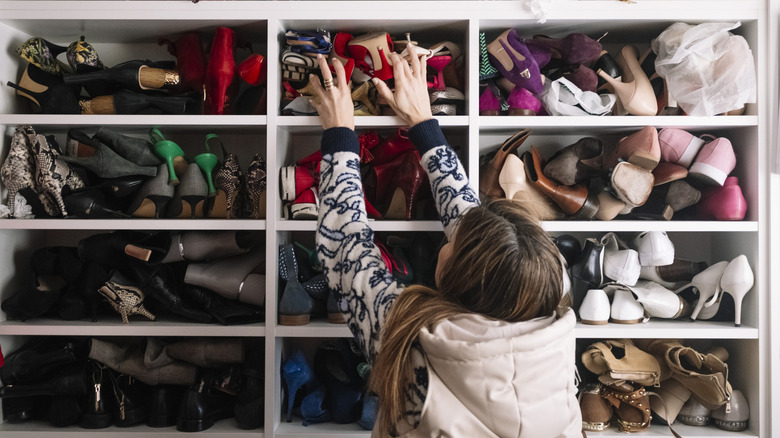
If your shoe closet is starting to look like a jumble of mismatched pairs and stray sneakers, you're probably wondering what is the best way to store your shoes. Shoes have a way of multiplying and taking over valuable closet space, making it impossible to find the pair you actually want to wear. Instead of tossing everything into a pile or splurging on expensive organizers, there's a cheap and surprisingly chic DIY hack you can try at home with your leftover cardboard.
All you need are six sturdy cardboard boxes of the same height and width — three for the bottom row and three for the top. Also set aside extra cardboard for reinforcement, a hot glue gun, something to measure with, a utility knife or scissors, and paint in your favorite color. You can reuse delivery boxes, check local stores for extra boxes, or even repurpose old packaging you already have at home. Choosing strong, uniform boxes is key so your new organizer doesn't collapse under the weight of your boots and heels.
The best part of this DIY is that you can completely customize the organizer based on what kinds of shoes you have, how much space you need, and even the aesthetic you're going for. Whether you're a sneakerhead with limited space, someone who loves to show off each pair like art, or a parent who needs extra space for your kiddos' shoes, this hack is flexible enough to make your home look neat and totally unique. For more environmentally friendly crafts, try some of these 11 cardboard DIYs to add style and decor to any room in your home.
How to build your custom shoe cubby with cardboard
To get started, gather your six rectangular cardboard boxes and stack them into two rows of three, making sure they line up evenly with the open sides facing outward. Use hot glue to attach them side by side, and then glue the top row to the bottom row. These individual cubbies are where your shoes will slide in. For extra stability, cut additional pieces of cardboard to line the inside tops, bottoms, and sides of each box. This step will keep your boxes from sagging or buckling over time.
To create drawers, you can either use smaller boxes that fit snugly or make your own by cutting and folding cardboard to match the cubby dimensions and using tape to create a box. Make sure to reinforce all the corners and sides so they don't fall apart. Once everything is assembled, you can cut small handle shapes for the drawers and then paint your cubby.
Choose black or white for a sleek, minimal vibe, or go for earthy browns to mimic wood. To personalize, try adding labels, like the Jieheng Black Removable Labels, to each section. Beyond shoes, these cubbies can store small bags, scarves, or even crafting supplies. If you think it's time to stop storing shoes in your cluttered closet, this little cubby will look adorable at the end of the bed, in a hallway, or next to your front door. Just remember, don't place wet items inside or use it to hold anything super heavy.