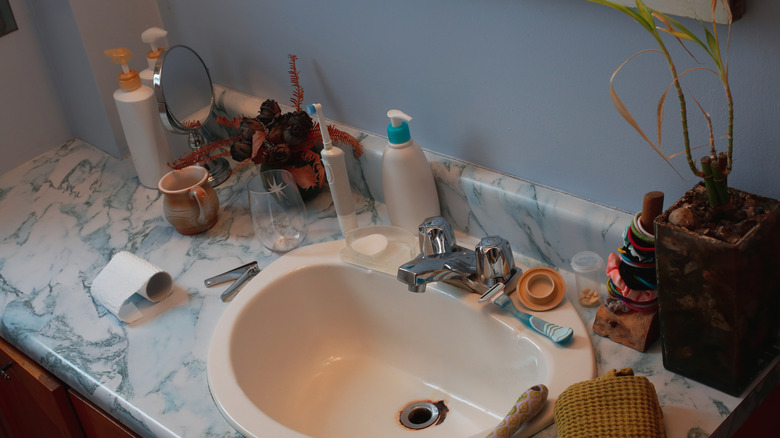
Take Bathroom Countertops From Cluttered To Clutter-Free With One Easy Dollar Tree DIY
There are plenty of everyday items you can use to organize your bathroom, but some of the simplest and cheapest are wooden crates from Dollar Tree. While you can of course use them as-is, you can also turn them into an expensive-looking tiered organizer to clear your countertops and help keep your bathroom clutter-free. This simple DIY requires six Crafter's Square rectangular wooden crates (just $1.25 each) and a couple of 2-by-16-inch Crafter's Square craft wood planks (also $1.25 each).
Using either wood glue or hot glue, align and attach two of the boxes together horizontally, being careful not to spread too much glue around the handle area (so as to avoid it seeping out). Squeeze the boxes together, attach them using a spring clamp, and allow the glue to fully dry. Repeat this process twice more until you have three two-box sets. Next, lay one of the wood planks on a flat surface and glue one two-box set at the bottom and another at the top, again using clamps during the drying process. Using a ruler, measure the midway point and glue and clamp the third and final two-box set in place. Gently lift your build to a vertical position, apply glue to all three exposed crate sides, and press and clamp down the second wood plank. Allow the DIY to dry fully (up to two hours when using wood glue) before unleashing your imagination to apply the finishing touches.
How to customize your DIY Dollar Tree organizer
Depending on how much clutter you're trying to store away, this project can easily be customized to fit your needs. For example, you can make a four-tiered organizer by gluing four crates between two side wood planks or go even bigger by using 12 crates and gluing them together four high and three across. Once your DIY organizer has fully dried, remove the clamps, pick up your paintbrush, and get to work. A great way to make cheap Dollar Tree decor look expensive is by painting it in a hue that matches your home's aesthetic or by applying classic wood stain with a foam brush. Another pretty idea is to paint the crates white, then use a chip brush to distress them, adding metal pull tabs for an added rustic effect.
You can also get creative with stickers and stencils or make your own decal from any design printed on a piece of paper. Cut out the print, stick it to the crate using Mod Podge, allow it to dry for several hours, and wipe the paper off with a wet paper towel. Just be careful not to rub too hard so as not to remove the print as well. Now, your DIY organizer is ready to store all of your smaller, more lightweight items, such as makeup and brushes, and declutter your countertops. If you do want to keep heavier essentials in the tiered caddy, such as lotions, we recommend always placing these on the bottom level for maximum stability.
