Don't Be Afraid Of Redecorating Your Old TV Tray (& Making Something Beautiful From It)
We may receive a commission on purchases made from links.
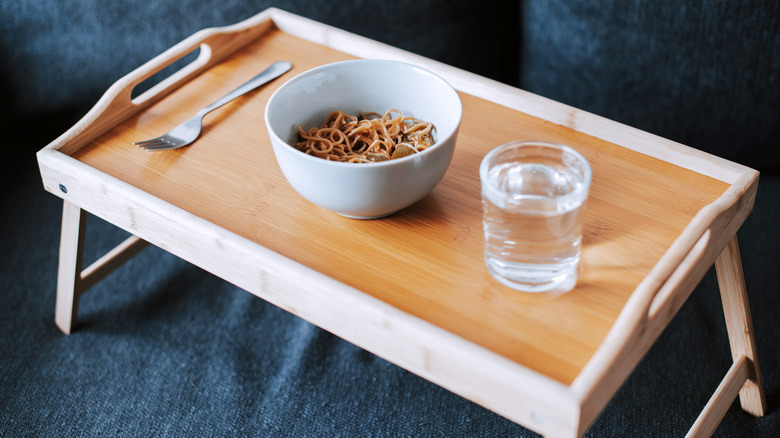
That vintage TV tray you picked up when you made your way through the flea market can go from second-hand to work of art with the help of your decoupage kit. While the project can be time-consuming, it's also worth the effort. And if the tray happens to be the last piece in what used to be a set of four, this project allows you to deal with a one-off in a clever and beautiful way.
Decoupage decorating techniques, which lie at the center of this refurbed attractive sofa tray, require a couple of craft supply supports. If the tray you're refurbishing is a vintage wooden piece, you may need both some spackling and primer to prep the tray. The spackling fills in cracks while the primer makes the surface smoother, so it adheres to the decoupage paper better. Sandpaper of various grades also comes in handy when you need to remove any rough spots on the piece. A cleaning solution that works with old painted wood, plus a scrub pad, helps with the pre-primer stages. Mod Podge, scissors, paint brushes, and paints are also necessary.
As for the DIY itself, you'll build its foundation on that wooden TV tray you found at the local flea market or second-hand store. It's likely pretty beat up, which is why you'll need something to cover it with, like decoupage paper. You can find smaller pieces on Amazon, like this vintage woodland friends design from STAMPERIA, which you can splice together in the gluing stage. There are also specialty shops that carry larger sizes of decoupage paper as well. No splicing required.
How to decorate your old TV tray
Prep the tray for the later stages by giving it a good rub down with your cleaner of choice. This step is critical because if there's any dirt or grime on it, the decoupage image won't lay down correctly. Also, there might be little bumps and blemishes on the tray, so don't forget to sand it down, then wipe the tray again. Once that step is done, you'll need to spackle and prime, then the Mod Podge and decoupage paper can go on after that.
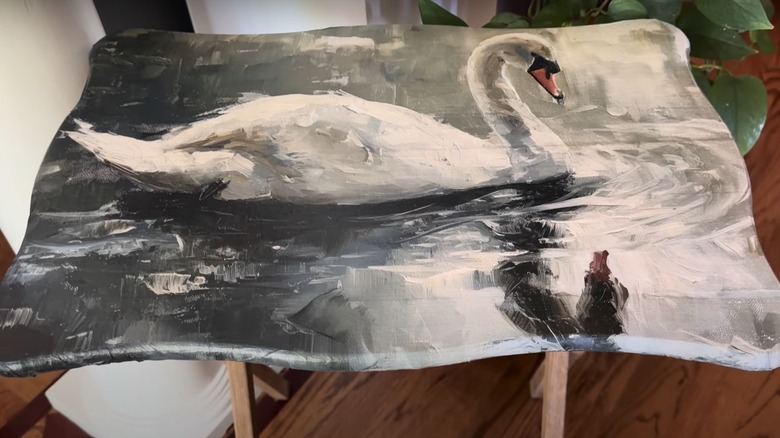
A nice decoupage image by itself will dress this up nicely, but if you have any painting skills or you know how to work with art materials like gold leaf, there are some more creative ways to do decoupage. Let's start with painting. You can still use decoupage paper with a ready-made design. However, if you'd like to make specific areas stand out more, you can add some highlights with acrylic or oil paints. This is a technique that was made famous by American artist Thomas Kinkade and the highlighter artists working in his employ. An avid DIYer and painter, @JBowenandCompany, also uses it in her TV tray decoupage project shared on YouTube.
Gold leaf makes your home decor shine and can be used in addition to the highlights or as a stand-alone decorative technique. Working with gold leaf requires the gold leaf, adhesives, and paint brushes. If you've never worked with it before, you may want to try a Wadities Store gold leaf kit to ensure that you have all the supplies you need when you start the project.