Don't Ignore That Backsplash Gap - Here's The Quick Fix
We may receive a commission on purchases made from links.
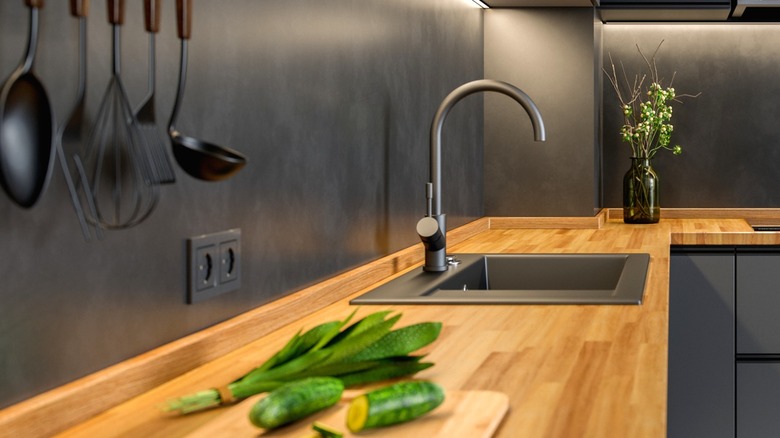
Noticing a small gap between your backsplash and the wall might not seem like a big deal at first. But that tiny space can become a sneaky entry point for water, food splatters, and other debris, leading to possible mold growth within only a day or two and more significant wall damage over time. If left unchecked, what starts as a simple cosmetic flaw can turn into an expensive health and financial problem that threatens the look and integrity of your kitchen.
Luckily, avoiding this issue is easy and doesn't require a big investment or professional help. All you need is 100% silicone sealant (such as Gorilla Waterproof Caulk & Seal Silicone Sealant), a caulk gun, a spray bottle filled with soapy water, and a dry towel or rag. These supplies can be picked up at most hardware stores or online without breaking the bank. In fact, you can probably complete this DIY for under $15. When choosing between caulk vs. silicone, the latter is often a great option for a kitchen backsplash because it's flexible, waterproof, mold-resistant, and designed to create a strong seal that holds up against moisture. By sealing this gap yourself, you'll stop water from sneaking behind your counters and keep your kitchen looking neat and polished. Plus, this simple, inexpensive wall gap fix can save you from the high cost of mold remediation and more significant repairs later on.
How to seal your backsplash gap with silicone
Before sealing the gap between the backsplash and wall, wipe away any dust or grime around the gap so the silicone adheres properly. Once clean and dry, grab your 100% silicone, and apply it steadily along the gap using a caulk gun. If the tool can't reach certain corners, don't worry. You can use your finger to smooth it out gently.
Right after applying the silicone, lightly spray the area with soapy water. This prevents the silicone from sticking where you don't want it and makes it easier to clean up. Smooth the silicone line by running your finger along it, and use a dry towel to wipe off any excess silicone or soapy water. It's important to double-check for smudges to keep your backsplash looking crisp. Once finished, avoid getting the backsplash wet for 24 to 48 hours to allow the silicone to fully cure and set.
You may be wondering whether you can paint over silicone caulk, and the answer is no. For homeowners planning to repaint later on, keep in mind that you may need to remove the old silicone before painting and then resealing the gap afterward. Taking the time to tackle this small but essential DIY not only prevents moisture issues but also keeps your kitchen feeling fresh and finished. If you're redoing the counters, try some of these creative backsplash ideas for your kitchen before finishing up with silicone.