Take Advantage Of Your Spacious Cabinets With An Easy & Affordable Wood Shelf DIY
We may receive a commission on purchases made from links.
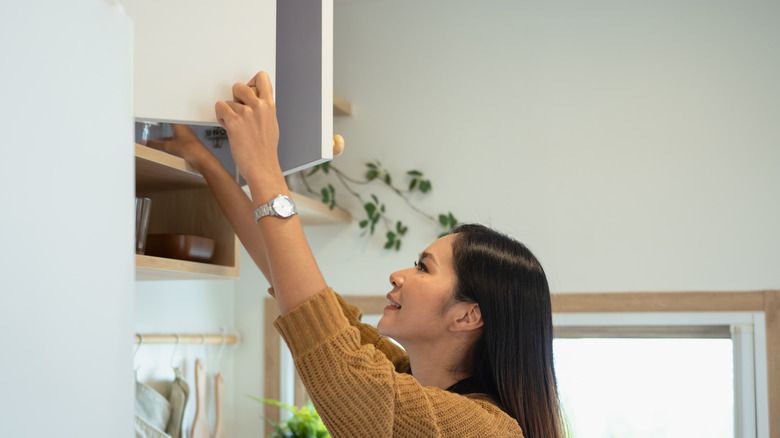
It's always a good idea to make the most out of your kitchen space. Extra cabinet space, in particular, is like prime real estate in a kitchen. But sometimes, cabinets with large interiors lack the shelving necessary for taking full advantage of their size. If you're tired of playing cabinet Tetris every time you reach for a snack or a plate, just cut a wooden board down to create a shelf, and then use a few pegs to mount it. You'll reclaim your sanity in an hour or two, and it will be easier than ever to declutter your kitchen since you'll have more room for all of your gadgets and cookware.
This hack is both simple and affordable. To get started, you'll need a panel of wood, a circular saw, a sanding block, a drill, clamps, a tape measure, and Prime Line Cabinet Support Pegs, or a similar alternative. If you don't already have a saw, a Ryobi 18V Circular Saw could be an excellent addition to your power tools collection. Measure your current shelves to determine what size plywood boards you'll need. A 2-foot-by-4-foot panel that's half an inch thick is about $26 at Home Depot. The pegs and the sanding block should be less than 10 bucks each. So if you only need one shelf, expect to pay less than $100 for the entire project.
How to add extra shelves to large cabinets
Measure your cabinet to determine how large your shelves should be, as well as how many shelves can comfortably fit in the cabinet's remaining space. Then, place your plywood panels on your work table, secure them with clamps, and cut them down to size with your saw. Next, take your sanding block and go over the edges and corners, removing any splinters. Start with the coarse-grit side of the block first, and then smooth everything out with the finer grit.
The next step is only needed if your cabinet doesn't already have any pre-drilled holes along the sides. Grab a pencil and measuring tape and mark where you will create pilot holes for your pegs. Line up the measuring tape with existing drill holes to make this process easier. Create the pilot holes with a drill bit that matches the size of your pegs. Then, place your pegs in the holes. Once that's done, put the shelf on the pegs and make sure that everything's level. You can use a traditional spirit level or place a bottle of water on the shelf to note the levelness of the water.
As you can see, this DIY shelving idea that provides extra storage space is pretty straightforward. However, that doesn't mean that you can't spruce it up a bit. Consider painting or staining your shelves to give them more character. Or, decorate them with colorful shelf liners to give the interiors of your cabinets a more unique style.