The IKEA Black Table That Is Just Begging To Be Tiled
IKEA's GLADOM is an affordable tray table that can look just a little more special if you apply some brilliant hacks to spruce up your outdoor space. One clever idea is to use tiles in different designs to glam up the top and turn it into a conversation piece. What's makes it even more versatile is that the top is removable, so it can double as a serving tray. The depth of the tray is ideal for you to customize with a colorful mosaic DIY, allowing you to use your creativity to make something decorative and useful, which reflects your own style and home decor.
The $19.99 item comes in black, white, bright orange, dark gray-beige, and dark gray-green, but the black version can work especially well with monochrome tiles, like black and white, or ones with pops of color. If you're after a more retro look, why not opt for a white table with bright orange tiles (just like those countertops back in the 70's). To get started, you'll need one of these tray tables, some tiles of your choosing, grout, and a strong adhesive, like super glue. You can usually purchase mosaic or penny tiles in different shapes such as flowers, bubbles, crosses, or diamonds, from a craft or thrift store.
How to tile the IKEA GLADOM black side table
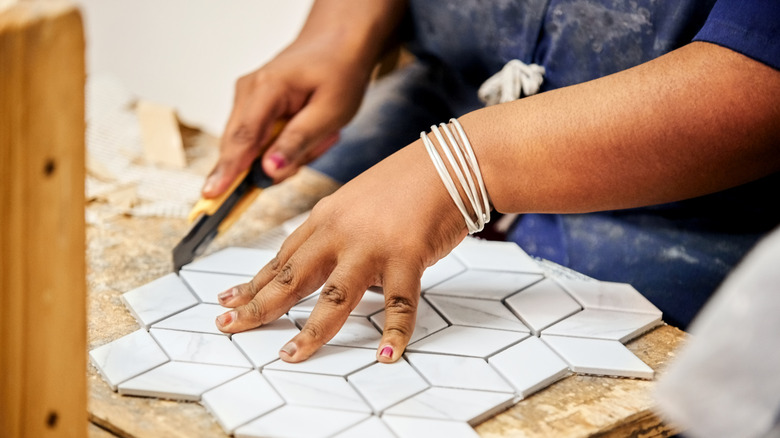
Once you have all your materials, it's time to use your imagination to work out a pretty design that will fit the top of the table. For instance, you could create a flower pattern or fashion a multi-colored design. You can also spell out a word, like "cozy" or "coffee," which will make your table just that little more personal and fun. Plan out your design first, called a "dry fit," especially if you're creating flowers, shapes or spelling out words with the tiles. This will allow you to make sure all the tiles fit well and your design comes together beautifully. You could even cut a piece of cardboard, the same dimensions as the table top, and then lay your design on this. This will make it extremely easy to then transfer the tiles to your tray.
When you're ready to attach them, use a strong glue, like thinset tile mortar, epoxy, or super glue. With all the tiles in place, mix and apply your grout according to the instructions, spreading it across the tiles to fill in the gaps. Finally, clean off the excess with a soft rag or paper towel. Give it a few days to fully dry and you'll have a new stylish and fully customized tiled side table ready to use. If you happen to have any tiles left over, you might like to explore some unique ways to reuse tiles in the garden.