The Budget-Friendly Way To Make Dollar Tree LED Candle Lights Look High End
We may receive a commission on purchases made from links.
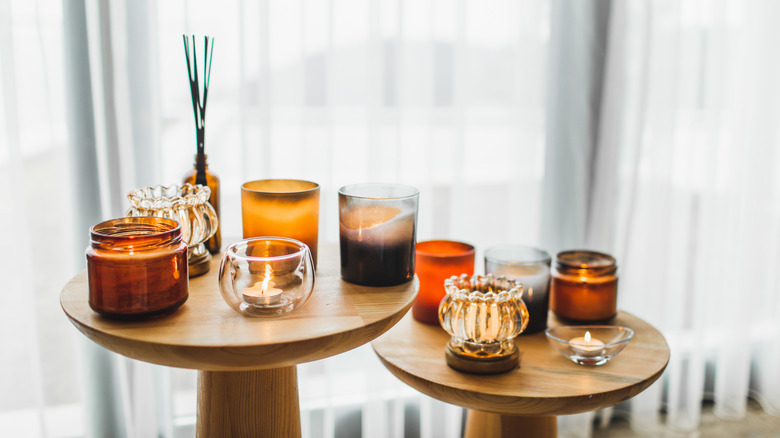
Decorating your home with candles is an easy way to bring more character and depth to a room. Whether you choose inexpensive candles or high-end options with a higher price tag, the effect they have on a room can make it worthwhile. If you're crafty and budget-conscious, there is a way to create the same stylish, ambient lighting effect with candles but minus the hefty price tag. This is where Dollar Tree Votive LED candles (or any Dollar Tree candles you love) can save the day. With this project, you're simply using embellishments to add a bit of flair to the basic LED candles. There are many easy Dollar Tree DIYs to impress guests, but this one offers a great way to help you transition your decor with the seasons, especially around the fall and winter holidays.
The candles, along with candle holders, multi-surface paint, wood slices, and a few other materials, are all you need for an upgrade that'll make your shelf look like it belongs in a home decor magazine. Other materials and tools you'll need for the project include painter's tape, a hot glue gun, a paint sponge or brush, ribbon, scissors, and E6000 adhesive. You can have your candles completed in less than an hour, and you won't have to spend much for them. A two-pack of the LED candles costs $1.25, and the remaining materials can be purchased for less than $10 each — or you can use materials you already have on hand.
Steps to upgrade your Dollar Tree candles
The cool thing about this hack is that it's such a simple way to make cheap Dollar Tree decor look expensive — and it doesn't require advanced tools. To start, set your wood slices on top of the candle holders, gluing them in place with the adhesive (don't use hot glue in this step) — set them aside until the glue dries. When it dries, paint the candle holders along with the wood slices — use whatever color fits your decor. Then, place a layer of painter's tape around the lower and top areas of the candles, leaving about 1/16 of an inch of space on each end. Next, paint the sides of the candles, including the small uncovered spaces near the top and bottom. Set the candles aside until the paint dries. Once it dries, add a layer of ribbon to the middle of the candles, securing it with your hot glue gun. Set them on top of the holders, and that's it!
One of the easiest ways to customize your LED candles is to paint them different colors. This may mean colors like red, green, and white around Christmas time and perhaps orange and yellow come October. You can also swap out the ribbon for twine, rope, or even leather for a more homespun feel. Wine cork disc can be used for the base instead of the wood slices, or you can make it fancier with mini mirror rounds. These are inexpensive — you can find a pack of 50 for around $8 at Michaels. Consider adding a touch of glam by covering the candles (and the candle holders) with gold leaf instead of paint.