Your Old Wine Corks Are The Secret To Attracting More Birds To Your Yard
We may receive a commission on purchases made from links.
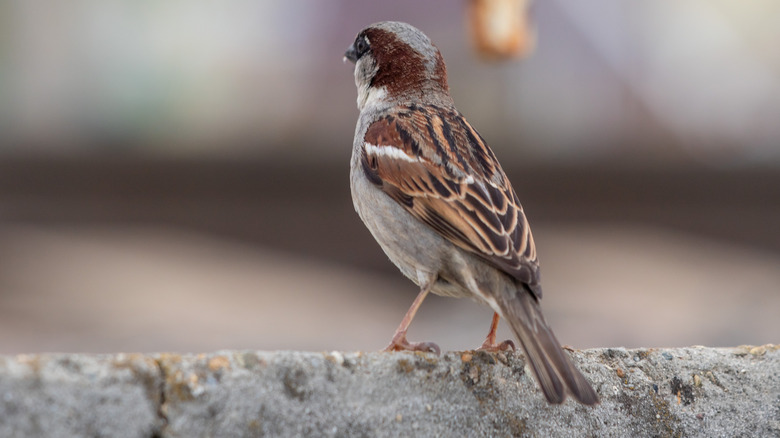
Homeowners want to attract birds to their garden or lawn for different reasons. Some simply appreciate the beneficial role that birds play as natural pest controllers, while others enjoy watching birds as a fun or relaxing pastime. Interestingly enough, research has even shown that exposure to birds has a positive effect on many people's mental outlook. Luckily, there are numerous ways to make your yard alluring to various bird species. One of the best ways to do this is to build a bird feeder. Adding a feeder to your outdoor space is like holding up a sign in your yard that reads "Feathered Friends Are Welcome!"
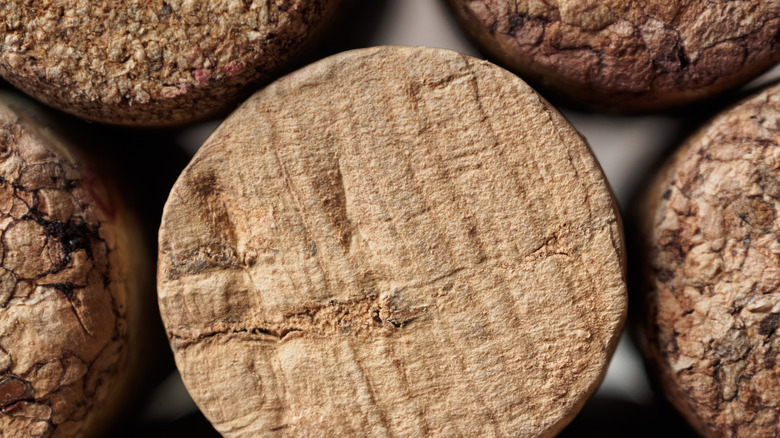
You may be surprised to find that you can construct a simple feeder by using nothing but old wine corks. So, if you're someone who knows their way around the grocery store wine section (not judging), start saving your corks to make a DIY bird feeder that will keep your yard buzzing with winged visitors all year round. If you don't drink wine, you can buy a 50-pack of Fosutou natural corks for about $7.
A couple of packs should suffice for a basic feeder. In addition to the corks, you'll also need a hot glue gun, a roll of twine or string, and a bag of birdseed, like Wagner's Wild Bird Food. All of these items can be purchased for $10 or less locally or online. And if you want to make your feeder a bit fancier to attract more birds, you can also grab a few paint brushes and some paint.
Steps to make a simple bird feeder from wine corks
Start by grabbing a piece of cardboard, newspaper, or other disposable material to protect your worktable. You're going to first create the top and bottom sides of the feeder. To do this, take two corks and secure them side by side with a bead of glue. Do this until you have three columns and three rows of two corks glued this way. When you set the corks down for each row, be sure to face them in the opposite direction.
So the first set of corks should be vertical, and the corks next to it should be horizontal. Then, glue all the rows together to form one piece (it should be 18 corks total). Perform these steps again to make another side (Side #2) just like this, and then set it to the side. Place and then secure corks along the top edges of the first side (like legs). Then, on each corner, stack two corks on top of each other. Next, turn the piece on its side. Then, stack and glue three corks horizontally to the bottom of two sets of legs, connecting them.
Next, grab Side #2 and glue it to the bottom of the legs. This will serve as the top of the feeder. Now, glue one cork to the bottom section of the feeder on all four sides as ledges. Add your bird feed to the bottom area. Next, grab your twine and cut it into four sections of at least 36 inches. Wrap the twine around the top of each of the feeder's four pillars, then make two knots at the top for hanging.
Customizing your DIY cork-made bird feeder
Once you've gotten the basics of the cork design down, you can then customize your feeder in a number of ways. For example, you can hang a separate seed-catching tray or pan beneath the feeder to catch any fallen seeds, keeping your yard waste to a minimum. You can also use sticks or bamboo skewers as additional ledges for your feeder (they take up less space). Also, consider adding ribbon or colorful rope to the bottom of the feeder as a decorative touch.
Attach charming beads or colored buttons to the rope for an added whimsical display on windy days. As mentioned earlier, try painting the cork to help attract the type of birds that you want in your yard. Want to attract those mesmerizing hummingbirds this summer? Consider adding splashes of red to your feeder to lure them to your yard. Also, topping the feeder with a chapel-style roof is a creative way to help birds stay dry on those rainy days.