How To Build Custom Drawer Boxes For Any Cabinet Size
If your kitchen or bathroom cabinets are structurally sound but missing entire drawers, it might be time to bust out the power tools. While you could invest in a few replacement ones, buying new can get expensive. When working with wooden cabinetry, it doesn't make sense to splurge on drawers when you can craft a few yourself. Plus, you get full control of the dimensions, giving you expanded creativity over the layout, quality, and design of your new piece of furniture.
Materials for making custom drawer boxes vary depending on your individual taste and the budget for your project, but plywood tends to be the most popular choice. A 4-foot by 8-foot sheet of ½-inch plywood or ¾-inch birch plywood is typically used for the sides. These sheets typically cost around $50, while solid wood may be double that cost. Factor in some wood glue, finishing nails, drawer slides, and a bit of matching stain, and you're looking to pay less than your average, pre-built setup. And most of the store-bought solutions aren't made for the exact specs of your piece of furniture, either being completely useless or requiring some additional renovations.
You can make your custom drawer boxes with a set of tools that every homeowner should have access to. However, you can make the process much easier with some specialty woodworking tools, like a large table saw or a pocket screw jig. With a few key measurements and simple joinery, you'll get a better fit and sturdier construction — and gain some solid woodworking experience in the process.
Designing custom drawer boxes for your cabinets
Start by measuring the opening where your drawer will sit. If you're replacing an old one, measure the existing box to get the exact base dimensions. For a new build, subtract about one inch from the width to accommodate slides, ½-inch on each side. Standard box construction includes four sides and a bottom panel, typically joined with pocket screws, dowels, or even just wood glue and brad nails if you're in a hurry. Keep your height dimensions and depth consistent with the cabinet style, and don't forget to account for the overlay if you're installing new fronts.
Cut the side panels to match the depth of the cabinet, then cut the front and back to match the inside width between the sides. Use ¼-inch plywood for the bottom and fit it into a groove or rabbet near the bottom of the frame. Depending on what you're planning to store in these drawers, you may want to add additional screws or wood glue to ensure that they hold up to the pressure. Use wood glue at every joint, and fasten the pieces with brad nails or screws. If you want cleaner joints, consider pocket screws or dowels for additional security.
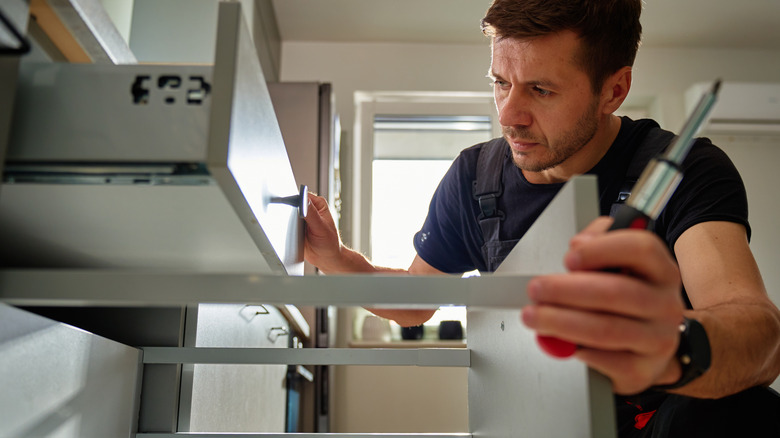
Once the box is assembled, sand all the edges and install the cabinet drawer slides on each side. Test the entire box into your existing cabinet and ensure that everything fits correctly. The drawers should glide in and out smoothly with minimal resistance. You can correct any mistakes with a bit of sanding if you notice a specific section catching.
Finishing and customizing your drawer boxes
Once your drawer box is fully assembled and installed, the final step is finishing and customizing it so that it integrates into your cabinetry and personal style. Start by filling any nail holes. If you plan to paint the inside of your box, sanding helps achieve a more polished overall look. If the drawer is visible when it's open, consider sealing the wood to prevent any water damage or staining from occurring.
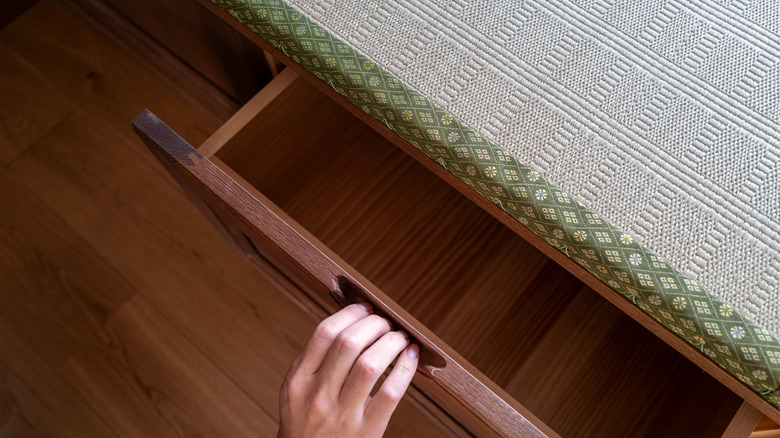
When it comes to drawer fronts, you have a couple of options. You can repurpose an older one if it's still in good shape, or make a new one from matching plywood or solid wood, depending on what you choose. The front should be slightly larger than your box to create a slight overlay and to hide the contents. This should be around ½ to one inch on all sides of your drawer. Attach it using clamps to keep it secure and screw it in from the inside of your box.
Once it's secure, add hardware like pulls or knobs. The slides can also be upgraded. Soft-close slides are popular for their smooth, quiet operation and add an extra touch of luxury. If you're feeling creative, you can customize with paint, stain, or even wallpaper on the inside for a surprising, playful detail. The goal is to make the drawers feel like they are part of the original furniture, but that doesn't mean you can't get creative with customization. With the right technique and a bit of effort, building custom drawers can be easier than you think.