The Money-Saving Trick You Need To Grow More Stunning Hydrangeas Every Year
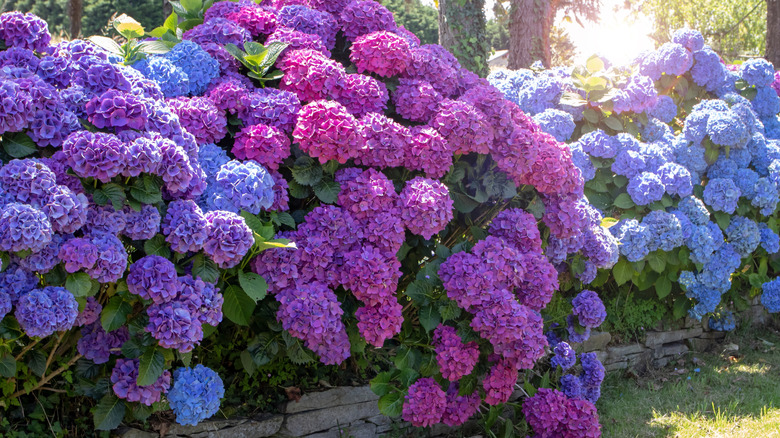
If you're dreaming of a garden full of hydrangeas but don't want to buy new plants every spring, there's a budget-friendly trick worth trying: Harvest seeds from your existing hydrangeas and grow your own. While many gardeners reach for store-bought plants, this seed-saving method helps you expand your hydrangea collection without the annual expense. The trick is especially helpful if you're working with lacecap, oakleaf, or smooth hydrangeas, which are much more likely to produce viable seeds than the common mophead types (those big, fluffy blooms often lack fertile flowers). It's worth noting that hydrangea seeds are not likely to grow into identical copies of the parent plant, so there's a little mystery and fun in watching what your seedlings become.
To get started, you'll need a few basics: brown paper bags, scissors or pruners, white paper plates, nursery pots, potting mix, and a sunny spot. Hydrangea seed harvesting takes a bit of patience, but it's surprisingly simple and very rewarding once you get the hang of it. Just be sure to plan ahead. You'll need to collect your flower heads in the fall after your hydrangeas start to fade and turn brown and then allow them to dry thoroughly before seed collection. Timing may vary slightly depending on your USDA hardiness zone. Generally, gardeners in Zones 3 through 9 have the best luck growing hydrangeas, but local climate can affect bloom cycles and drying times. Not only does this method save money, but it also adds a deeper layer of satisfaction to your gardening routine. There's something special about growing beautiful blooms from your own backyard seed stock, and you can keep them healthy for years with gardening tips and tricks for successful hydrangea blooms every year.
How to harvest and collect hydrangea seeds
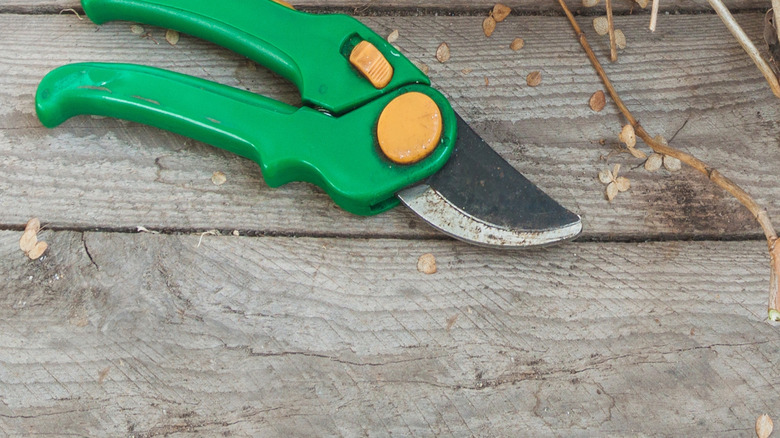
Once your hydrangea flowers have faded and dried on the plant, typically in late fall, it's time to gather them. Clip off the flower heads and place each one in its own brown paper bag (you want to keep varieties separated, especially if you're working with more than one). Hang the bags in a cool, dry area for about a week so they can finish drying out completely.
Once the flower heads are crisp, gently shake each bag to dislodge the tiny seeds. Then pour the contents onto a white paper plate, this makes it much easier to see the seeds, which are incredibly small and dark. Use tweezers or your fingers to separate the seeds from any remaining plant material. If you don't plan to sow them right away, store your seeds in a clean, labeled glass jar in a cool, dry place. They'll stay viable for up to a year.
How to sow hydrangea seeds and tips to consider
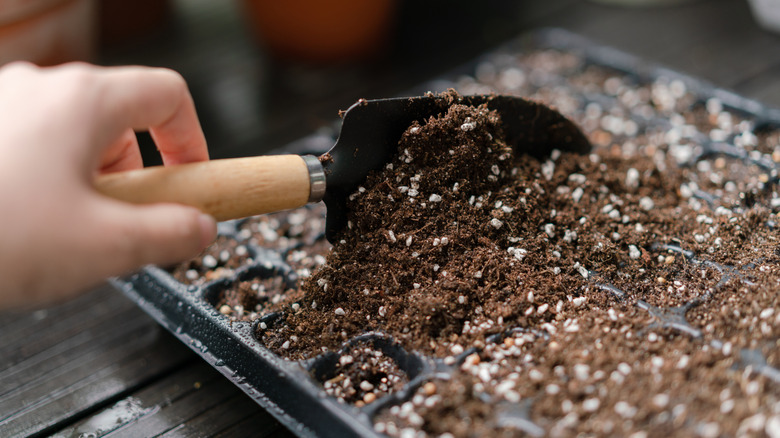
When you're ready to sow, start with nursery pots filled with a well-draining potting mix. Sprinkle 3 to 5 seeds onto the surface of each pot. Don't bury them (hydrangea seeds need light to germinate). Place the pots near a bright, sunny window and keep the soil evenly moist but not soggy. Germination typically takes around two weeks, so be patient and consistent with your watering. Once the seedlings sprout, thin them down to the strongest one per pot. After they develop 2 to 3 sets of true leaves, transplant them into 1-gallon containers filled with fresh potting mix and drainage holes. Keep these young plants in a sunny area for several months to help them grow strong before moving them outdoors.
To get even more organized, you can label your seedlings with the variety (if known) and the year, especially if you plan to share them with friends or neighbors. You can also experiment with starting seeds indoors earlier in the season using grow lights to speed things along. And if starting from seeds feels overwhelming, you can grow a full hydrangea hedge from just one plant. But for the cost-conscious and curious gardener, seed harvesting is a beautiful, low-cost way to bring more hydrangeas into your life, year after year. Before growing hydrangeas in your garden, here are common issues to know about.