The Bathroom Cabinet DIY That Doubles As A Chic Storage Solution
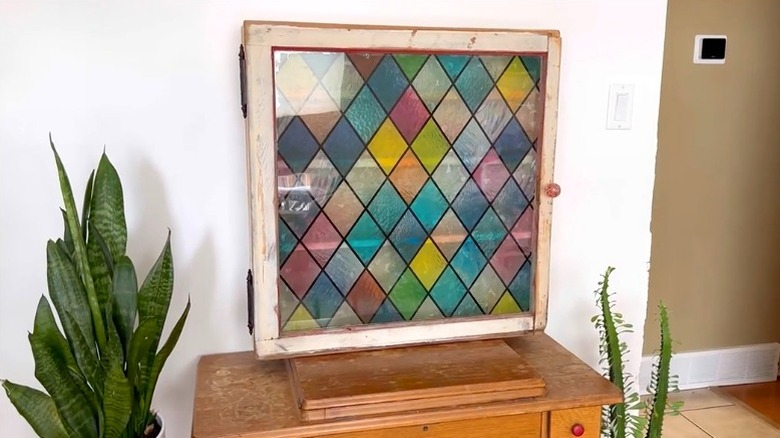
While there's more than one cabinet design choice that can make your bathroom feel dated, others create an atmosphere that's classic, vintage, and timeless. To achieve that rustic vibe and make your bathroom decor more interesting, you might already have everything you need lying around in storage! By repurposing old windows as the front of a DIY bathroom cabinet, you avoid the cookie-cutter, premade designs that many decorators find drab and unoriginal. And depending on the era your old windows are from, they may be larger than today's standard sizes and therefore offer more storage room and a grander focal point. That can mean a more spacious solution to get your cluttered bathroom cabinets organized. Plus, creating fashionable new cabinets with old windows is easy.
Another consideration is the price. Some large bathroom cabinets cost $1,000 or more, but why shell out for that if you might be able to DIY your way to the same end? Just look for a vertically-oriented window, which will likely fit your bathroom space needs better than a horizontal one, at an estate sale, in a thrift store, or even on the curb. Then, you'll need the following materials: 1-by-8 pine boards for the frame, a 1-by-6 pine board to cut down for shelves, a ¼-inch plywood sheet for the backing, wood glue, 1 ¼-inch pocket hole screws, and ¾-inch finish nails. To install, you'll use a drill, clamps, a level, a tape measure, and a saw. When you're working with power tools, be sure to take safety precautions such as wearing goggles — especially if you're a beginner.
Building your vintage DIY bathroom cabinet
As with most budget-friendly home upgrades, the project details for this DIY cabinet will depend on your space, aesthetic, and needs, so you'll need to measure your window frame and determine how it'll fit into your bathroom. After that, you can construct the cabinet frame (sides, top, and bottom) using wood boards. Cut your 1-by-8 boards to form the frame. To correctly cut each piece to the right size, measure the length and width of the according side of the window. The door can lay over the frame on the outside, or you could set it into the frame. If you want an inset door, add about 1/16th of an inch to each side so the cabinet will be able to open and close easily. Clamp the boards to a work surface to drill pocket holes, and combine the piece to make the rectangular box, joining them with wood glue and pocket screws. Then, cut your plywood sheet to match the frame's outside dimensions, and secure it to the back of the frame with nails.
To make the shelves, you'll need to cut down your 1-by-6 wood pieces. Your measurements for these pieces are dependent on how many shelves you want in the cabinet. However many you choose, mark on the box where you want to place each shelf, and install brackets (i.e., small wood strips) to the inside of the frame to support your shelves. Cut the shelves, and place them on the brackets. For a more advanced undertaking that might also require wall plugs, you can also consider building adjustable shelves.
Finishing a stylish DIY bathroom storage solution
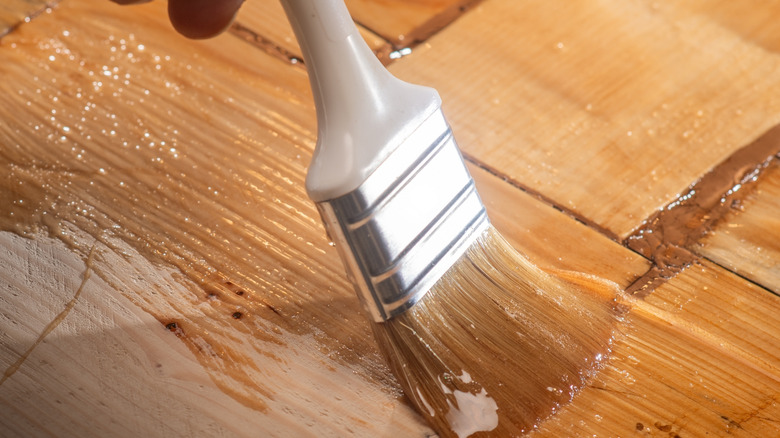
After you've laid the groundwork, play with the cabinet's design before mounting it. Find some wood stain or paint to create the color scheme you're after. Sand the wood first to even out the texture, and be sure to take care of the painting and staining before you attach knobs and hinges. Once the coating has dried, you can add a knob or handle (whether a newly purchased one or a thrifted gem). For the door's operation, choose face frame hinges that cover a portion of the front of your cabinet or concealed hinges that are more discreet (but keep in mind that concealed hinges may be more expensive and more challenging to install).
Mounting the cabinet might be the most intense part of the project. It requires a stud finder to determine where your wall can support the weight, and depending on the placement, you may need wall anchors for stability and a ladder to do the installation. Use a pencil and level to mark the proper space on your wall. Then, drill small pilot holes in the back of your cabinet. Hold the cabinet up to the wall, and mark the spots on the wall where these holes will go so you can drill pilot holes in the stud or install anchors. Drive screws through to attach the cabinet to the wall, ensuring that it's level and properly placed. When you're sure it's steady, it's time to step back, enjoy the fruits of your labor, and fill those shelves with your bathroom items and any fun plants or decor to add more character.