How To Turn Dollar Tree Bathroom Storage From Cheap To Chic
We may receive a commission on purchases made from links.
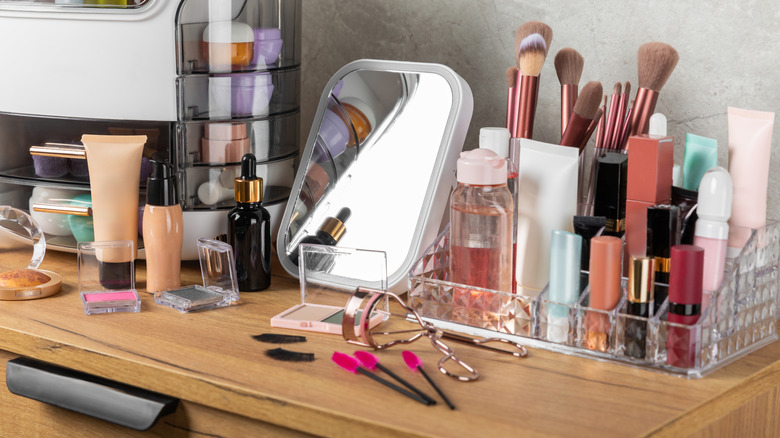
If the cotton balls in your bathroom have over-run your countertop like a bunch of tribbles in an old "Star Trek" episode, no one needs to tell you that you need better storage options. Certainly, you could do a Dollar Tree run and get some glass lidded containers. This is one of those bathroom storage hacks that would at least contain the tribbles and other bathroom counter clutter and make it look more organized.
However, did you know that you can take this simple storage solution from cheap to chic if you combine those glass jars with a heavy dose of your mad crafting skills and a few wood dowels thrown in for good measure? Dollar Tree has an assortment of jars, but the 6-inch jar with the metal lid is a good size for most things you'll store in them, including tall, thin items, like cotton swabs. For this project, you'll need three jars. A can of Rust-Oleum Painter's Touch Ultra Cover Spray Paint in flat black and a handful of paper towels should also be on your supplies list. Do note: You're not limited to black paint for the lids. Feel free to choose a color that matches your bathroom decor.
You'll fancy the jars up with the help of sticker printer paper. If you're not familiar with this kind of paper, one side has adhesive, while the other sports a printable finish. Crafters use it to create their own stickers. Next, you'll need some DisplayBug Plexiglass 5-inch by 7-inch sheets. Lastly, you'll want to grab a hand saw, some scissors, a pencil, and a glue gun to put all of this together.
Creating your bathroom storage jars
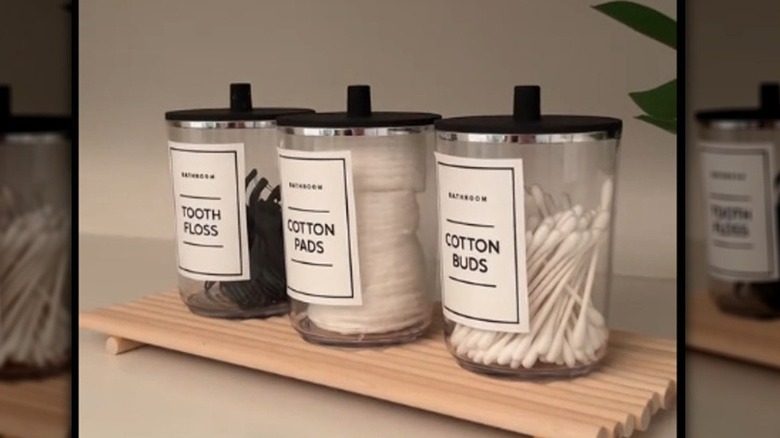
To start this DIY, prep the jars by rubbing any fingerprints off the lids and jars. Your next prep step concerns itself with the painting of the jars' lids. You'll want to lay out some paper towels or newspapers to get ready for the painting step. While it's possible to use regular acrylic paint and a brush to cover the lids, you may want to avoid that method because you'll likely end up with brush strokes in the paint. There are ways to avoid this, including sanding the paint between coats, but that can be challenging for inexperienced crafters.
In any case, once you've protected your work surface, spray paint the lids until no metal is left showing. While the paint is drying, create some labels for the jars. Design the labels and then print them out on the printable white sticker paper from the L LIKED Store. Cut the labels out and stick them onto the jars.
Finally, you'll work with the wooden dowels and one Plexiglass piece to make a wooden tray for the jars. Line up the dowels so that they're the width of one Plexiglass sheet. Straighten out the ends of them to make them all even. Next, glue the Plexiglass sheet onto the dowels. (You may need quite a few to cover the whole sheet.) Once that's done, create a stand by cutting two dowels so that they're long enough to stretch from one side of the "tray" to the other. Glue the trimmed dowels onto the bottom of the shelf and let the adhesive dry before putting the jars on the tray.
Upscaling your chic new storage solution even more
If you like uniformity, then you'll probably want to work with three jars of the same size. However, the Dollar Tree has lidded glass jars in several sizes. If you're more of a design rebel, or just need jars of different sizes, go ahead and choose three different jars. The painted lids and the matching labels will unify their look so that it appears that they belong in the same set.
Projects like this tend to spark a crafter's creative side, and if that's the case with you, you may want to get out some glass paint and stencils to cover the jars with patterns. For example, if you've chosen a nautical theme for the bathroom, use some Armour Etch Over-N-Over reusable glass etching stencils to create the sea-inspired imagery. A set of 24 ARTISTRO acrylic paint markers will give the stencils color. The stencils themselves are flexible, so they should wrap around the glasses fairly easily, though you may want to tape them in place with a bit of painter's tape to stop them shifting as you work.
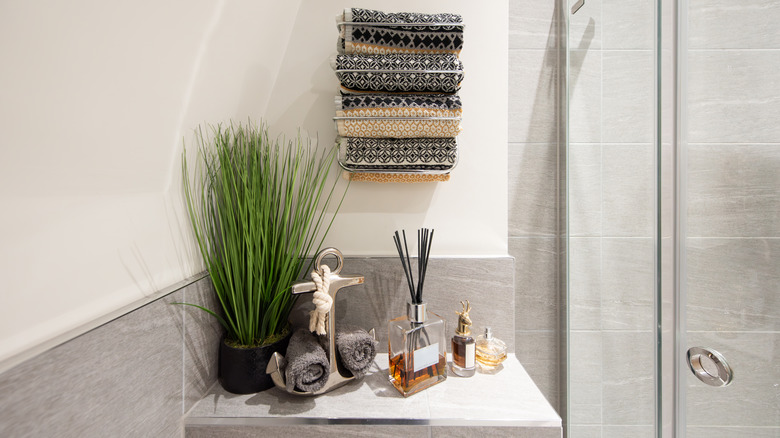
You can do a lot with your theme here. Using the nautical designs again as an example, you could paint all the jars' lids a soothing ocean blue and then paint on the stencil designs, also in blue. If you're feeling more colorful, add some color. Think red lobsters, green palm trees, and yellow ships' anchors, and you're on your way to creating a cheap and chic bathroom storage solution, similar to other Dollar Tree anti-clutter hacks. Finally, don't forget to add some warmth to your bathroom with a few plants.