DIY Trendy Art To Dress Up A Boring Wall Using An Unexpected Dollar Tree Essential
We may receive a commission on purchases made from links.
Unfortunately, it is the way of things: The trendiest wall art often comes with a hefty price tag to match. Some of this cost comes from materials. Other costs arise from the artist's reputation. Fortunately, for the artistically-inclined home crafter, there is the Dollar Tree. For just a couple of bucks and a few unlikely supplies, you can creatively dress up a boring wall with a miniature masterpiece of gridded geometric design. And, you can do it at a much friendlier price point.
Like most pieces of wall art, this composition starts with a blank canvas. Dollar Tree carries a number of different sizes, though if you're having trouble narrowing down your decision, you may want to go with an 8-inch by 10-inch canvas board. In art sales, this size counts among the most popular. It's big enough to make a statement, but not so large you can't find a spot for it on an already-established picture display, or even as a clever alternative to a boring gallery wall.
As for the mystery element that makes this contemporary art piece such a standout, you'll need to grab a pack of round Tool Bench felt furniture protectors while you're at the Dollar Tree. These are the little round discs that you put on the bottom of your furniture legs so that the feet don't scratch up the floor. A ruler, a pencil, an artist's eraser, some acrylic paints, paper plates, disposable towels, and paintbrushes are also necessary to unleash your inner Picasso. You'll additionally work with some newspaper or butcher paper to protect your work surface. Finally, you'll want to grab some adhesive picture hanging strips to mount your artwork on the wall.
Creating your trendy wall art masterpiece
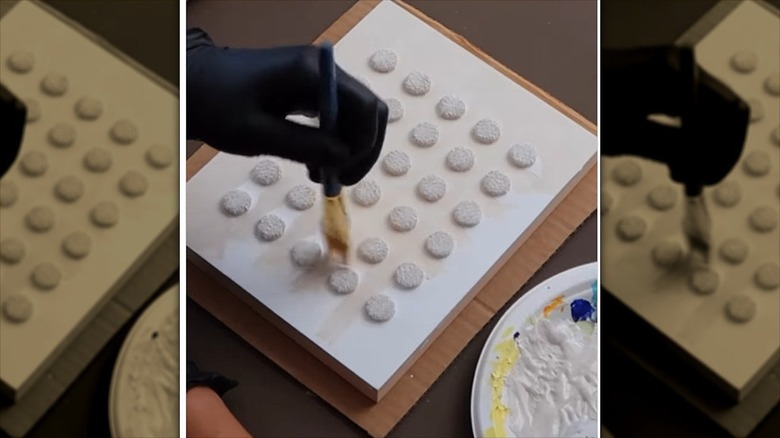
Like most pieces of art, there is some prep you need to do before you can paint. To create a symmetrical grid design on the canvas, you'll need to draw out a grid using the ruler and pencil. Ideally, the squares in the grid should all be the same size. If you're concerned about the pencil lines showing through the paint on the finished canvas, work with a hard pencil, such as a 2H to 4H artist pencil, which you can find in a 14-piece graphite sketching set from Daerthotk. The lead on these pencils creates a lighter mark, making the graphite easier to erase. Once you draw the grid, put an adhesive pad on each of the corners of the squares. Allow them to set. Next, gently erase the pencil grid lines on the canvas until they're gone.
The painting step follows. Although there are no rules for how to paint the dots, it's worth mentioning a couple of options to give you some ideas for your wall art. Tracing around the circles with the tip of the paintbrush and laying the paint on thick leaves behind circular brush strokes. The effect becomes more pronounced the more paint you load on the brush. You can also paint each individual dot to turn up the volume on the contrasts. Gradients are a fun way to mark up the canvas. And, if you'd like to make it look contemporary, paint the sides of the canvas, too. If you do that, then you can hang it up sans frame.
Ways to turn up the chic even more
One of the key elements in art and design is repeating patterns. In this case, the repeating circles in the grid denote this concept. However, this doesn't necessarily mean you need to repeat the size of the circles. Some bigger circles mixed in with some smaller ones, turns up the volume on the visual interest of your DIY wall art piece.
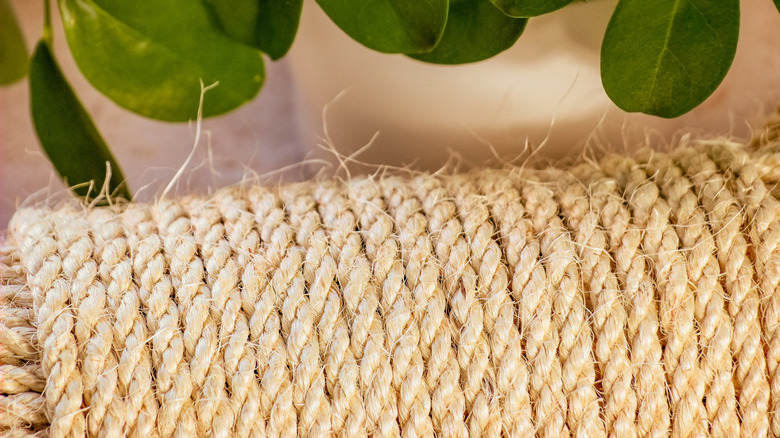
A cheap and fun way to do this using Dollar Tree items is to grab a couple of wired Jute cord ropes. These, which normally decorate your floral arrangements, not only repeats the circular form in your artwork, but the rope also helps you to create more textured wall art. Use the jute in combination with the sticky furniture protectors to make the maximum impression. For example, draw out the grid as you normally would. However, instead of putting small circles in the upper right-hand corner, glue a jute circle there instead. To make this really stand out, you could leave it natural, sans paint. Or you could add some coats of paint in a color that contrasts the rests of the shades on the piece to make the larger circle pop with a 3D effect.
Lastly, you're also not just limited to circles. You could introduce other geometric shapes, like hearts or squares, to create visual contrast to the sea of circles on the canvas. If you'd like to try something like this, glue a heart-shaped chalkboard tag from the Dollar Tree in one of the art piece's corners. Fancy it up with your choice of paint and then hang it up when it's done.


