12 Clever Tips To Help Declutter And Organize Your Garage Tool Kit Like A Pro
We may receive a commission on purchases made from links.
Does your hammer always seem to come up missing when you need it? Or maybe you need a Phillips screwdriver, and all you can find are flat-head screwdrivers. There is a solid selection of tools every homeowner should have, whether you're an avid DIYer who handles most of your own home repairs or you simply like to hang new decor now and then. But the more tools you collect, the more challenging it can become to keep all of those items organized, so it's easy to find exactly what you need. Learning how to effectively sort your collection to get rid of broken, duplicate, or unused tools is a good start. From there, you can organize it efficiently with specialty organizers that are labeled and give every tool its own spot.
Decluttering and organizing your tools isn't just about finding what you need quickly (although that's a big perk). It also helps you use your garage spaces as efficiently as possible and protects tools from getting dirty or damaged while they're being stored. Getting organized could save you money by preventing you from buying a duplicate tool because you couldn't find the one you already have, and it's easier to assess your collection to see what new tools you might need. Regardless of why you want to declutter and organize, the process will make your upcoming projects go faster and smoother since you'll know exactly where to go to grab the tools you need.
Collect all tools in one spot and clean them up
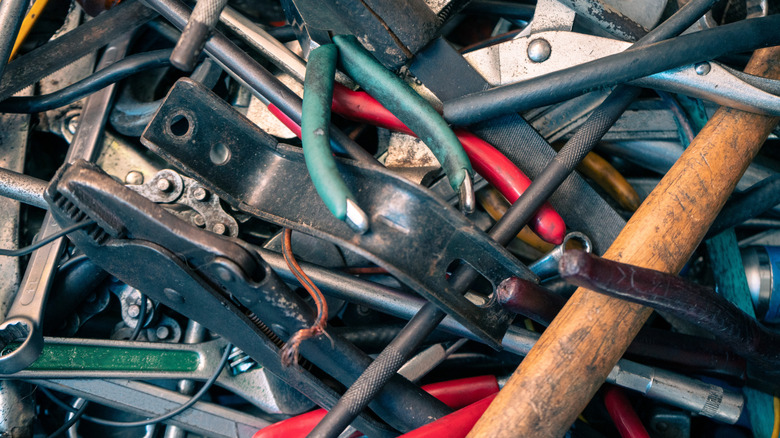
Before you can declutter and organize your garage tool collection, you need to know exactly what you have. A decluttering session allows you to go through what you own, take inventory, and start to organize those items in a logical way. You may have tools in several different places, such as in toolboxes, on your workbench, under your sink, or in the last area of your home where you used those tools. It's easy to forget what you own, so putting everything in one spot helps refresh your memory and ensures all tools get a spot of their own during the organization process.
To make this process easier, find a table (or several tables) that you can use to put out all of your tools in one area. At this point, you can start casually organizing tools into categories as you arrange them, but the main purpose is to simply gather every tool you own. Lay them out so every tool is visible in preparation for the next steps. This is also a good time to clean your tools if you haven't done so lately. Use a microfiber towel to wipe them down; add a little mild detergent in warm water to scrub the tougher spots. Dry the tools completely when you're done to prevent rust.
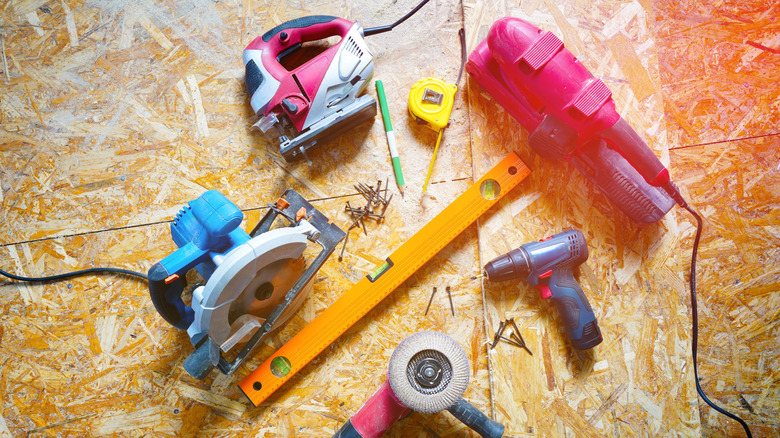
Sort your tools and accessories by type
Now that you can see all of the tools you own, it's time to sort them into categories. This process is the beginning of your organizational system, and it helps you get a better idea of what you own, including how many of each type of tool you have. There are different ways you can categorize tools, including the tool type, its purpose, or how often you use the tools. You can also start with larger categories and make smaller groups within them. For example, you might start by separating your power tools from your hand tools. From there, you can separate your hand tools into piles of screwdrivers, pliers and wrenches, sanding tools, and saws.
When categorizing your tools, think about how you use them and what grouping system makes the most sense to you. Move the tools into those smaller groups on the tables you're using or decluttering. You may need to rearrange your piles as you go through the items to create better groupings.
Look for duplicate tools
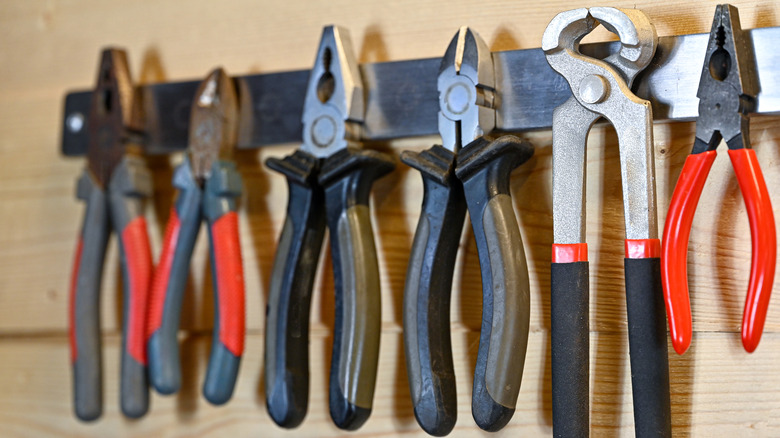
With the tools in specific groups, it's easier to spot the duplicates in your collection. Not all duplicates are bad — it can be convenient to have backups of frequently used tools like tape measures and screwdrivers. However, you probably don't need 10 different pairs of pliers or five tape measures. Having an excessive amount of duplicate tools adds to clutter and requires more storage containers, which can add up quickly.
When you find duplicates in your collection, count how many of each item you have. Is it a reasonable number, or is it an item where having a backup is beneficial? Tools that are used frequently and that are easy to misplace are examples of items you may want two or more of. If you decide you have too many of a particular tool, assess the versions that you have to decide which ones to keep. Consider the quality, including the brand, construction quality, and current condition, to identify the highest-quality pieces to keep. You might also consider the functionality. If you have a 10-foot tape measure and a 25-foot tape measure, the longer one offers increased versatility if you're measuring larger spaces, so you might choose to keep that one.
Decide what to do with damaged tools and accessories
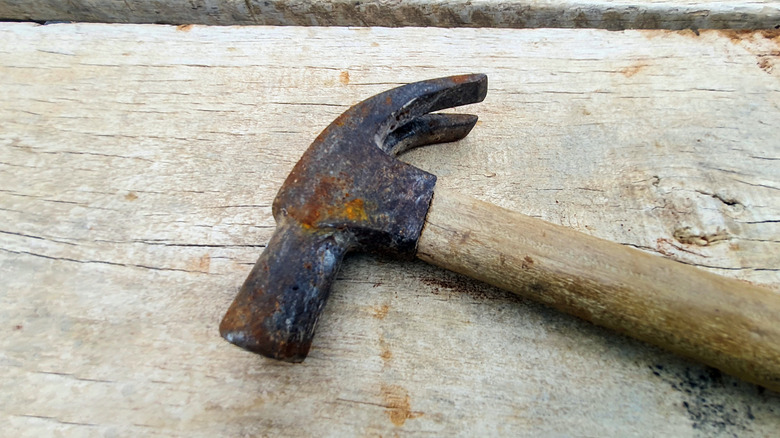
If you've been building your tool collection for a while (or started with inexpensive, lower-quality tools to fit your budget), you may have some items that are in poor condition. Examples of tool damage include split handles, bent blades, poorly attached handles, torn grips, damaged springs, and chipped heads. Continuing to use those items could be a safety risk to the user. The issues could also make the tool more difficult to use or give you poor results. Dealing with those damaged or broken tools now can prevent those issues.
You can declutter your garage by tossing commonly stored items you won't use again, like broken tools. This may be an option if you have a duplicate of the tool and don't want to mess with repairing the item, or if the tool is severely damaged. You may also decide to repair the tool — you might replace a broken handle, for example. If a tool is rusty, you might be able to use sandpaper or steel wool to remove it. Another method is to degrease the tool before soaking it in a liter of white vinegar mixed with ¼ cup of salt for one to three days. If the tool can't be submerged, it can be wrapped in a vinegar-soaked cloth, sprinkled with salt, and stored in a plastic bag. This will soften the rust, and you can brush it away with a metal brush.
Donate or sell tools you no longer use
You've already eliminated some tools due to them being duplicates or broken. Now, you can go through the collection again to look at the remaining items critically. This is your chance to decide if you actually use the tools enough to give them a permanent spot in your tool storage. In some cases, you might keep a multitool and get rid of several individual items. One common option is using a multi-bit screwdriver, like this Amartisan 18-in-1 Screwdriver Tool, instead of having multiple screwdrivers. The smaller bits take up less space than full screwdrivers.
Go over each tool and consider how often you use it. Set aside the tools you never use or that you bought for a single project and haven't used since. If you're up in the air about some tools, set them aside in a box. Wait several weeks to see if you have the need to use any of those items. If you forget about them or never need them, it could be time to get rid of them. Sell those items in local selling groups or at a garage sale. If you want to donate tools that are in good condition, consider taking them to a nearby Habitat for Humanity ReStore location.
Choose various tool organizers that match your collection
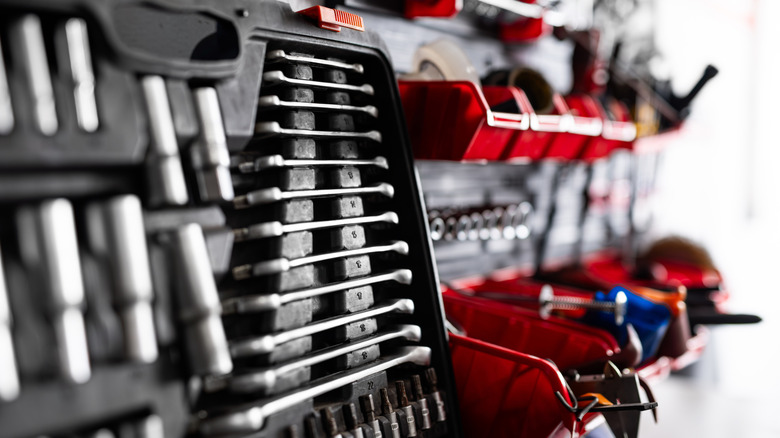
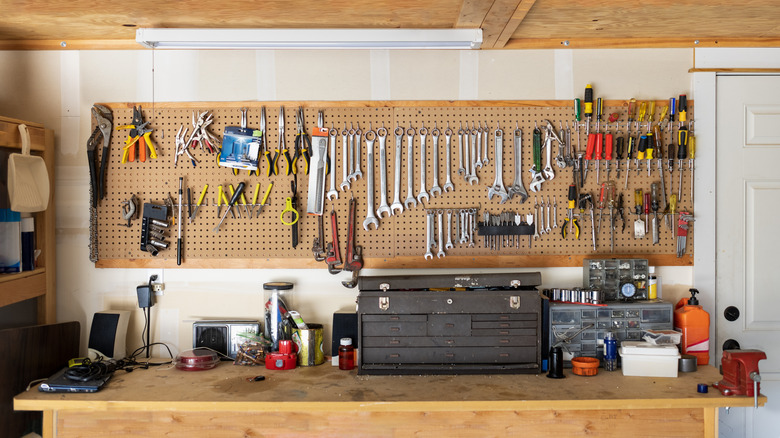
Now that you know what's left, it's time to find the right containers to hold them. Which tool storage should you choose? That depends largely on your tool collection and how you prefer to use the tools. Some people like small, portable tool bags or boxes that they can carry wherever the work takes them. Others work mainly in the garage and like large tool chests that allow for lots of organization while keeping items protected within locking drawers. Hanging tool organizers, such as pegboards, are also popular for maximizing vertical space and keeping tools accessible within your workshop area. No matter what you prefer, having plenty of tool storage space is essential for keeping your collection organized.
Make sure you choose a large enough tool storage solution to keep your items organized and protected. Consider how and where you use the tools to choose storage options that are compatible with those routines. Taking measurements is also helpful when choosing tool storage. You need containers that are not only large enough to hold your tools but that will also fit in your garage. Even if you're on a budget, there are plenty of tool organizers that cost under $50 to get you started.
Designate a spot for every tool and accessory
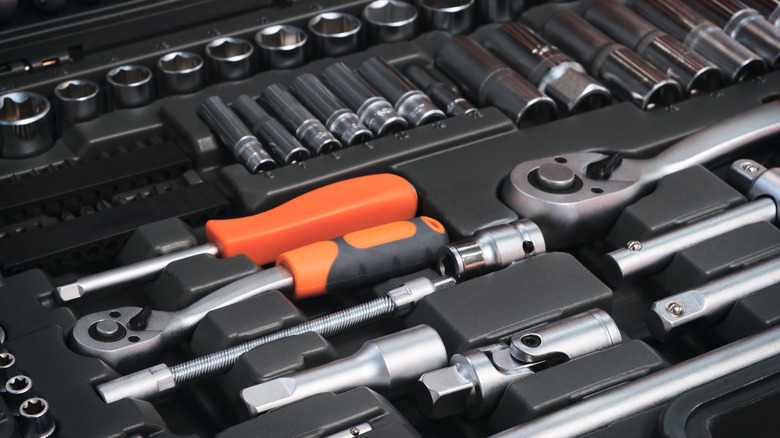
Buying organizers is an important step, but it doesn't automatically make your tool collection organized. Utilizing your tool storage effectively happens when you give each individual tool its own spot. That way, you know right where it goes when you're done using it. You can also easily tell which tool is missing if there's an empty spot somewhere in the organizer. Having a spot for each tool is even better if the spot is customized to that item.
To back this work, start by eliminating the junk drawer in your garage tool storage area — it's no longer allowed! When you assign spots to your tools, consider where you use them and keep those items close to those areas. It's typically helpful to put the most-used items at the front of a shelf or drawer or near eye level if possible. You could also outline the tools on your pegboard with permanent marker, or add foam inserts into your toolbox with openings shaped like the items. Some tool storage containers have these pre-cut inserts included. But if you can't find a tool organizer that works for your items, there are clever ways to DIY a custom foam storage solution based on what you own. You can buy foam inserts, like this Onreva Toolbox Foam, which you can cut with a knife to the shape of each tool.
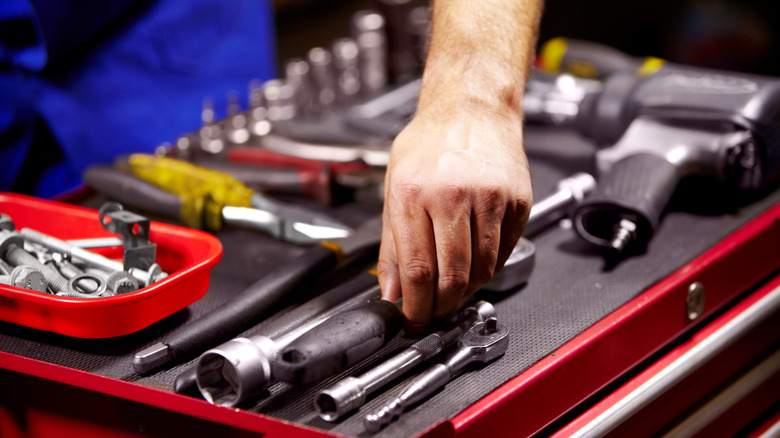
Identify an A team of tools that you use often

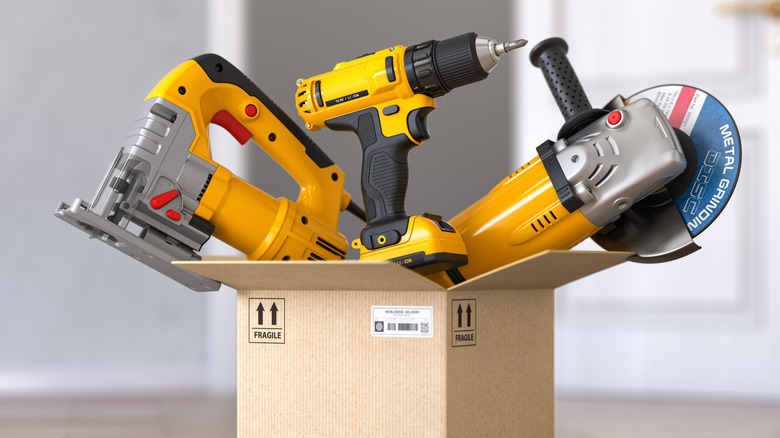
You know which tools you go for when you need reliable options. It's common to have several key tools that you use for almost every project — your favorite hammer, your power drill, your set of screwdrivers. Some tools simply get more playing time than others because of their versatility and how much they help with common DIY tasks, like installing screws. In some cases, you simply have favorites from your set of duplicates — one level gives you the most reliable results, or a certain pair of pliers gives you the best grip. Set aside those daily-use tools to make sure they're always readily accessible when you need them.
Your A team of tools deserves a special storage space. If you like to have them at the ready, you might have a designated tool bag for them that you can always grab. For other storage options, you might put that collection in the top shelf of a tool chest or on a magnetic strip prominently positioned on your wall. For the power tools that you use frequently, consider giving each its own storage box. You can put the tool, along with its charger, extra batteries, and any accessories, all in the storage container, which can then go on a shelf. Whenever you need that tool, you have everything you need to use it.
Label all of your tool storage
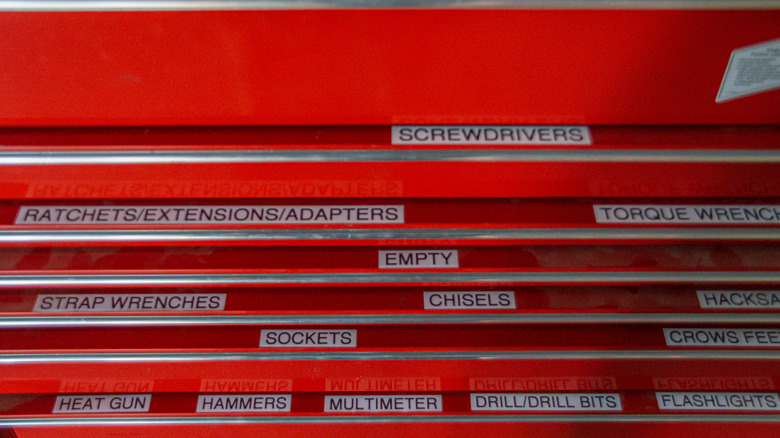
Labels take all of the guesswork out of finding the tools you want. Labeling works for all types of tool storage, including chests, drawers, and shelves. The key is making labels that are easy to read so they help direct you as you look for tools. You can also color-code your storage or the labels to identify the type of tool it is. For example, you might label cutting tools in green or power tools in red.
To make the task easier, grab a label maker so you can customize the tags. There are many genius ways to use a label maker around your house, so you'll get plenty of use out of it. Another option is a magnetic roll or magnetic strips that you cut to size and place on the front of metal containers. Then, you can print sticky labels from your computer that you place on the magnet strips. When choosing a font for labels, make sure it's easy to read at a glance. If you don't mind leaving the labels visible, place them on the outsides of drawers or on shelves. If you want to be a little more discreet, place the labels on the inside lips of drawers so you can see the words when you open the drawer slightly.
Establish a tool cleanup routine after every use
It's tempting to leave tools out on a workbench or in a room where you're working, especially if you plan to pick up on the project again later. Don't give in to that temptation, though. It might start with just a handful of tools, but it can quickly turn into a mess of disorganized tools taking over your work area. That could lead to lost tools that slow you down on your next project.
Instead, put your tools away as soon as you're done using them. This is easier when you store tools near where you use them — it's easy to reach up and place the pliers you just used on a pegboard above your workbench, for example. If you feel like it takes a long time to put your tools away, consider changing the space to improve the flow. You might also have a basket or designated area where you put tools you're done with. When you're completely done working for the day, you can go to that area and put those items away.
Schedule regular deep cleans and reorganization

You can find the best garage storage ideas that will inspire the handyperson in you, but if you don't maintain those organizational strategies, they won't work for long. Sometimes your routine of putting away tools after you're done with them might slip. That's why it's a good idea to schedule a monthly session where you make sure everything is in its place. You can also use this time to evaluate your organizational method and determine if it's working well for you.
Choose a certain time of month to do your tool organization checkup. It can help to remember if you choose a certain date or time of the month, such as the first Saturday of each month. Check the house and outdoor spaces for any errant tools that didn't make it back to their designated spots. Scan your garage storage areas to verify that everything is in its spot and that it's tidy. This is also the perfect opportunity to handle any routine maintenance with your tools, such as wiping dust off of them, tightening screws, sharpening blades, and lubricating tools. You might check the batteries on your power tools to see if they need to be charged. If any of your storage solutions haven't been working for you, consider trying a different arrangement.
Leave room for your growing tool collection
You need a spot for the tools you currently have in your collection, but it's also a good idea to look to the future as you expand your collection. Having only enough storage for your current items can cause storage headaches when you buy anything new. You may have to rearrange everything and add more storage at that time. Using modular tool storage solutions helps you keep your collection tidy now while allowing you to modify the arrangement easily in the future.
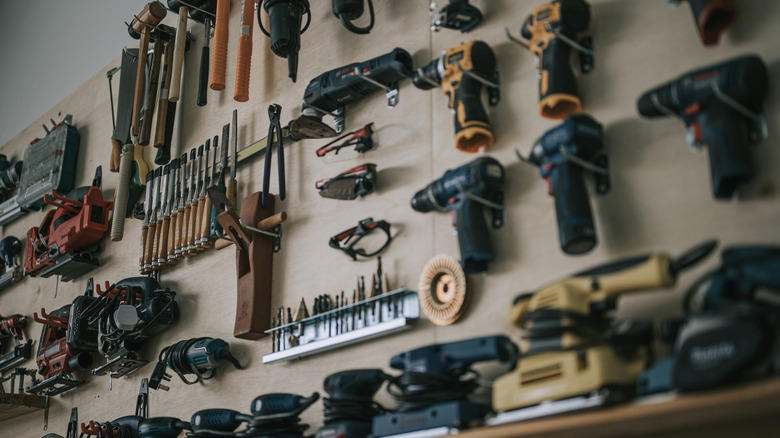
Pegboards are a common way to achieve modular storage — you can add more sections, choose custom hook options, and rearrange the hooks easily to accommodate new tools. There are some downsides to using pegboards for tool storage, though, including the expense of installing them and the potential for heavy items to damage the pegboard. Keep those issues in mind before choosing this option. There are also stackable modular tool systems like the Milwaukee PACKOUT System. You can add different containers in different sizes to fit your tool needs, and they'll stack together neatly. Of course, you want to be selective when adding new tools, but when you do want something new, it's easier to fit it into your routine if there's a convenient storage option already in place.