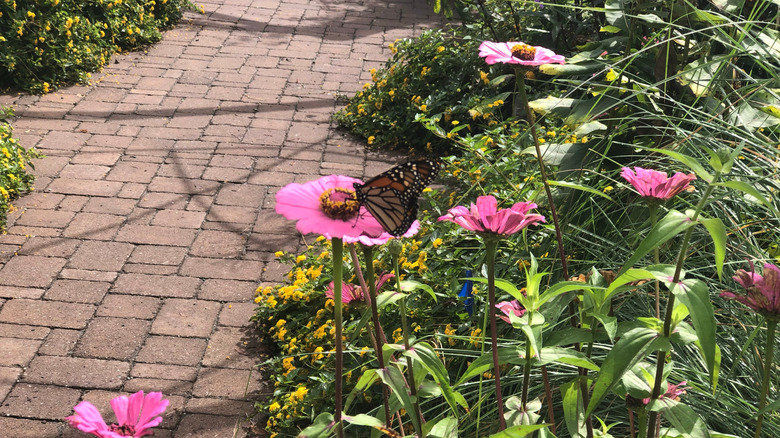
Transform Old Bricks Into A Stylish And Affordable Garden Path With A Simple DIY
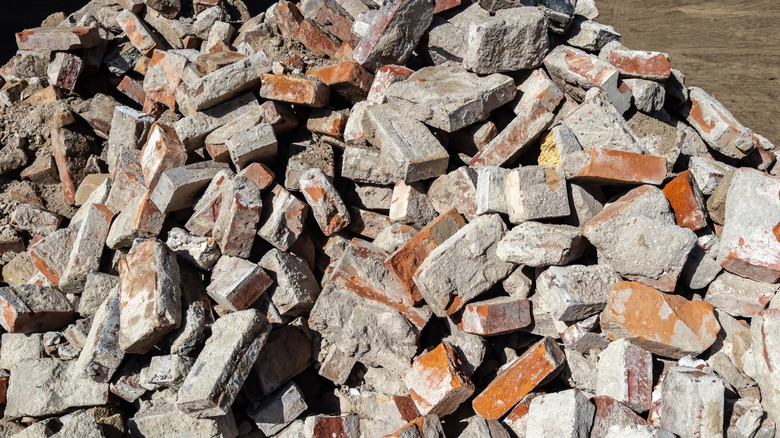
If you've got a pile of old bricks sitting around from a past project, or maybe you've stumbled across some at a salvage yard, don't let them go to waste. Instead of tossing them or letting them collect dust, you can turn those broken or leftover bricks into a charming, affordable garden path that looks far more expensive than it is. After all, who doesn't want a perfect DIY garden path that will fit any yard? Not only is this a great way to repurpose materials you already have, but it also adds instant character to your outdoor space. The best part is you don't need much to pull this off.
Gather your old or broken bricks and some polymeric sand to help set everything in place. A square frame or mold can also come in handy if you want to create uniform stepping stones, (especially if you're using broken bricks) but it's optional. What makes this DIY so appealing is the creative freedom — whether you're going for a polished geometric look or a more rustic, imperfect design, the bricks can be arranged however you like. With just a few simple materials and a little time, you'll end up with a path that's both practical and full of personality. And, if you still have a bunch of pieces to work through when you're done, you can reuse leftover bricks for an adorable garden DIY to match your new custom-made path.
How to create your DIY brick path
Start by deciding whether you want a continuous walkway or a line of spaced-out stepping stones. You can use stakes, chalk, or a string line to mark out your plan. For a winding and whimsical cottage-style path, arrange the bricks so they curve naturally. If you're after something sleek and modern, line them up evenly in rows. Either way, begin by setting your frame (if using one) on level dirt or digging a shallow indentation that's slightly deeper than your brick pieces. Add a thin layer of sand to create a stable base, and then arrange your bricks flat on top. Play around with patterns (think herringbone, basket weave, or even a casual scatter) for a look that feels like you.
Leave a small gap (around ¼ inch) between each piece so the joints can be filled. Once your design is set, sweep polymeric sand into the gaps until it's about 1/8 of an inch below the edge of your pavers (making sure to brush off any excess sand), then lightly mist with water from a hose to activate the binding agents. The sand will harden into a durable, slightly flexible filler that resists weeds and erosion, while keeping the bricks locked in place. After a day or two, you'll have a durable, eye-catching path. If you end up having leftover bricks, try additional DIY projects to upcycle leftover bricks to use in your home and garden. For extra charm, consider bordering your path with plants, gravel, or mulch to make it stand out even more. The end result is a one-of-a-kind walkway that's as practical and affordable as it is beautiful.