10 Clever Tape Measure Hacks You'll Wish You Knew About Sooner

People use tape measures every day in various tasks, from gardening to construction and everything in between. And, of course, it's a must-have in any DIYer's toolbox. But no matter what your project, whether it's basic DIY projects every homeowner should know or complex construction jobs, you'll want to make sure you're measurements are on point. You know what they say, "measure twice, cut once." But what if you measure twice and it's still off? The problem might not be your cutting job. It might be how you're using your tape measure. Ask yourself if you really know how to ensure your measurements are as accurate as possible every time. Did you know that the loose metal foot is supposed to be wobbly? Or that hole in the end is designed for solo measuring from any point, not just an edge? Or how about that your measuring tape has a secret technique to help you find the center of any item? If the answer is no, you're in the right place. These 10 clever tape measure hacks can help any DIYer or homeowner measure like a pro.
Use the wobbly metal foot for exact measurements
You might think your tape measure is broken when you realize the metal foot at the end is loose. The truth is, it's designed that way! That's right, the loose end of your measuring tape has a genius hidden function to ensure your measurements are accurate every time, whether you're measuring from an inside or outside edge. The wiggle accounts for 1/16 of an inch, the exact width of the foot. That way, if you hook the tape measure onto something and pull, you get the same measurement as you would if you push it up against a corner.
Use a nail for solo measurements from a mark using the hook
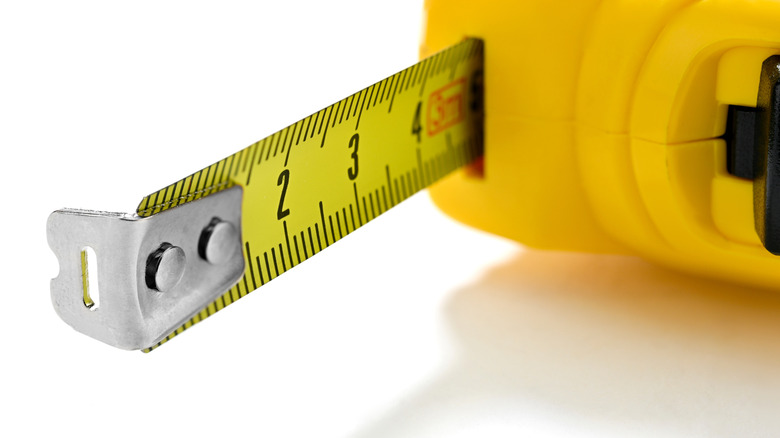
You know that little hole at the end of your tape measure on the metal foot? Turns out, it's not just there for looks. It is specifically designed to hook onto the end of a nail or screw so you can measure accurately from anywhere without the help of a partner. So whether you need a measurement from the middle of a nail or an odd place on a wall, you won't need to wait to find a friend to hold the end in place. Plus, a nail won't move, so you know you have the correct measurement every time.
Mark your measurements without a pencil using the metal edge
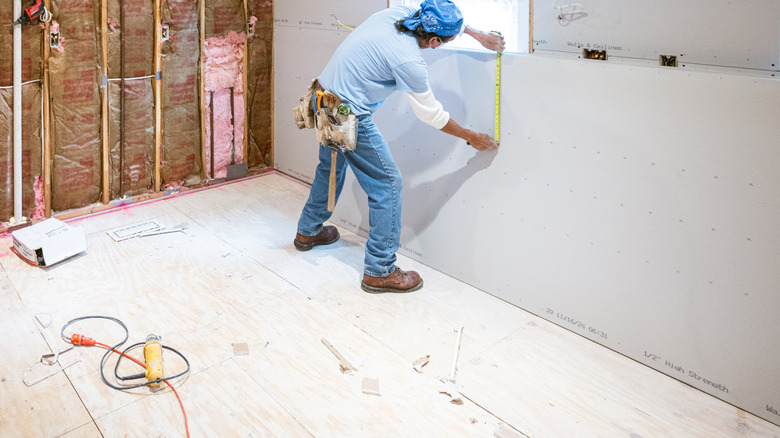
Most of the time, you are going to have a pencil handy when you are measuring. However, there are some instances when you may find yourself in a precarious position without a marking tool. Perhaps you are on a tall ladder, and you drop your pencil halfway through a measuring job. Or, maybe you are working with drywall, and reaching for a pencil will mean losing your measurement. Whatever the case, you can use the serrated end of the tape measure to mark your measurement by rubbing it back and forth to create scoring marks.
Find studs with the red boxes on your tape measure
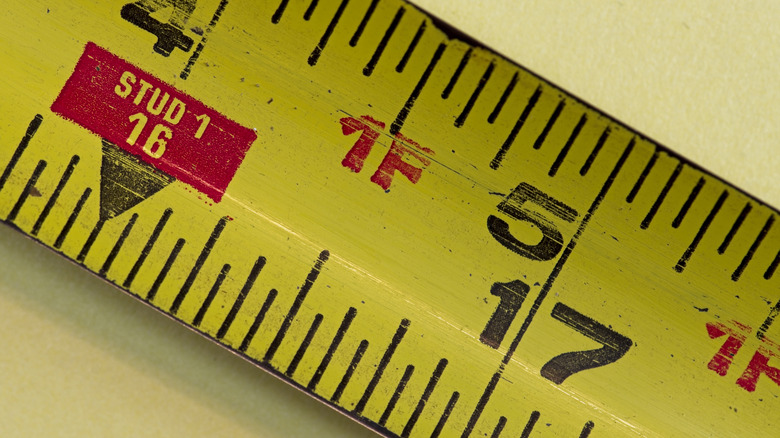
If you look at the numbers on a tape measure, you will notice that some are surrounded by a red box. This is a useful marking to help you identify studs in a wall without needing a stud finder. Of course, it can also help you if you are framing a wall to ensure your studs are properly spaced. Generally, studs measure exactly 16 inches from the center of one to the next.
Split 8 feet evenly with the black diamond marks
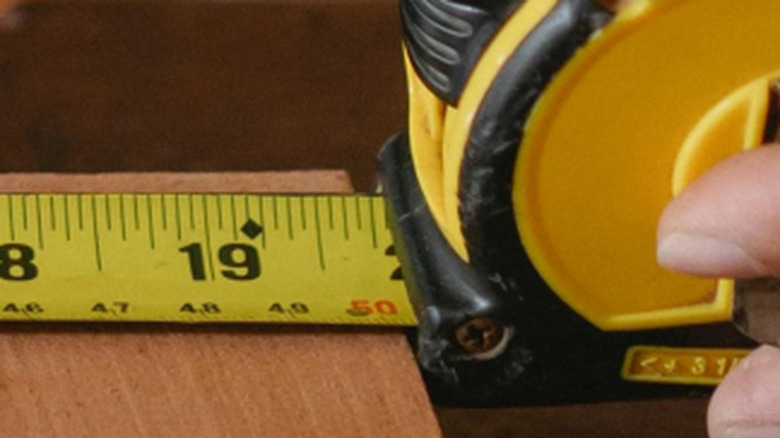
Have you ever noticed that some tape measures have a seemingly random black mark every few feet and wondered what those black diamonds on the tape measure really mean? The intended use may not be particularly helpful for the average DIYer, unless you are planning to install a floor or ceiling from scratch. These black diamonds mark every 19 3/16 inches for measuring the distance between trusses or joists on center. For DIYers, it may be useful to know that this is the distance to divide 8 feet into 5 equal parts.
Don't bend the blade on corners; use the tape case instead
The tape blade is designed with a curve for a reason, mainly to improve usability at a distance. However, it makes it almost impossible to bend the blade into a corner. Designers thought of this and included an easy way around it, with a little math. On the side of the casing, you will often find the exact length of the case itself. This is so you can push the tape measure into a corner and still get an accurate reading by adding the casing length to the measurement.
Get an accurate corner-to-corner measurement from both sides
If you are working with corner-to-corner measurements that need to be as snug as possible, there is an even more exact way to measure. You can even compare it to the tape casing method to see which one is better. Start by measuring a short distance from one corner; 10 inches makes it easy to do the math. Mark the measurement. Then, measure from the other corner to the mark and add the original measurement. You should be left with a completely accurate measurement.
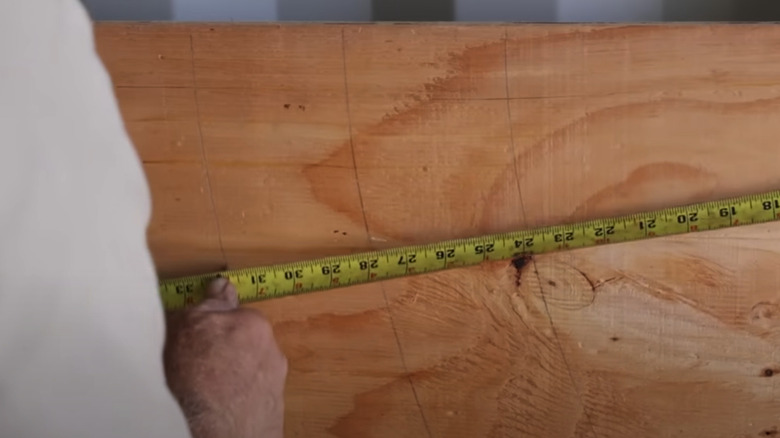
Find the center of anything using a simple angle trick
When you are trying to find the center of an item, usually a board, you will notice that it is commonly off by a fraction of an inch. Instead of trying to do the math, you can use a simple hack to find the center in seconds. Simply slant the tape measure until both ends are on equal inch marks and mark halfway. For example, if your board is 3 ⅝ inches, slant the tape measure til the 4-inch mark is on the edge and mark at 2 inches. This is the exact center.
Create arcs or circles with your tape measure
Remember that little hole at the end of the metal foot? It turns out, it has another great use: circles. If you want to create a circular cut or an arc, you can use that hole to help guide you. Start by placing a nail or screw near where you want the arc. Then, hook the tape measure to the head and extend the tape. Find the measurement you want for the arc and hold a pencil tight against it. Carefully rotate the tape measure and pencil with slight pressure to create a perfect arc.
Simplify your math by using your tape measure to subtract without subtracting
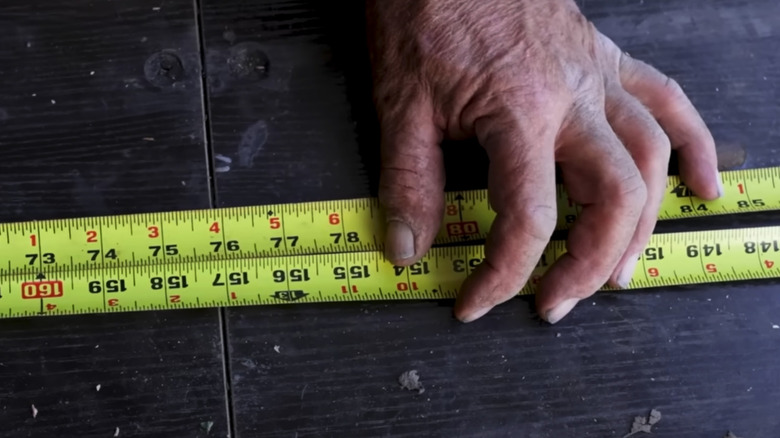
When you need to subtract an odd number from a large measurement, you can fold your tape measure in half and line up the end of the tape with the measurement that you wish to subtract from. Then, as long as the two halves remain lined up, follow the measurement down to what you wish to subtract, and the corresponding number on the opposite side will be your answer. For example, if you need to subtract 78 inches from 257 inches, you would align the end of the tape with 257, follow the lower numbers down to 78, and the opposite side should read 179 inches.