Basic DIY Home Improvement Projects That Every Homeowner Should Know How To Do
We may receive a commission on purchases made from links.
Being a homeowner comes with an exciting freedom to decorate or renovate your space however you'd like. Whether it's the color of the walls or the texture of the floor — the choice is yours! But, owning a home also means that you are the one responsible for coordinating maintenance when things need fixing. From plumbing problems to electrical woes, issues will inevitably arise, even if you generally take great care of your home.
Whether you're a new homeowner or have been for years, you may have guessed that not all home improvement projects are created equal. Some tasks, like electrical rewiring, structural renovations, and floor installation, are often improvements that are better left to the professionals to ensure the safety, efficiency, and longevity of results. However, there are many projects and fixes that you may be more than capable of tackling on your own. We've compiled a list of common household tasks to DIY, saving you the cost of hiring a pro.
Mount a shelf
Hanging shelves is a great skill to learn as a homeowner. They provide additional storage, as well as a space to display decor that showcases your style and personality. Start this DIY off by determining where you want your shelf to hang. You'll then want to hold your shelf on the wall at the ideal height and position. Place a level on top of the shelf during this step to ensure your shelf hangs straight and evenly. Then, mark the shelf's bracket holes with a pencil. Use screws to drill partial starter holes into the wall, and then secure the bracket to the wall. Finally, center your shelf on the brackets and screw it into place so it doesn't move around.
From a technical perspective, shelf mounting teaches you how to work with drilling into wall studs and drywall. You'll want to use a stud finder, like this Zircon model from Home Depot, to determine if your shelf position will allow you to screw into a stud. If it does not, you'll want to use an appropriate drywall anchor, to ensure your shelf can bear the load of whatever you put on it. Whether your shelves sit on brackets or "float" with hidden hardware, you can use the same basic principles to get them up on your walls in no time.
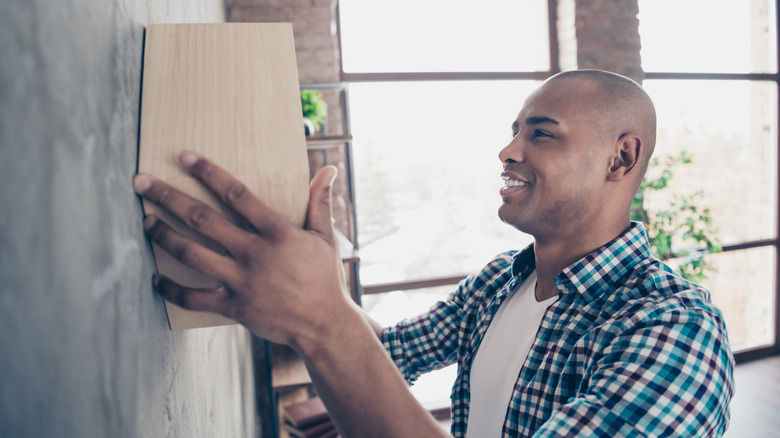
Hang a heavy mirror

A large, wall-mounted mirror can make your home look larger and brighten it up by bouncing around light. To kick off this project, you'll first want to determine exactly where you'd like your mirror to hang. Hold it up to your desired position and height, and mark where the top of the mirror lands on the wall with a pencil.
If your mirror has a wire on the back for hanging, pull it upward and taut. Measure the distance between the taut wire and the top of the mirror, and mark that distance on the wall, downward from your other mark. This is where you will install your screw. Use a stud finder to determine if you can screw right into a wall stud. If not, use a drywall anchor rated appropriately for your mirror's weight. Then, install the screw, leaving about half an inch sticking out of the wall to catch the mirror wire.
If your mirror has two keyholes on the back instead of a wire, you can use a masking tape hack to make level hanging a breeze. Place a piece of tape across the width of your mirror, over the keyholes. Trace the outline of the keyholes on the tape with a pen or pencil, and then place the tape on the wall where you want to hang the mirror. Use a level to ensure the tape is straight, and you have a foolproof guide for screws that are perfectly positioned to catch your mirror.
Spot clean the carpet

Professional carpet cleaning is something you should only have to do occasionally as a homeowner. But you don't need to hire a pro to spot clean small messes. Fortunately, you can get the job done with a shop vacuum and household cleaning ingredients. For the potent cleaning agent, combine 1 cup of warm water, ½ teaspoon of dish soap, and 1 tablespoon of 91% isopropyl rubbing alcohol in a spray bottle. Saturate the spot on the carpet with the spray, and then work it in gently using the back of a spoon to prevent damaging the carpet fibers. Then, using the wet setting on your vacuum, extract the liquid. It may take a couple of passes, but the degreasing power of the homemade solution and the powerful extraction from the shop vac are incredibly effective at removing the mess from the carpet.
It is important to note that this DIY is only effective if you have a wet-dry vacuum available. Otherwise, you won't be able to remove the liquid that seeps deep into the carpet fibers. Luckily, a small, 1-gallon wet-dry vac, like the Ecomax, only costs about $30 from Walmart, a worthwhile, low-cost investment for homeowners with carpeted floors.
Unclog the bathroom sink drain
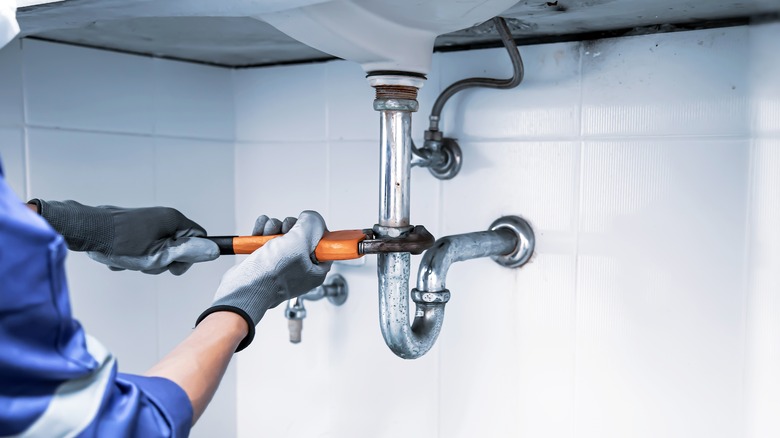
A clogged sink drain is a common household annoyance. But in most cases, you can avoid calling a plumber and get the job done yourself. As a first step to unclogging your drain, try pouring a gallon of boiling water down the sink to loosen up the blockage. If the clog is minor, this one step may do the trick of clearing it out. But if you notice after running the faucet again that the sink is still not draining properly, it's time to assess what lies beneath your drain stopper.
Be warned – this task can get a little gross, so you may want to wear gloves. After determining the kind of drain stopper you have (trip lever and pop-up stoppers are common in bathroom sinks), remove it from the drain. Then, push a plastic drain snake into the drain and gently pull it back up. Behold, the most likely source of your clog, a build-up of hair and debris. You may have to repeat this several times, then remove the mass using paper towels, give the stopper a rinse, and re-install the stopper to the drain.
While the stopper clog is most common, there are cases where a clog may be lodged in the p-trap of your sink. To address this kind of clog, place a bucket beneath the pipes under your sink. Slowly unscrew the p-trap from both sides and allow any sitting water to drain into the bucket below. Then, fully unscrew and remove the p-trap. If there is a clog inside, clean it out with a paper towel before screwing the cleared pipe back into place.
Stop a toilet from running

Stop water waste and save on plumbing costs by learning how to repair a running toilet on your own. To get started, you'll first have to understand a bit about how your toilet operates inside of the tank. Depending on your model, the parts in your tank may look slightly different, but you should be able to identify the fill valve, the float, the overflow tube, and the flapper, all of which can be involved in the cause of a running toilet.
Most commonly, a toilet runs when the water level in the tank is too high, causing it to constantly run through the overflow tube. The solution to this problem is typically a quick fix. First, identify the float adjustment screw and turn it counterclockwise to reduce the water level inside the tank. Do this until your toilet stops running, and then flush to ensure the water rises to an appropriate level, stopping below the top of the overflow tube.
If your toilet continues to run after making an adjustment to the screw, then it is possible you may have to replace the flapper, which prevents water from the tank from flowing back into the bowl. Flappers deteriorate over time due to use and mineral build-up, so they can stop sealing properly, thus allowing water to run. Home improvement stores like Lowe's or Home Depot carry various flapper models, so that you can find the right one for your toilet model.
Patch up holes in drywall
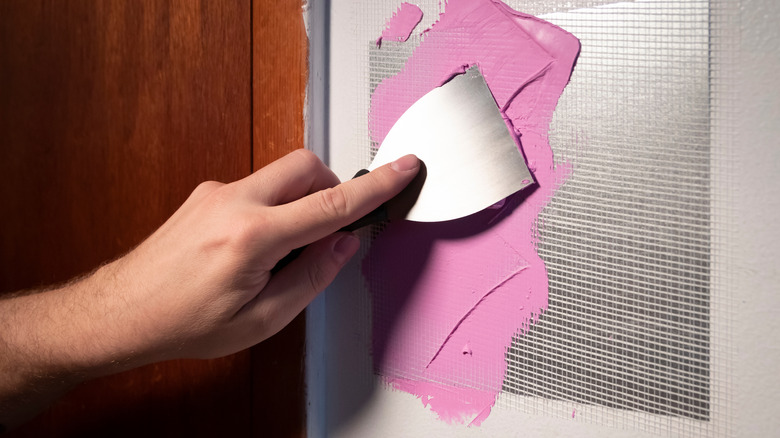
You don't need to call a contractor when a hole in your drywall arises. Whether you're moving your gallery wall from one room to another, or taking down an old mounted shelf, filling small nail and screw holes can be done in a pinch with some spackle and a putty knife. Use your putty knife to scoop a generous amount of spackle, and press it into the hole, smoothing over the surface of the wall in an x-shaped motion. Don't leave too much excess spackle on the wall around the hole to ensure an easier finish. Then, allow that first coat to dry.
Once your initial coat is dry, apply a second coat over the filled hole, allowing it to dry again. Using a pink-to-white color-changing spackling compound like DAP DryDex, available at Lowe's, makes it easy to tell when it's fully dried. After the second coat is dry, use a fine-grit sanding block and sand the patch from the outside, toward the original hole. Avoid sanding too much directly over the hole so the spackle remains strong.
You may need an additional product to repair larger holes in your wall, where spackle alone isn't enough. A drywall patch, like this one from Home Depot, allows you to cover bigger areas with reinforcing mesh. Adhere the patch over the hole, then follow the same spackling steps on a larger scale, and allow it to dry. Finally, sand the area until it blends in with the rest of the drywall.
Paint your interior walls
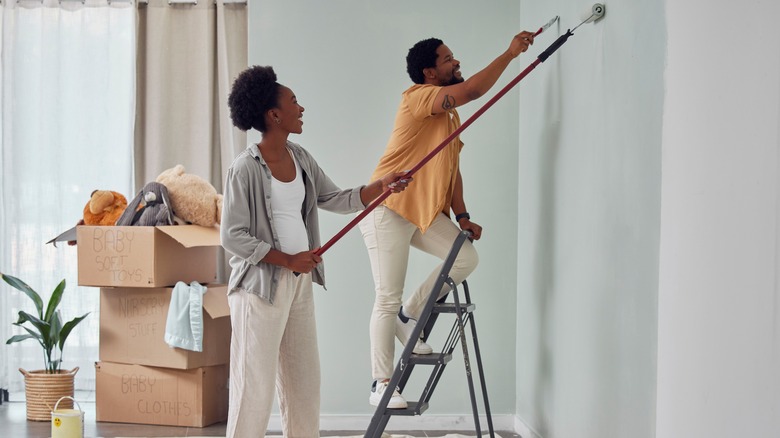
If you have the time, you can save money on hired labor and start painting your home like a professional. First and foremost, prepare your room and walls. Lay down drop cloth on your floors and move any furniture away from the walls. Then, fill any holes and blemishes, remove outlet cover plates, and sand the wall to a smooth texture to help with paint adhesion.
After your prep, you are ready to start painting your walls. Pros recommend these supplies for a paint job: high-quality paint, a paint tray and a liner, an extendable roller arm, and an angled brush to create clean lines along the edges. One wall at a time, use the brush to paint the borders of the wall. Then use your roller to paint long strokes from the top to the bottom, overlapping slightly and continuing in sections along the entire wall. Repeat on all the walls, allow the room to dry, and apply a second coat of paint for adequate coverage.
Before putting your paint away, it's a great time to prepare some for easy, fuss-free touch-ups in the future. To do this, use a syringe to extract a small amount of paint, then inject it in a paint touch-up pen with a brush end. A full kit, like the TiGilt brand available on Amazon, will come with both the syringe and the pen.
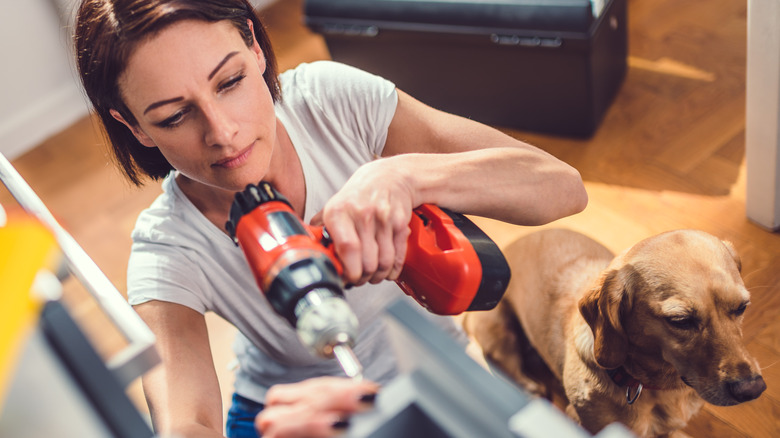
Install new cabinet hardware
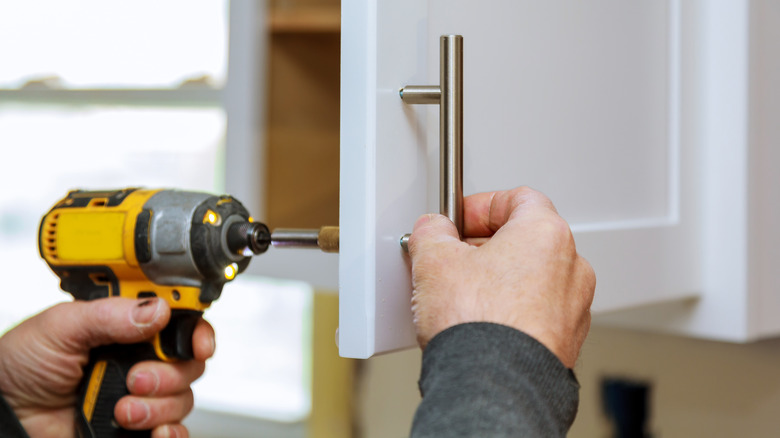
If you're looking to spruce up your kitchen, you can easily do so by adding cabinet hardware or replacing your existing ones. This project should just require the hardware itself, the screws it comes with, and a screwdriver. Make sure you are purchasing handles with the same screw distance as your current ones. To remove the old hardware, use a screwdriver to loosen the screws on the cabinet's backside, and remove the hardware. Then, line up the new hardware with the screw hole, and use the screwdriver to tighten on your new cabinet hardware.
If you're adding hardware to cabinets that don't already have any, you'll need to use a drill to create new holes through the cabinet. First, use a measuring tape to determine where you want to place your hardware and mark it with a pencil. Repeat this on every cabinet to ensure the measurements are consistent and the hardware is installed uniformly.
If you're installing handles that have two screw installation points, use a piece of masking or painter's tape to map the distance between screws, and use that tape as a template for marking your cabinets. You can also use an installation stencil like this one found on Amazon. Once all positions are marked, determine the size of the screw for your desired hardware, and pick an appropriate drill bit. Typically screws included in hardware will be labeled with their size, making it easy to choose the corresponding bit size. Then, carefully drill through your marks on the cabinet to create new holes. Line up the new hardware, screw tight, and enjoy your new kitchen finishes!
Re-caulk your bathtub
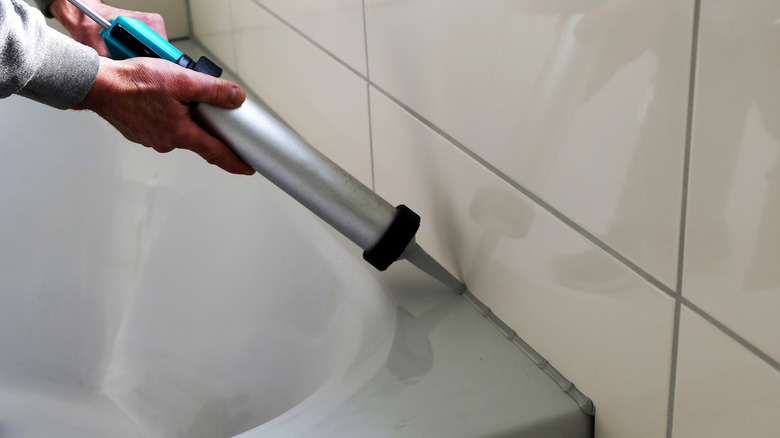
Over time, it's possible that your bathtub and shower caulking will separate from the tile, allowing mold and mildew to develop and prevent your bathroom from ever feeling truly clean. Luckily, you can tackle caulking your tub on your own, with professional results, using a silicone caulk formula. First, use a sharp blade, like a box cutter, to slowly and deliberately slice above and below your old caulking. You should free it up enough to pull away easily, exposing the open joints between the tub and tile.
Clean the joints with some rubbing alcohol to prepare for the new caulk. To get professional-looking results, use painter's tape to create a path for the caulk to follow, lining the joints along the bottom and top. Then, using a caulking gun, slowly apply the caulk along the painter's tape path, pausing to smooth it out with a dampened finger or a caulk finishing tool, like this Homax one available on Amazon. Remove the tape while the caulk is still wet, and then allow your new, smooth joint lines to dry for 24 hours before hopping in the shower.
Hanging wallpaper
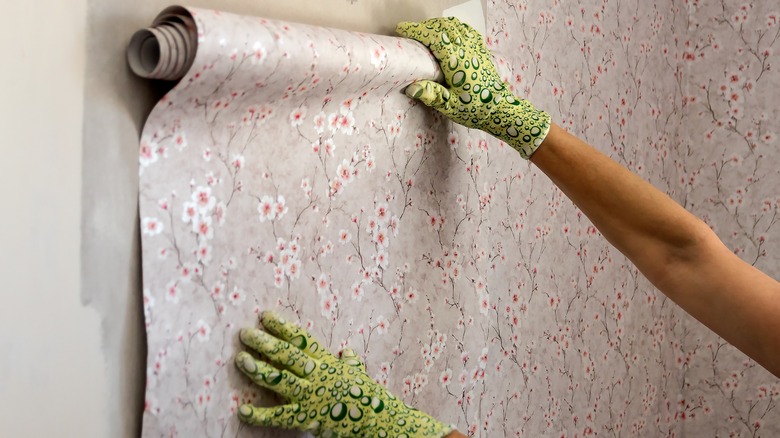
Wallpapering can seem like an intimidating task if you've never taken it on before. But with the proper preparation and tools, you can get a seamless application without a pro in sight. The primary tools you will need to get started are enough wallpaper of your choice for the surface area you want to cover, adhesive, a roller brush, and smoothing tools to ensure your application is neat and free of air bubbles. You'll also want a straightedge and a sharp blade to trim the paper at ceiling corners and baseboards.
Saturate your wall with a generous coat of adhesive using a roller brush. Then, determine the straight edge that your wallpaper sheets will hang along. Using a laser level as a straight vertical line to guide your first sheet makes installation around the rest of the room seamless. Starting from the top of the wall, unroll your wallpaper and use the edge of a smoothing tool to press the top of the paper into the ceiling corner. Stretch the paper downward to line up with the laser guide, smoothing and repositioning the paper as you go.
The laser level is a great tool for wallpapering projects, but is also useful for plenty of other home improvement DIYs, like mounting shelves and hanging art. If you're a handy homeowner, having one in your tool kit is another relatively budget-friendly investment worth making. You can find a well-reviewed Nikotek model available for just $28 at Amazon.